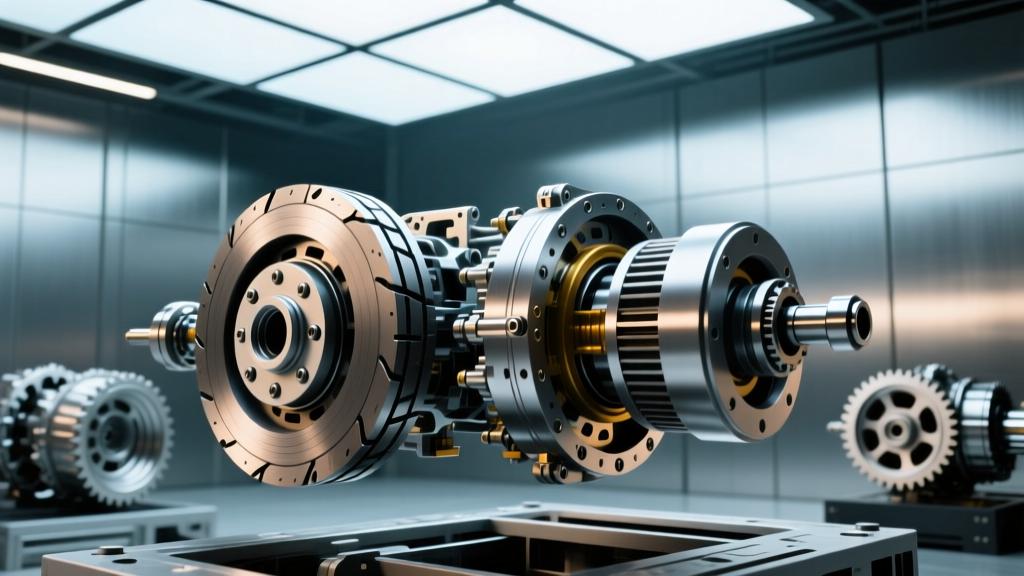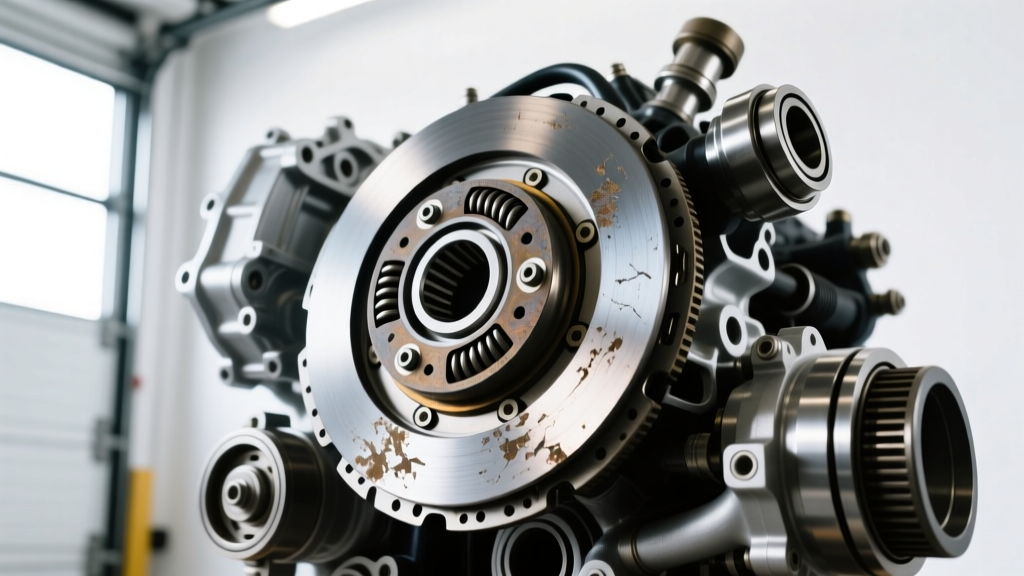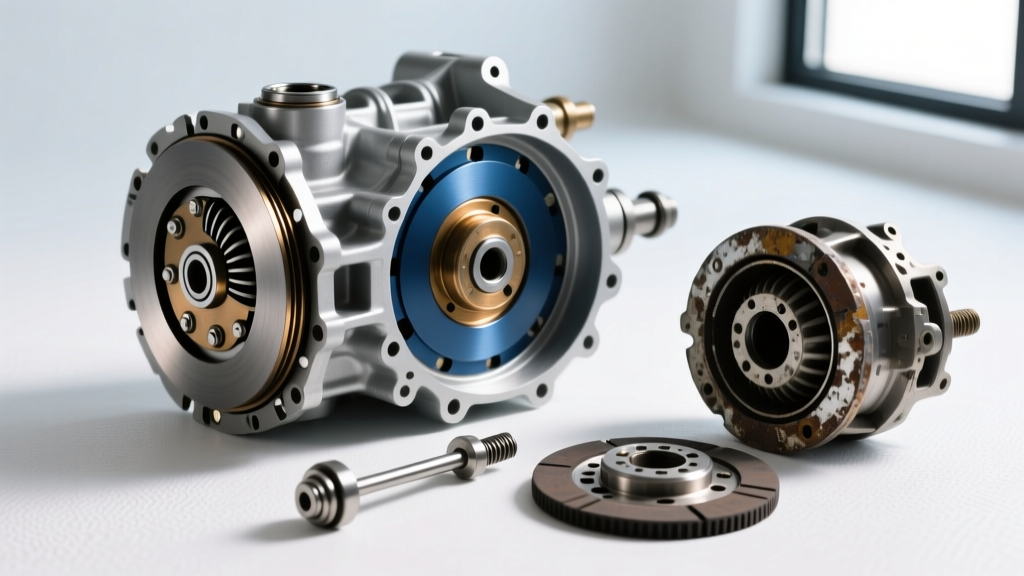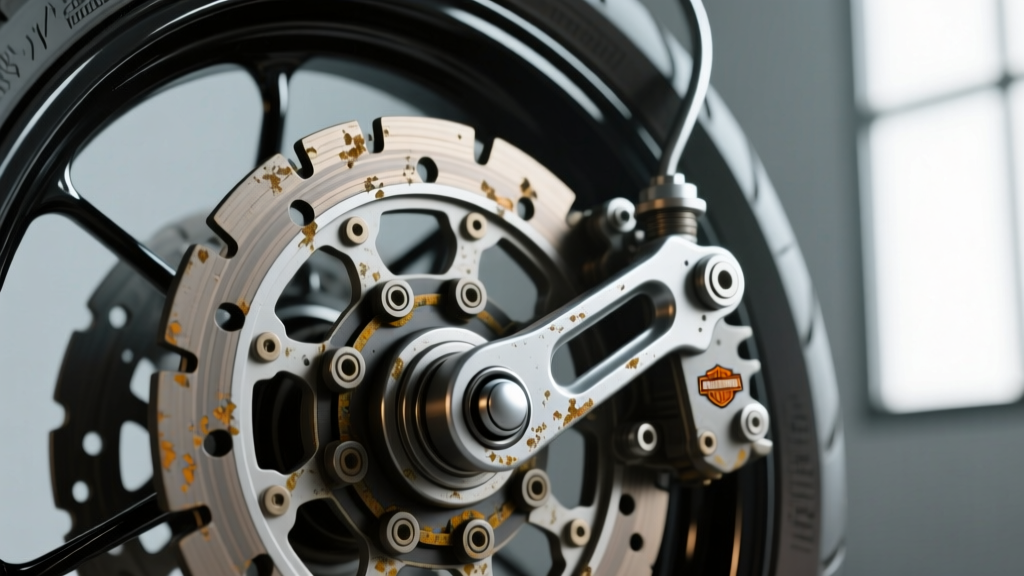
When automotive technicians and motorcycle mechanics cross over into working on Harley-Davidson Big Twins, terminology can often lead to diagnostic confusion. In a standard automotive manual transmission, a 'clutch fork' pushes the throwout bearing against the pressure plate fingers. On a Harley-Davidson, the equivalent component is the clutch release arm (or lever), which pivots on a ball stud to actuate the clutch release bearing. Despite the nomenclature differences, the fundamental physics and failure modes are remarkably similar. As we move through 2026, with Milwaukee-Eight (M8) engines accumulating massive mileage and Twin Cam models aging into classic status, wear on this pivot mechanism has become a primary culprit for clutch drag, notchy shifting, and lever pulsation.
Before tearing into the primary chaincase, it is vital to clarify what we mean by the 'harley clutch cover.' Many riders mistakenly refer to the derby cover (the circular inspection plate directly over the clutch basket) as the clutch cover. However, to access the clutch release arm, pivot ball, and throwout bearing, you must remove the primary inspection cover, which is located lower and forward on the outer primary chaincase. Understanding this distinction is the first step in accurate clutch system diagnostics.
The Anatomy of the Release Arm and Pivot Ball
The Harley-Davidson clutch actuation system relies on a precise mechanical advantage. When you pull the clutch lever (or engage the hydraulic master cylinder), a pushrod or hydraulic piston actuates the clutch release arm. This arm is essentially a forged steel lever that balances on a hardened steel pivot ball stud. As the arm pivots, its opposite end pushes the clutch release bearing (throwout bearing) inward against the clutch hub diaphragm spring or spring pack, disengaging the clutch friction plates.
The pivot ball stud is pressed into the inner primary housing. Over time, the constant friction between the release arm's pivot cup and the ball stud—compounded by the extreme pressure required to disengage a heavy Big Twin clutch—creates severe wear patterns. If the primary chaincase fluid level drops or degrades, the upper portion of the pivot mechanism is starved of lubrication, accelerating galling and groove formation.
Core Symptoms of Pivot and Release Arm Failure
Diagnosing clutch fork and pivot issues requires paying attention to the tactile feedback at the clutch lever and the bike's behavior at a standstill. Look for these hallmark symptoms:
- Clutch Drag and Creep: If the pivot ball has worn a deep groove, or if the release arm is galling, the arm cannot travel its full arc. This results in incomplete clutch disengagement. You will notice the motorcycle wanting to creep forward even with the lever pulled to the grip, making finding neutral at a stoplight nearly impossible.
- Notchy Shifting and Lever Pulsation: A worn pivot point introduces lateral play into the release arm. As the throwout bearing presses against the spinning clutch hub, this lateral play translates into a rhythmic pulsation felt directly through the clutch lever. Shifting into first gear will produce a harsh, loud 'clunk' due to the transmission input shaft still spinning from clutch drag.
- Abnormal Primary Noise: If the release bearing is riding at an angle due to a worn pivot cup, it will bind against the clutch hub. This produces a distinct metallic grinding or chirping noise from the primary chaincase that changes pitch with engine RPM and clutch lever position.
Diagnostic Teardown: Accessing the Mechanism
To properly inspect the components behind the harley clutch cover, you must perform a partial primary teardown. Always consult the specific service manual for your model year, but the general expert protocol remains consistent across late-model Twin Cam and M8 Softail and Touring platforms.
- Drain the Primary Fluid: Remove the primary drain plug. Note that fluid capacities vary; a standard Twin Cam Touring model holds approximately 32 oz of primary fluid, while newer M8 Softail platforms can require up to 45 oz. Use a high-quality 20W-50 synthetic V-Twin primary fluid.
- Remove the Primary Inspection Cover: Unbolt the outer primary inspection cover. The factory torque spec for these cover bolts is typically 84-108 in-lbs (7-9 ft-lbs). Use a crisscross pattern to avoid warping the cast aluminum cover.
- Extract the Clutch Release Arm: Once the cover and internal deflector are removed, you will see the clutch release arm. Slide the arm off the pivot ball stud. Inspect the throwout bearing seated in the clutch hub.
Wear Measurement and Inspection Matrix
Once the components are on the bench, use a micrometer and a visual inspection lamp to evaluate the parts against the factory wear limits. Below is a diagnostic matrix based on current OEM specifications and aftermarket replacement data sourced from the Harley-Davidson OEM Parts Catalog and J&P Cycles Harley Clutch Components.
| Component | Failure Mode / Wear Limit | OEM / Aftermarket Part # | Est. Cost (2026) |
|---|---|---|---|
| Pivot Ball Stud | Galling, flat spots, or groove depth > 0.010 inches | HD 37884-94B (or M8 equiv.) | $18 - $25 |
| Clutch Release Arm | Elongated pivot cup, cracked forging, worn bearing pad | HD 36890-94D | $65 - $85 |
| Clutch Release Bearing | Rough rotation, lateral play, blued steel from heat | HD 38558-94A | $45 - $60 |
| Primary Cover Gasket | Compression set, tearing, oil weeping | HD 60754-01B | $12 - $18 |
Expert Note: Never attempt to polish a grooved pivot ball stud. The case-hardened surface is extremely thin; once you polish through it, the softer underlying steel will wear out in less than 500 miles. Always replace the stud if any tactile ridges are present.
Hydraulic vs. Cable Actuation Considerations
As of 2026, the vast majority of Big Twins on the road utilize hydraulic clutch actuation, though older cable-driven models remain prevalent. The pivot ball and release arm experience different stress profiles depending on the system. Hydraulic systems provide a more linear, consistent force, but they can mask the early tactile symptoms of a binding pivot ball. A failing pivot in a hydraulic system often results in a 'spongy' lever feel that riders mistakenly attribute to air in the hydraulic lines. If you have bled the clutch master cylinder and slave cylinder but the lever still feels inconsistent or pulses, the mechanical bind at the release arm pivot is your true culprit.
Best Practices for Reassembly and Adjustment
Reassembling the components behind the harley clutch cover requires strict adherence to lubrication and adjustment protocols. The most common mistake made by novice mechanics is over-greasing the pivot ball.
The Lubrication Rule
Apply only a microscopic film of high-molybdenum disulfide (moly) assembly paste to the pivot ball stud and the release arm cup. Do not use standard chassis grease. Standard grease is too viscous, will not stay in place under high pressure, and will attract abrasive clutch friction dust suspended in the primary chaincase. The primary chaincase fluid itself is designed to provide the bulk of the running lubrication for this joint.
The Critical Adjustment Protocol
Once the release arm is reinstalled and the primary inspection cover is torqued to 84-108 in-lbs with a new gasket, you must set the internal clutch free play. This is where clutch drag issues are either solved or created.
- Remove the derby cover (clutch inspection cover) to access the clutch adjuster screw located in the center of the clutch hub.
- Loosen the locknut and turn the adjuster screw inward (clockwise) until you feel it gently bottom out against the release bearing pushrod. Do not force it, or you will prematurely load the throwout bearing.
- From the bottomed-out position, back the adjuster screw out (counter-clockwise) exactly 1/2 to 3/4 of a turn. This specific clearance is non-negotiable; it allows the release bearing to completely disengage from the spinning clutch hub when the lever is released, preventing premature bearing wear and clutch drag.
- Hold the screw in place and tighten the locknut to 120-180 in-lbs.
- Finally, adjust the cable free play at the handlebar perch (for cable models) or check the hydraulic fluid level to ensure 1/16 to 1/8 inch of free play at the lever tip before the master cylinder piston engages.
Expert Takeaways
Diagnosing clutch fork and pivot issues on a Harley-Davidson requires looking past automotive terminology and understanding the unique stress environment of the V-Twin primary chaincase. By accurately identifying the symptoms of pivot wear, utilizing the correct primary fluid capacities, and strictly adhering to the 1/2-turn back-off adjustment rule, you can eliminate clutch drag, restore smooth shifting, and extend the life of the entire clutch assembly. Always treat the primary inspection cover teardown as an opportunity to evaluate the entire actuation chain, ensuring your bike performs flawlessly on the road.