Bridging Automotive Drivetrain Physics to the V-Twin Primary
While AutoGearNexus typically dissects planetary gearsets in ZF 8HP automatics or analyzes synchronizer rings in heavy-duty Tremec manuals, the fundamental physics of friction, clamping force, and rotational inertia apply universally across all drivetrains. Today, we are executing a technical deep-dive into the V-Twin motorcycle world. Specifically, we are tackling the notorious Harley-Davidson primary drive system. If you are chasing a rattling primary case, a slipping clutch under heavy throttle, or a clunky neutral find, you need a systematic, data-driven approach.
This guide provides the definitive clutch system inspection checklist, anchored by the exact Harley Davidson clutch basket torque specs required to keep your Big Twin (Twin Cam 88/103/110) or Milwaukee-Eight (107/114/117/121) running flawlessly. We will bypass the generic forum advice and focus on OEM service manual tolerances, precise micrometer measurements, and metallurgical failure points.
The Anatomy of Harley Clutch Rattle and Slip
To understand why specific torque specifications and inspection intervals are critical, you must understand the torsional environment of a 45-degree V-Twin engine. Unlike the smooth rotational output of an inline-four or a balanced V8, a Harley crankshaft delivers massive, pulsating torque spikes. The primary compensator sprocket is designed to isolate these spikes using internal spring-loaded shoes. However, when the compensator wears, or when the primary chain stretches beyond its service limit, the resulting shock loads are transferred directly into the clutch assembly.
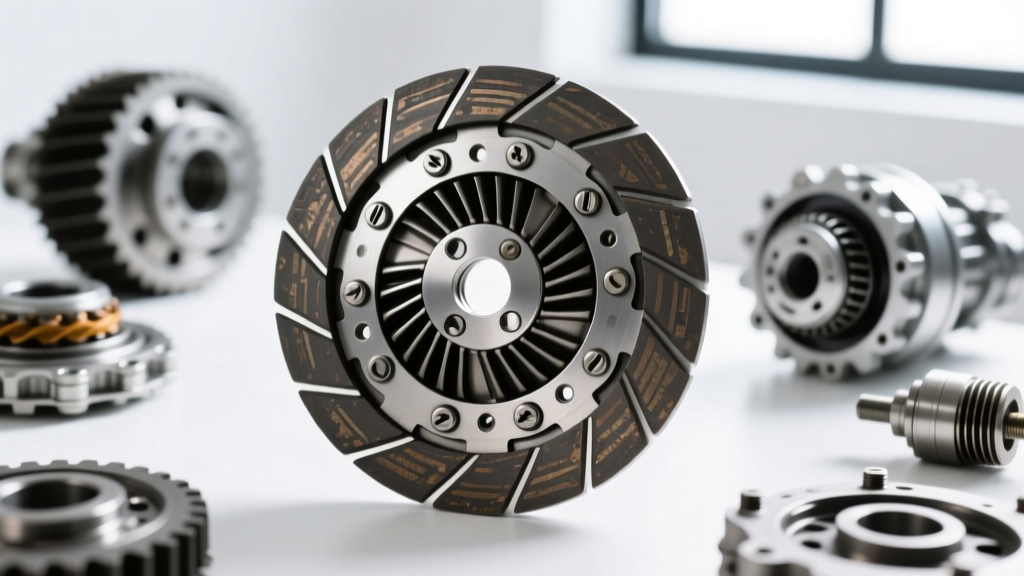
These shock loads hammer the aluminum fingers of the clutch basket against the steel tangs of the friction plates. Over time, this creates deep notches. Notching prevents the friction plates from releasing cleanly (causing dragging and hard shifts) and reduces the effective surface area for clamping (causing slip under load). Diagnosing these issues requires tearing down the primary drive and executing a rigorous inspection checklist.
Harley Davidson Clutch Basket Torque Specs & Fastener Data
Before removing a single component, you must prepare your torque wrenches and thread lockers. The primary drive operates in an oil bath and is subjected to extreme harmonic vibrations. Reusing old fasteners or guessing torque values will result in catastrophic drivetrain failure. Below are the critical torque specifications for Twin Cam and Milwaukee-Eight platforms.
| Component | Fastener | Torque Specification | Thread Locker / Notes |
|---|---|---|---|
| Compensator Sprocket Nut | Crankshaft Mainshaft | 150-165 ft-lbs | Red Loctite 271 (High Strength) |
| Clutch Hub Nut | Transmission Mainshaft | 70-80 ft-lbs | Red Loctite 271 (High Strength) |
| Primary Chain Tensioner Shoe | Crankcase Mount | 84-108 in-lbs | Blue Loctite 243 (Medium Strength) |
| Inner Hub to Basket Bolts | Clutch Assembly (Separable) | 84-108 in-lbs | Use new OEM lock tabs/washers |
| Primary Cover Fasteners | Crankcase Perimeter | 84-120 in-lbs | Follow star-pattern sequence, inspect O-ring |
Expert Pro-Tip: Never rely on the rear brake or placing the transmission in gear to hold the drivetrain while torquing the mainshaft nuts. Applying 165 ft-lbs to the compensator or 80 ft-lbs to the clutch hub through the transmission gears will cause severe stress and potential shearing of the transmission dog teeth. You must use a dedicated primary locking tool, such as those manufactured by AIM Corporation, to physically lock the rotor and clutch basket to the crankcase during torque application.
The Step-by-Step Clutch System Inspection Checklist
Once the primary cover is removed and the fluid (typically 32 oz of Formula+ or Syn3 20W-50) is drained, proceed through this technical checklist. Have your feeler gauges, micrometers, and dial indicators ready.
1. Clutch Basket Finger Notching Assessment
The aluminum basket fingers absorb the brunt of the engine's torsional vibration. Run your fingernail across the contact points where the friction plate tangs sit.
- Acceptable Wear: Minor polishing or superficial grooves less than 0.010 inches deep.
- Service Limit Exceeded: If a 0.020-inch feeler gauge can slide between the friction plate tang and the basket finger, the basket is notched beyond the service limit. This will cause clutch drag, making it impossible to find neutral while the engine is running. Action: Replace the clutch basket or upgrade to a billet aluminum assembly.
2. Friction and Steel Plate Micrometer Measurements
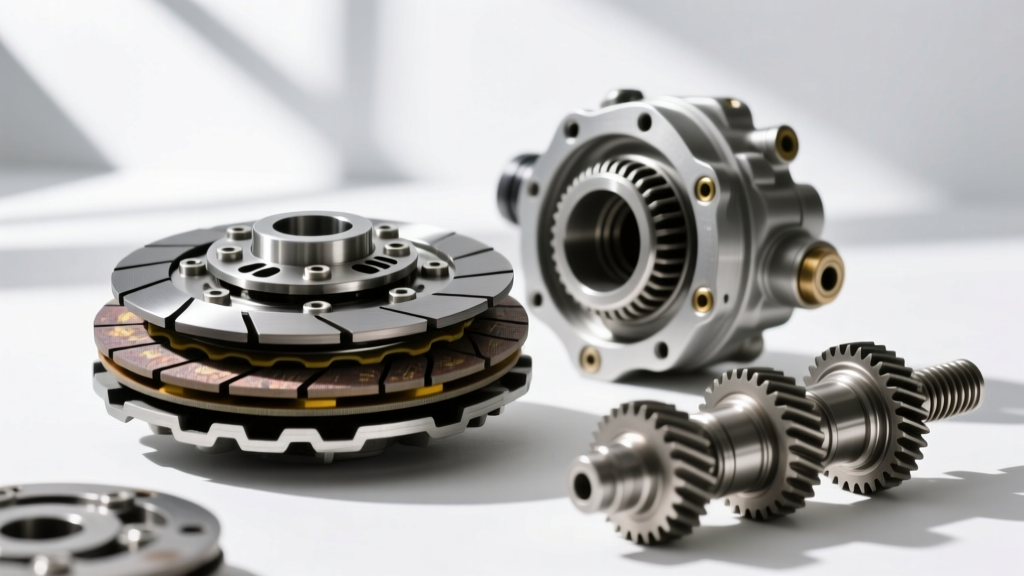
Clutch slip is rarely a mystery; it is a math problem. You must measure the clutch pack stack height and individual plate thickness. A standard Big Twin clutch pack utilizes 9 friction plates and 9 steel plates (though some high-torque M8 setups use 11/11 configurations).
- Friction Plate Thickness: Measure at four points using a micrometer. New plates typically measure around 0.140 inches. The OEM service limit is generally 0.118 inches. If any plate falls below this, the entire pack must be replaced.
- Steel Plate Runout: Place the steel plates on a surface plate and use a dial indicator. Maximum allowable warpage (runout) is 0.010 inches. Warped steels cause uneven clamping pressure, leading to localized hot spots and accelerated friction material degradation.
- Total Stack Height: Measure the entire compressed stack. If the stack height is below the service manual specification (often around 1.580 inches for Twin Cams), the diaphragm spring cannot exert its designed clamping force, resulting in slip under heavy load. Action: Install a thicker clutch pack or upgrade to a high-performance Kevlar kit from Barnett Tool & Engineering.
3. Diaphragm Spring and Release Ramp Inspection
The diaphragm spring provides the clamping force. Inspect the inner splines for galling and the outer edges for fatigue cracking. Next, inspect the clutch release ramp (the bearing and ramp mechanism inside the inner primary cover). If the bearing has flat spots or the ramp shows deep gouging, the clutch will not disengage fully, causing premature transmission gear wear during shifts.
4. Primary Chain and Compensator Evaluation
While not technically part of the clutch basket, the primary chain and compensator directly dictate clutch health. Check the primary chain tensioner shoe. If the plastic shoe is worn down to the aluminum backing, the chain is slapping the crankcase and destroying the tensioner pivot. Furthermore, inspect the compensator sprocket. If you can rotate the outer ring more than 1/8th of an inch against the spring tension before the internal shoes engage, the compensator is dead and must be replaced with an upgraded unit (such as the Screamin' Eagle heavy-duty compensator).
Diagnosing Specific Drivetrain Symptoms
Use this diagnostic matrix to correlate your physical inspection findings with the symptoms experienced on the road.
Symptom: Loud Metallic Rattle at Idle (Disappears under load)
Root Cause: This is the classic 'Twin Cam Rattle.' It is almost always caused by a worn compensator sprocket failing to isolate crankshaft pulses, allowing the primary chain to slap the tensioner. Secondary causes include severe clutch basket notching or a worn inner primary bearing. If the compensator is tight and the chain is within spec, check the clutch hub splines for galling against the transmission mainshaft.
Symptom: Clutch Slipping in 5th or 6th Gear
Root Cause: Slipping under high-load, high-RPM conditions indicates a failure in clamping force or friction coefficient. First, verify your primary fluid. Using standard automotive motor oil (like 5W-30) introduces friction modifiers designed for fuel economy, which will cause a wet clutch to slip immediately. You must use a dedicated primary chaincase fluid or a wet-clutch-safe 20W-50 motorcycle oil. If the fluid is correct, the issue is a fatigued diaphragm spring, glazed friction plates, or a stack height that has fallen below minimum spec due to wear.
Symptom: Hard Shifting and Inability to Find Neutral
Root Cause: This is a clutch drag issue. The clutch is not fully disengaging when the lever is pulled. The primary culprit is notched clutch basket fingers preventing the friction plates from separating. Secondary culprits include a warped steel plate, a damaged release ramp bearing, or an incorrectly adjusted clutch cable (ensure you have exactly 1/16 to 1/8 inch of free play at the lever perch).
Final Assembly and Fluid Dynamics
When reassembling the primary drive, cleanliness is paramount. Wipe all mating surfaces with brake cleaner to ensure the thread lockers can cure properly. Red Loctite 271 requires clean, oil-free metal to achieve its 271 PSI shear strength. When filling the primary, remember that the fluid is responsible for cooling the clutch, lubricating the primary chain, and damping the compensator. Do not overfill; maintain the fluid level to the bottom of the clutch basket diaphragm spring when the bike is standing upright. For further community-driven troubleshooting and model-specific service bulletins, the technical subforums at HD Forums remain an invaluable resource for V-Twin mechanics.
By adhering strictly to these Harley Davidson clutch basket torque specs and executing this comprehensive inspection checklist, you eliminate the guesswork from V-Twin drivetrain diagnostics, ensuring a smooth, reliable transfer of power to the rear wheel.