Understanding the Go-Kart 'Torque Converter' (CVT) System
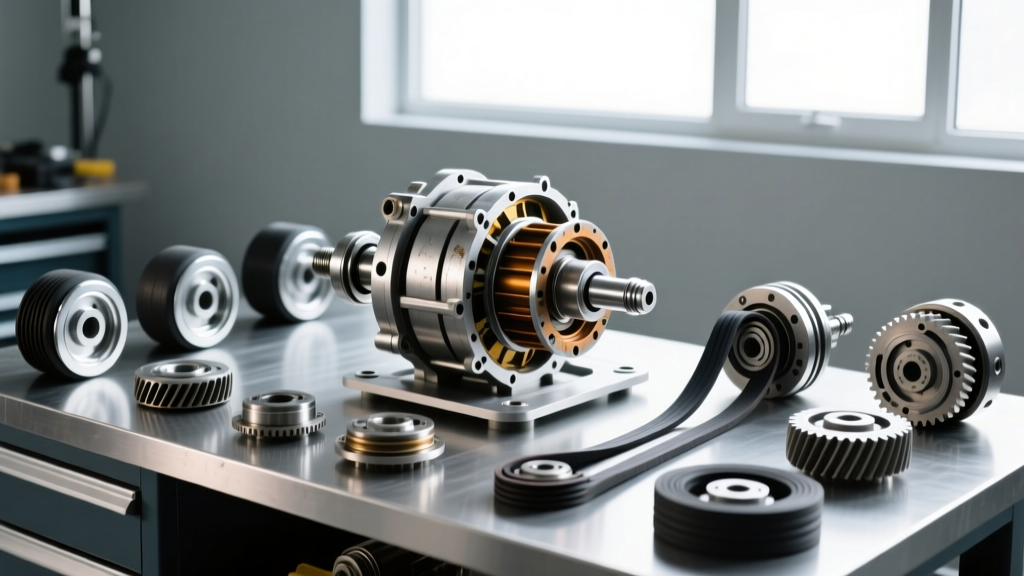
In the automotive world, a torque converter is a hydrodynamic fluid coupling used in traditional automatic transmissions. However, in the small-engine and go-kart community, the term 'torque converter' is universally used to describe a specific type of rubber-belt Continuously Variable Transmission (CVT). Systems like the legendary Comet TAV2 (Torq-A-Vertor) utilize a variable-pitch driver pulley (clutch), a spring-loaded driven pulley (jackshaft), and a specialized asymmetric V-belt to provide infinite gear ratios. This setup multiplies torque at low RPMs and allows for high top-end speed, making it vastly superior to a standard centrifugal clutch for off-road karts, yard karts, and mini bikes.
If you are preparing for a go kart torque converter install, you are likely upgrading from a single-speed clutch or replacing a worn-out CVT unit. This comprehensive 2026 guide covers the critical symptoms of a failing CVT, the exact tools required, and the precision alignment steps necessary to prevent catastrophic belt failure.
Diagnosing CVT Failure: Symptoms That Demand Replacement
Before tearing into your drivetrain, it is vital to confirm that your current CVT is actually failing. Because these systems rely on mechanical friction and spring tension, they exhibit distinct warning signs when components wear out. According to drivetrain specialists at BMI Karts & Parts, ignoring these symptoms often leads to snapped belts and damaged jackshafts.
1. RPM Bogging and Slipping Under Load
If your engine revs high but the kart accelerates sluggishly, the driver pulley sheaves are likely failing to grip the belt. This is caused by worn flyweight ramps, dried-out grease in the driver clutch, or a severely glazed belt. The CVT is slipping instead of shifting, generating massive heat.
2. Loss of Top-End Speed
When your kart hits a wall at 25 MPH instead of its usual 35 MPH, the driven pulley is not closing fully. This is almost always caused by a fatigued driven spring or a seized sliding sheave on the jackshaft assembly. The transmission is stuck in a 'low gear' state and cannot overdrive.
3. Excessive Belt Dust and Asymmetric Wear
Peel back your CVT cover guard. If you find a thick layer of black rubber dust and the belt edges are chewed, you have a pulley misalignment issue. Even a 1/16-inch deviation between the driver and driven pulleys will destroy a $30 Gates Powerlink belt in under three hours of operation.
4. Premature or Erratic Engagement
A healthy Comet TAV2 should engage smoothly around 1,800 to 2,000 RPM. If the kart lurches forward at idle or the engagement feels violent and chattery, the internal plastic shoes in the driver clutch are worn, or the wrong tension spring has been installed.
Centrifugal Clutch vs. CVT Torque Converter
Why go through the effort of a CVT swap? The table below illustrates the mechanical advantages of a torque converter setup over a standard drum clutch for 212cc and 196cc engines.
| Feature | Centrifugal Clutch (e.g., Max-Torque) | CVT Torque Converter (e.g., Comet TAV2) |
|---|---|---|
| Gear Ratio | Fixed (Single Speed) | Variable (2.7:1 to 0.9:1 Overdrive) |
| Low-End Torque Multiplication | None (1:1 Engine to Axle) | Up to 2.7x Torque Multiplication |
| Top Speed Potential | Limited by Engine RPM limit | Increased via Overdrive Ratio |
| Heat Generation (Stop-and-Go) | Extreme (Clutch Slippage) | Low (Belt Disengages at Idle) |
| Ideal Application | Flat paved tracks, racing karts | Hilly terrain, off-road, heavy yard karts |
Pre-Install: Required Parts and Tooling
To execute a proper go kart torque converter install, you must source the correct components for your specific engine block. Most modern clone engines (Predator 212cc, Honda GX200, Tillotson 212) utilize either a 3/4-inch or 1-inch crankshaft output.
- Driver Pulley (Clutch): Comet TAV2 (Part #218353A for 3/4' bore, or #219452A for 1' bore).
- Driven Pulley Assembly: Matching TAV2 jackshaft kit with 3/4' bore.
- Drive Belt: 3/4' Top Width x 30-1/2' Circumference Asymmetric Belt (Gates Powerlink or OEM equivalent).
- Hardware: Grade 8 mounting bolts, 14mm crankshaft bolt, Loctite 242 (Blue), and anti-seize compound.
- Tools: Torque wrench, 24-inch machinist straightedge, feeler gauges, impact wrench (for removal only), and calipers.
Step-by-Step Go Kart Torque Converter Install
Step 1: Engine Prep and Driver Pulley Mounting
Remove the old clutch or broken CVT components. Clean the engine crankshaft with brake cleaner to remove all oil and debris. Slide the new driver pulley onto the crankshaft. It should slide on smoothly without hammering; if it binds, check for burrs on the crank keyway. Install the thick washer and the 14mm crankshaft bolt. Apply a drop of Blue Loctite to the threads and torque the bolt to 35-40 lb-ft (47-54 Nm). Never use an impact wrench to tighten the crank bolt, as this can strip the threads or damage the engine block.
Step 2: Driven Pulley (Jackshaft) Mounting
Mount the driven pulley assembly to your kart's jackshaft bracket. Ensure the bracket is rigid; any flex under load will ruin belt tracking. Torque the jackshaft mounting bolts to 18-22 lb-ft. Leave the pulley set-screws slightly loose for the next critical phase.
Step 3: The Critical Pulley Alignment
This is where 90% of DIY installs fail. The back plate of the driver pulley and the back plate of the driven pulley must be perfectly parallel and inline. Place your 24-inch machinist straightedge against the back (flat) side of both pulleys.
- If the straightedge rocks or shows a gap, your alignment is off.
- Adjust the driven pulley on the jackshaft using spacers or by sliding the pulley laterally until the straightedge sits perfectly flush against both back plates.
- Tolerance must be within 1/32 of an inch. Once aligned, tighten the driven pulley set-screws securely.
For deeper insights into asymmetric pulley geometry and alignment tolerances, refer to the engineering documentation provided by Comet Industries.
Step 4: Belt Installation and Tensioning
Loop the asymmetric belt over the driven pulley first, then stretch it over the driver pulley. The belt should sit deep in the driven pulley sheaves and high on the driver pulley sheaves when the engine is off. There should be roughly 1/4-inch to 3/8-inch of lateral play in the belt on the top span. If the belt is overly tight, it will cause premature bearing wear on the jackshaft and engine crank; if it is too loose, it will slap and glaze upon acceleration.
Testing and Break-In Procedure
Do not immediately take your newly assembled kart to the dunes. A new CVT belt requires a heat-cycling break-in period to seat properly into the sheave angles. According to engine tuners at NR Racing, a proper break-in extends belt life by up to 40%.
- Initial Idle: Start the engine and let it idle for 3 minutes. Verify that the driver pulley is fully disengaged and the kart does not creep forward.
- Cool Down: Let the engine and CVT cool completely to ambient temperature. This completes one heat cycle.
- Re-Torque: After 3 complete heat cycles, re-check the crankshaft bolt and jackshaft set-screws. Thermal expansion and vibration can cause hardware to back out during the initial run.
Final Thoughts on CVT Maintenance
A successfully executed go kart torque converter install transforms a sluggish, single-speed machine into a versatile, torque-multiplying off-road vehicle. By respecting the precise alignment tolerances and utilizing the correct torque specifications, your Comet-style CVT will deliver thousands of miles of reliable, smooth-shifting performance. Keep a spare asymmetric belt in your toolkit, and periodically blow out the CVT cover with compressed air to prevent belt dust from contaminating the engine's air intake.