The GM 6L80E Cooling Conundrum: Why Selection and Flushing Matter
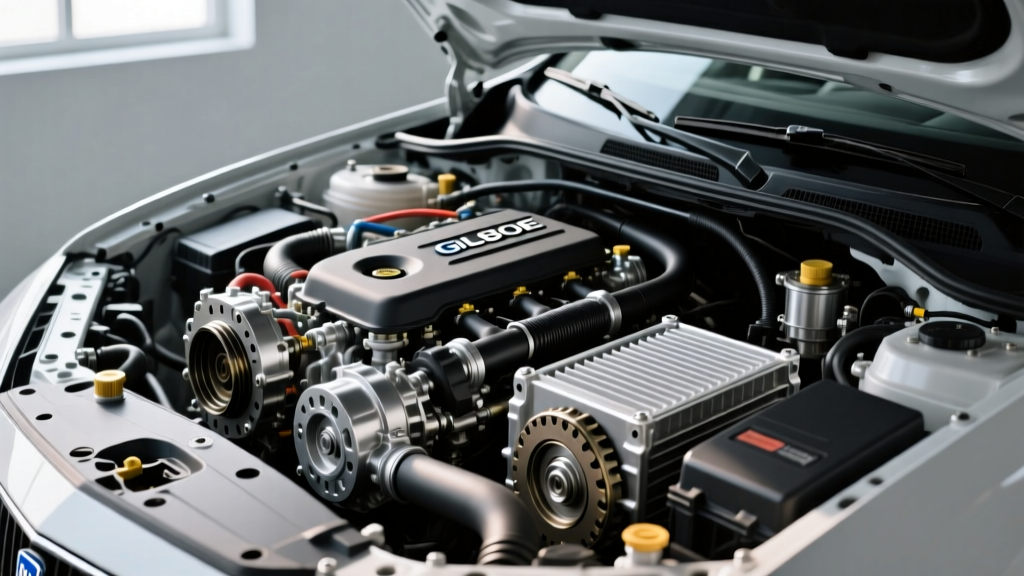
The GM 6L80E (RPO MYC) is a robust six-speed automatic transmission found in millions of Silverado, Sierra, Tahoe, and Yukon models. However, its Achilles heel in heavy-duty and towing applications is thermal management. When the 3-4 clutch wave plate fractures—a notorious failure point on high-mileage 6L80E units—the resulting metallic debris and friction material inevitably migrate into the cooling circuit. If you are rebuilding the transmission or upgrading the cooling system, knowing how to flush a transmission cooler properly is not optional; it is a critical survival step for your new hardware.
In this 2026 model-specific repair guide, we break down the physics of transmission cooler types, help you select the right auxiliary upgrade for your GM truck, and provide a masterclass on flushing the OEM integrated cooler and lines without triggering the 6L80E’s problematic thermal bypass valve.
Understanding Transmission Cooler Types for the 6L80E
Before tearing into the lines, you must select the correct replacement or auxiliary cooler. The OEM setup on most non-max-trailering 6L80E applications relies on a tube-and-fin heat exchanger submerged in the engine radiator's coolant tank. While adequate for commuter driving, it lacks the thermal dissipation required for towing over 5,000 lbs.
OEM Radiator-Integrated (Tube-and-Fin)
Tube-and-fin coolers use a serpentine metal tube with external fins brazed or epoxied to increase surface area. They are cheap to manufacture and offer low flow restriction. However, their thermal transfer efficiency plateaus quickly. Furthermore, if the radiator's internal plastic tank degrades (a common issue on GM trucks past 120,000 miles), coolant can cross-contaminate the transmission fluid, resulting in the dreaded 'strawberry milkshake' that destroys clutch linings.
Auxiliary Stacked-Plate Coolers (The Towing Upgrade)
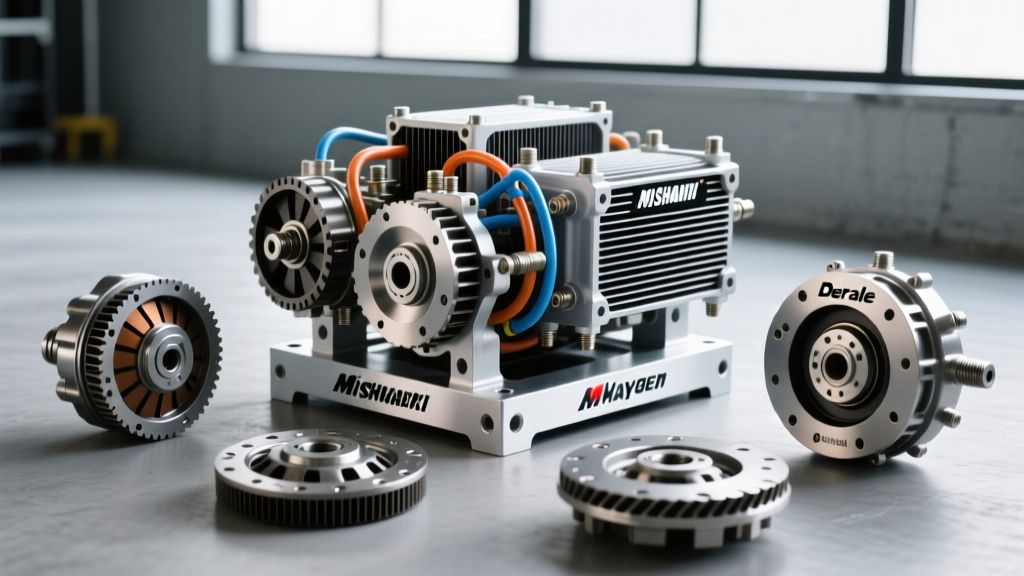
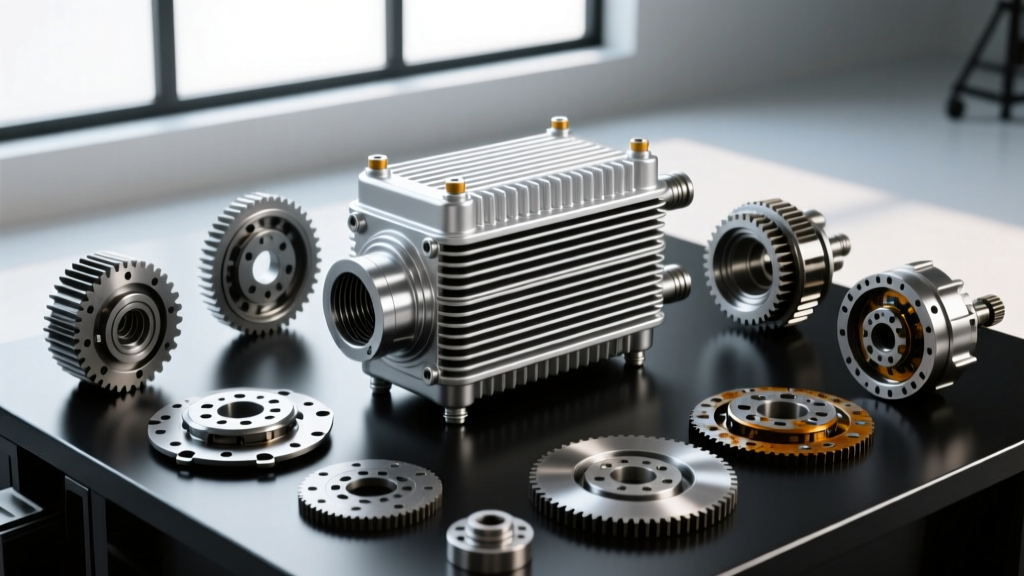
For any 6L80E doing real work, a stacked-plate auxiliary cooler is mandatory. Brands like Hayden Automotive and Derale Performance engineer these coolers using stamped aluminum plates brazed together. The fluid flows through internal turbulators that break up the boundary layer of the fluid, increasing heat transfer by up to 30% over tube-and-fin designs. When selecting a unit, aim for a minimum 20,000 GVW rating (e.g., Hayden 402 Rapid-Cool or Derale 13960 Series 9000) to handle the 6L80E's thermal load.
| Cooler Type | Thermal Efficiency | Pressure Drop (PSI) | Avg. Cost (2026) | Best Application |
|---|---|---|---|---|
| Tube-and-Fin (OEM Style) | Low-Medium | 1.5 - 2.5 PSI | $45 - $85 | Light commuter, stock replacement |
| Plate-and-Fin | Medium-High | 2.5 - 4.0 PSI | $70 - $120 | Mild towing, daily drivers |
| Stacked-Plate (Auxiliary) | Very High | 3.5 - 5.5 PSI | $130 - $260 | Heavy towing, off-road, tuned 6L80Es |
Step-by-Step: How to Flush a Transmission Cooler on the 6L80E
Flushing the 6L80E cooling circuit is uniquely frustrating due to the Thermal Bypass Valve. GM integrated a thermostat into the cooler return line (or transmission case, depending on the exact model year) that restricts flow to the cooler until the fluid reaches approximately 185°F (85°C). If you attempt to flush the system cold, the solvent will bypass the radiator cooler entirely, leaving debris trapped inside.
Tools and Materials Required
- ATRA-approved transmission flush solvent (e.g., Lubegard or CRC Trans-X)
- Shop air compressor regulated to 40-50 PSI (do not exceed 60 PSI to prevent rupturing the radiator tank)
- GM Thermal Bypass Valve deflector tool or removal socket
- Clear vinyl tubing for fluid inspection
- New OEM AC Delco quick-connect retaining clips (Part # 24236521)
Bypassing the 6L80E Thermal Bypass Valve
To properly learn how to flush a transmission cooler on this specific unit, you must defeat the thermostat. Locate the bypass valve on the passenger-side cooler line near the transmission case. Using the specific GM bypass removal tool, extract the valve assembly. For the duration of the flush, you can either leave the valve out and loop the line, or install a dedicated flush-bypass adapter. This forces 100% of the flush solvent through the radiator's integrated heat exchanger.
The Manual Flush Procedure (Solvent and Air)
- Disconnect Lines: Disconnect both the feed and return cooler lines at the transmission case. Use a 22mm backup wrench on the case adapter to prevent twisting the aluminum threads. Torque spec for re-installation is 27 Nm (20 lb-ft).
- Inject Solvent: Attach your clear vinyl hose to the feed line at the transmission (the line going TO the radiator). Fill the hose and the cooler with your chosen solvent. Allow it to dwell for 15 minutes to dissolve varnish and suspend clutch material.
- Air Agitation: Connect your regulated shop air (40 PSI max) to the feed line. Pulse the air in 3-second bursts. You will see violent bubbling and dark fluid exiting the return line into your catch pan.
- Repeat and Verify: Alternate between solvent injection and air pulses until the fluid exiting the return line is completely clear and free of metallic glitter. According to ATRA technical bulletins, a minimum of 3 gallons of solvent/ATF mix is usually required to fully purge a contaminated 6L80E radiator tank.
- Purge Solvent: Finish by blowing compressed air through the lines for 2 full minutes to evacuate residual solvent, which can degrade the friction modifiers in fresh Dexron VI fluid.
Selecting and Installing the Auxiliary Cooler
Once the OEM circuit is verified clean, you must decide on the plumbing routing for your new stacked-plate auxiliary cooler. The golden rule for the 6L80E is to route the transmission fluid OUT of the transmission, INTO the OEM radiator cooler first, and THEN into the auxiliary stacked-plate cooler before returning to the transmission.
Routing and Line Sizing
The 6L80E utilizes 3/8-inch (AN6 equivalent) cooler lines. Do not bottleneck the system by using 5/16-inch hoses or adapters, as this will starve the transmission of lube flow, specifically to the rear planetary and 4-5-6 clutch packs. Use high-temperature synthetic rubber hose rated for 250°F and 200 PSI, secured with constant-tension spring clamps rather than worm-gear clamps, which can slice into the soft rubber over time.
Mounting and Airflow Considerations
Mount the auxiliary cooler in front of the A/C condenser. If space is limited and it must be mounted behind the radiator, you must use a cooler with an integrated 10-inch puller fan (e.g., Derale 13960 with fan kit). Without direct ram-air or mechanical fan assistance, a rear-mounted cooler acts as a heat sink, actually raising transmission temperatures at idle.
Final Fluid Fill and Thermal Cycling
The 6L80E has a total dry capacity of 11.2 quarts, but a standard pan drop and cooler flush will require exactly 6.3 to 7.0 quarts of ACDelco Dexron VI (Part # 10-9395). Do not use generic 'multi-vehicle' ATFs; the 6L80E's precise line-pressure solenoids rely on the exact friction coefficients of true Dexron VI.
After reassembly, reinstall the Thermal Bypass Valve and torque the cooler line fittings to 27 Nm (20 lb-ft). Start the engine, cycle the shifter through all gears while holding the brake, and allow the truck to idle until the transmission fluid temperature (viewed via an OBD2 scanner) reaches 190°F. This ensures the bypass valve opens, seating the quick-connects under full system pressure. Check the fluid level via the side-plug dipstick with the fluid temperature strictly between 86°F and 122°F (30°C - 50°C) to ensure accurate volumetric measurement.
By understanding the distinct advantages of stacked-plate coolers and mastering the thermal-bypass flush procedure, you guarantee your 6L80E will survive the harshest towing conditions well into the future.