The Core Debate: Radiator-Integrated vs. Auxiliary Transmission Coolers
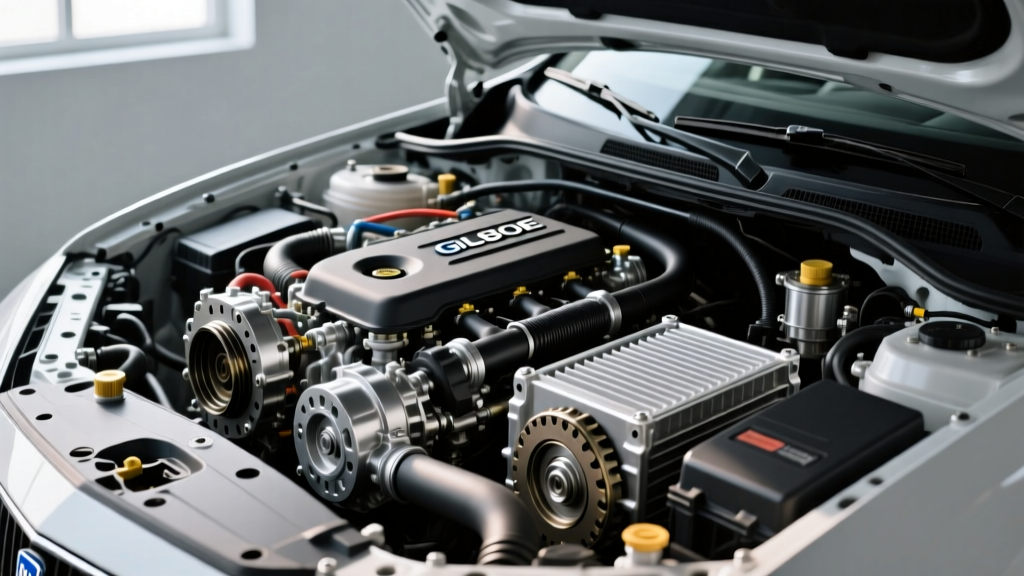
As we navigate the 2026 landscape of heavy-duty towing, overlanding, and fleet maintenance, the GM 6L80E and 6L90E transmissions remain legendary workhorses. However, managing drivetrain thermals is a constant battle, especially when pushing gross combined weight ratings (GCWR) near 15,000 pounds. This brings us to a critical engineering debate: should you rely on the OEM radiator-integrated transmission cooler, or bypass it entirely in favor of a standalone auxiliary transmission cooler?
The factory setup routes hot transmission fluid to a heat exchanger built into the vehicle's radiator. This design is intended to bring the transmission fluid up to operating temperature quickly during cold starts, while also capping peak temperatures during highway driving. However, for vehicles subjected to heavy loads, steep grades, or stop-and-go traffic, the radiator's cooling capacity is often insufficient. Furthermore, integrating the transmission cooler inside the radiator introduces a catastrophic single point of failure. If the internal barrier cracks, coolant and transmission fluid mix, destroying the clutches and torque converter in a matter of miles.
| Feature | Radiator-Integrated Cooler | Standalone Auxiliary Cooler |
|---|---|---|
| Warm-up Time | Excellent (uses engine coolant heat) | Slower (relies on ambient air) |
| Max Cooling Capacity | Limited by radiator size and engine temps | High (dedicated airflow and surface area) |
| Failure Risk | High (coolant/fluid cross-contamination) | Low (isolated system) |
| Installation Complexity | N/A (Factory equipped) | Moderate (requires routing and mounting) |
The GMT900 6L80E Radiator Flaw: Why Bypassing is Mandatory
If you are operating a GMT900 platform (2007-2014 Chevrolet Silverado, GMC Sierra, or Tahoe) equipped with the 6L80E, you are likely familiar with the infamous 'strawberry milkshake' failure. The OEM Delphi and Denso radiators used in these trucks feature a plastic transmission cooler tank that is crimped and epoxied to the aluminum core. Over time, thermal cycling and vibration cause the epoxy to degrade and the plastic to crack. When this happens, engine coolant is forced into the transmission cooler lines under pressure, flooding the 6L80E with water. Water destroys the paper-based friction materials in the clutch packs and compromises the torque converter. Because of this well-documented flaw, deleting the radiator cooler loop and installing a dedicated external cooler is not just an upgrade; it is a mandatory preventative measure for any 6L80E that plans to tow or survive past 150,000 miles.
Decoding Your Transmission Cooler Installation Diagram
Before cutting a single line, you must understand the hydraulic flow path. Consulting a proper transmission cooler installation diagram is critical to ensure you do not reverse the flow, which can cause aeration, pressure drops, and severe transmission damage. The 6L80E features a thermostatic bypass valve located on the transmission case or integrated into the cooler lines. This valve keeps fluid out of the cooler until the fluid reaches approximately 180°F to 190°F.
The universal flow sequence for an auxiliary cooler setup is as follows:
- Step 1: Hot fluid exits the transmission via the OUT port (typically the upper fitting on the transmission case or the line closest to the front of the vehicle).
- Step 2: Fluid travels to the IN port of the auxiliary transmission cooler.
- Step 3: Cooled fluid exits the OUT port of the auxiliary cooler.
- Step 4: Fluid returns to the transmission IN port (lower fitting).
Note: Always verify flow direction by briefly starting the vehicle and observing which line pushes fluid into a catch pan. Never rely solely on color-coded lines, as previous owners or mechanics may have swapped them.
Model-Specific Parts List and Sizing Guide
For a 2011-2015 Silverado 1500 with the 6L80E, you need a cooler rated for at least 24,000 GVW to handle modern towing demands. Plate-and-fin designs offer superior thermal transfer compared to older tube-and-fin models.
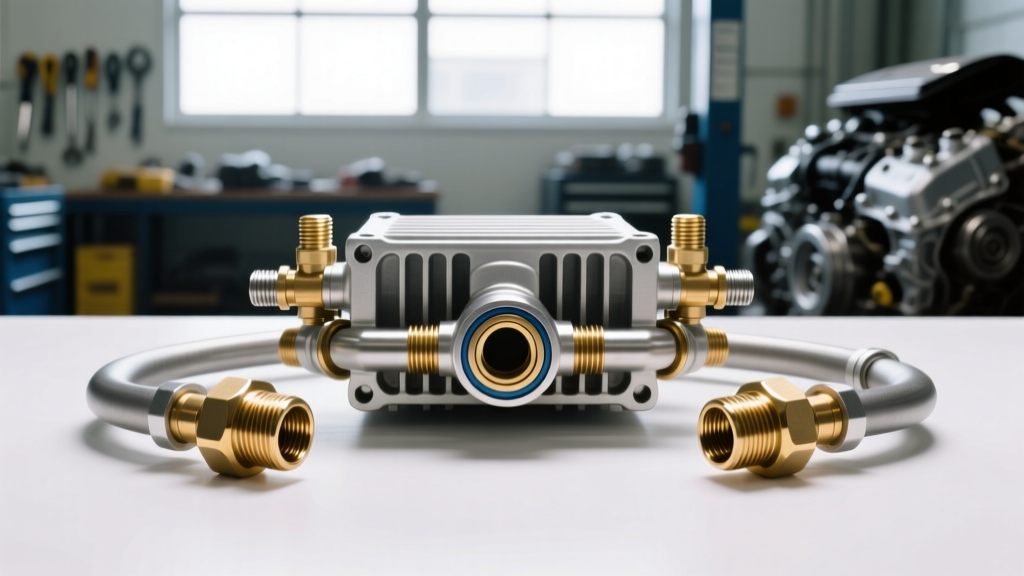
- Cooler: Hayden 679 Rapid-Cool Plate-and-Fin (Approx. $65 - $85) or Derale 15800 Series 8000 (Approx. $70 - $90).
- Fittings: Dorman 800-408 5/8-inch Quick Disconnect fittings (Approx. $12/pair). The GM 6L80E uses 5/8-18 UNF inverted flare or quick-disconnect clips depending on the exact year and RPO code.
- Hose: 10 feet of 5/8-inch ID transmission cooler rated rubber hose (SAE J1532 standard). Do not use standard fuel or oil line; ATF will degrade it.
- Clamps: Stainless steel constant-tension hose clamps.
- Fluid: ACDelco Dexron VI (Part # 10-9395). You will need 2 to 3 quarts to account for the new cooler and lines.
Step-by-Step Auxiliary Cooler Installation
Phase 1: Radiator Bypass and Line Fabrication
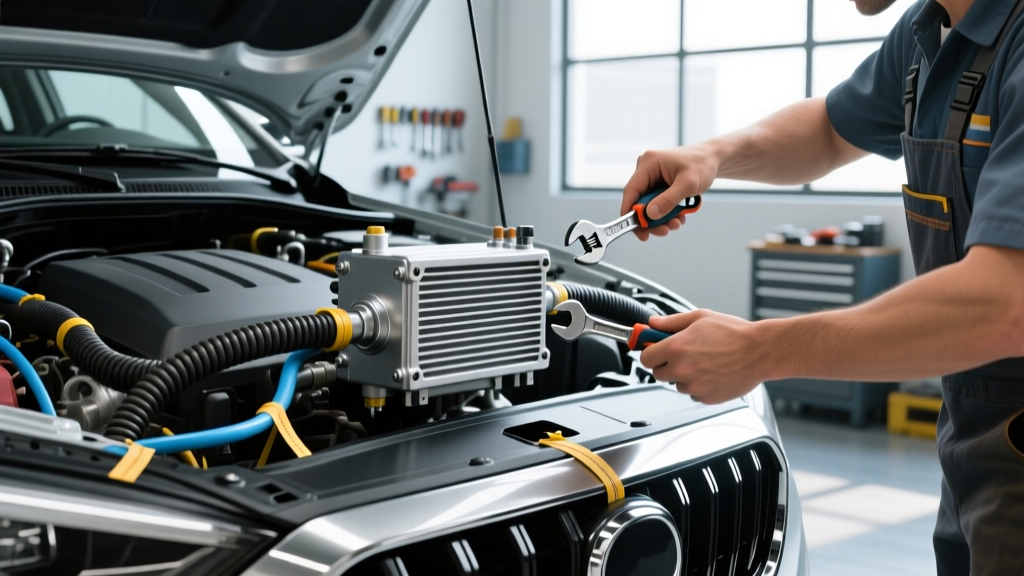
Begin by draining the coolant system and removing the radiator to replace it with a coolant-only unit (such as the Denso 221-3410), or simply cap the radiator transmission ports if you are retaining the stock radiator but bypassing the cooler loop. Capping requires specific brass block-off plugs with 5/8-18 UNF threads. If you are removing the radiator entirely, ensure you install a standalone engine oil cooler if your model relies on the radiator for oil cooling.
Locate the factory transmission lines. Using a tubing cutter, sever the lines near the transmission. Install the Dorman 800-408 quick-disconnect adapters onto the factory hard lines. Use a line wrench to tighten the 5/8-18 UNF fittings to exactly 18 lb-ft. Over-torquing will strip the aluminum threads on the transmission case, resulting in a costly case replacement.
Phase 2: Mounting the Cooler
Mount the Hayden 679 or Derale 15800 directly in front of the A/C condenser. If space is limited, it can be mounted in front of the radiator but behind the condenser, though this reduces cooling efficiency by roughly 15%. Use the provided zip-tie mounting rods, pushing them through the condenser fins carefully to avoid puncturing the A/C tubes. Secure the cooler with the foam pads to prevent vibration-induced fatigue cracking on the aluminum brackets. The mounting hardware should be snugged to 35 in-lbs; do not overtighten, as the mounting tabs are easily bent.
Phase 3: Routing and Securing
Route the new 5/8-inch hose from the transmission OUT port to the cooler IN port. Keep all hoses at least 4 inches away from exhaust manifolds, catalytic converters, and steering shafts. Use nylon split-loom tubing and high-temperature silicone tape to protect hoses near the exhaust. Secure the lines every 8 to 10 inches using UV-resistant zip ties or rubber-cushioned Adel clamps bolted to existing frame holes. Slide the constant-tension hose clamps over the ends, seat the hose fully onto the barbed fittings, and tighten the clamps to 35 in-lbs.
Flushing, Refilling, and Thermal Testing
Once the physical installation is complete, the 6L80E must be filled with the correct fluid. The total dry-fill capacity of the 6L80E is 11.2 quarts, but a standard pan drop and cooler install will require roughly 6.5 to 8 quarts of ACDelco Dexron VI. Fill the transmission through the dipstick tube until fluid begins to weep from the side-fill plug (located just above the pan rail on the passenger side). The side-fill plug requires an 8mm hex bit and should be torqued to 15 lb-ft upon reinstallation.
Start the engine and cycle the shifter through all gears (P-R-N-D-L), pausing for three seconds in each position. This actuates the valve body and fills the torque converter and the new cooler circuit. Check the fluid level with the engine idling and the transmission fluid temperature between 86°F and 122°F (verified via an OBD2 scanner reading the TFT PID). The fluid level should be at the bottom of the crosshatch mark on the dipstick when cold, and at the top when fully hot.
For the ultimate validation, hook up a bi-directional scan tool and monitor the Transmission Fluid Temperature (TFT) sensor while towing a 5,000 lb trailer up a 6% grade. According to Hayden Automotive Tech Tips, the optimal operating window for modern synthetic Dexron VI is between 160°F and 180°F. If your auxiliary cooler is sized correctly and the thermostatic bypass is functioning, your temperatures should rarely exceed 195°F, even in extreme summer ambient conditions. For further community-verified towing data and thermal logs, the GM-Trucks.com Community Archives offer extensive real-world dyno and towing tests confirming that bypassing the radiator loop on the 6L80E consistently drops peak towing temperatures by 20°F to 35°F, drastically extending the lifespan of the 3-5-R clutch pack and the torque converter clutch (TCC) lining.
Expert Tip: Never install an auxiliary cooler AFTER the radiator if you are retaining the radiator loop. Always plumb the auxiliary cooler in series BEFORE the radiator return, or bypass the radiator entirely. Plumbing it after the radiator means you are feeding already-heated coolant-loop fluid into your auxiliary cooler, defeating its purpose.