The 6L80 TCC Shudder Epidemic: Diagnosis First
The GM 6L80 and 6L90 six-speed automatic transmissions are legendary for their torque capacity, powering everything from Silverado 2500HD trucks to C7 Corvette Stingrays. However, as these units age well past their factory warranties in 2026, they have developed a notorious reputation for Torque Converter Clutch (TCC) shudder, slip codes (P0741), and stuck-on codes (P0742). Before executing any torque converter replacement procedures, accurate diagnosis is mandatory. TCC shudder is rarely just a mechanical failure of the converter itself; it is frequently a hydraulic issue originating in the valve body.
Specifically, the TCC control valve bore in the 6L80 aluminum valve body wears out due to constant oscillation. This wear allows apply fluid to leak, preventing the TCC from achieving full lockup. The resulting micro-slip causes the friction material inside the torque converter to overheat, glaze, and eventually delaminate. According to hydraulic testing data from Sonnax, installing a heavy-duty TCC control valve kit (such as part number 104740-01K) is often required simultaneously with the converter replacement to prevent immediate failure of the new unit.
Decision Matrix: Rebuilding vs. Remanufactured Replacement
When fleet managers, independent shops, and advanced DIY mechanics weigh the economics of rebuilding a torque converter versus dropping in a remanufactured unit, several variables come into play. While a full in-house rebuild requires specialized machinery, sourcing a custom-rebuilt unit from a specialist is a common route for high-performance or heavy-duty applications.
| Factor | Remanufactured Replacement (e.g., ACDelco) | Specialist Rebuilding a Torque Converter |
|---|---|---|
| Average Cost (2026) | $450 - $750 | $600 - $1,200+ |
| Core Charge | $100 - $150 (Refundable) | Usually None (You keep your core) |
| Friction Material | Upgradable to High-Energy Billet/Multi-Disc | |
| Stator Upgrades | Stock OEM Stall Speed | Custom Stall (e.g., 2200-2800 RPM) |
| Turnaround Time | Immediate (Over-the-counter) | 3 to 7 Business Days |
| Best Application | Daily drivers, stock towing, fleet repairs | Modified engines, heavy sled pulling, racing |
Inside the Shell: The Reality of the Rebuild Process
Understanding the intricate process of rebuilding a torque converter is essential for transmission technicians to properly evaluate the units they install. You cannot rebuild a modern lockup torque converter on a standard workbench. The process requires a specialized TC lathe, a precision welder, and a dynamic balancing machine.
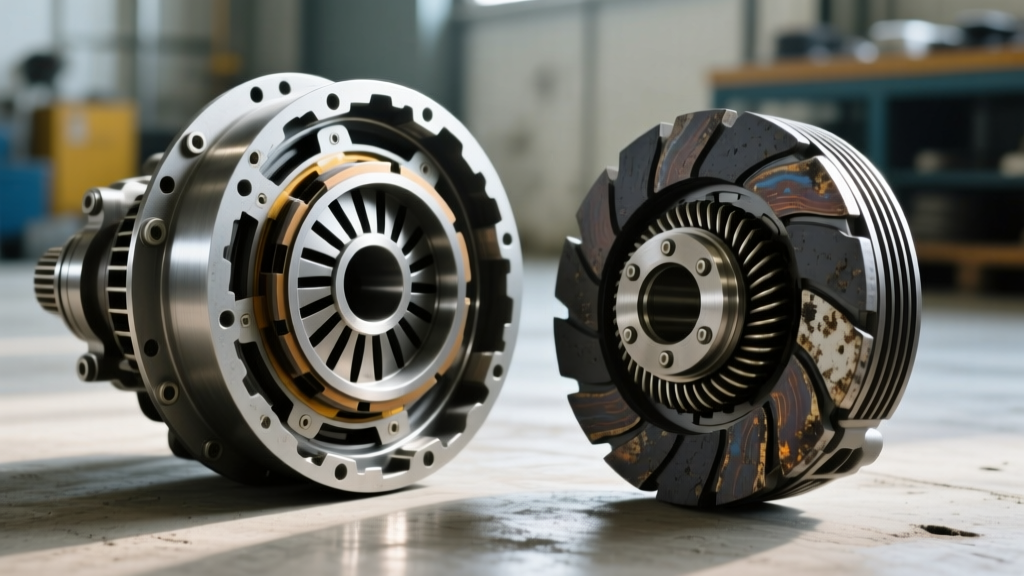
According to guidelines published by the Automatic Transmission Rebuilders Association (ATRA), a proper rebuild involves mounting the converter on a lathe and cutting the outer seam to separate the front cover from the impeller. Once opened, the technician inspects the stator one-way clutch, replaces the internal thrust washers, and removes the worn TCC friction disc. For heavy-duty 6L80 applications, rebuilders often machine the front cover to accept a billet steel TCC piston and install a high-energy friction lining that resists the aggressive apply pressures commanded by the Transmission Control Module (TCM). After welding the halves back together, the unit must be dynamically balanced to within 0.020 oz-in at 3000 RPM to prevent catastrophic transmission pump bushing failure.
Pre-Teardown & Cooler Flushing Protocols
Pro-Tip: Never install a new or rebuilt torque converter without verifying the transmission cooler flow rate. A restricted cooler will starve the TCC of apply fluid, causing the new converter to burn up in under 500 miles.
Before removing the transmission, disconnect the cooler return line at the transmission and run it into a calibrated bucket. Start the engine and let it idle for exactly 15 seconds. The 6L80 transmission pump should push a minimum of 1 quart (32 oz) of fluid in 15 seconds at idle. If the flow is inadequate, the radiator-integrated cooler or the auxiliary Magnefine inline filter is restricted and must be replaced. Furthermore, because delaminating TCC material contaminates the entire hydraulic circuit, a hot flush using a pressurized machine is mandatory. If a flush machine is unavailable, dropping the pan, replacing the internal filter (ACDelco TF938), and performing three consecutive drain-and-fills is the minimum acceptable standard.
6L80 Torque Converter Replacement Procedures: Removal
Executing the physical swap requires strict adherence to safety and sequencing. The 6L80 is a heavy unit, often weighing over 230 lbs dry, necessitating a high-capacity transmission jack.
- Prep & Drain: Remove the transmission pan and drain the fluid. Remove the filter to prevent it from falling out during the tilt.
- Driveline Disconnect: Mark the rear driveshaft and pinion flange for alignment. Remove the 4 rear U-bolt nuts (12mm/13mm depending on axle) and slide the driveshaft back. Plug the tailhousing to prevent fluid loss.
- Electrical & Linkage: Disconnect the main 20-way electrical connector, the shift cable, and the transfer case adapter wiring (if 4WD).
- Support & Lower: Support the engine with a fixture across the bay. Support the transmission crossmember, remove the two 15mm crossmember-to-frame nuts (torque spec: 70 lb-ft), and lower the jack slightly to access the top bellhousing bolts.
- TC Separation: Remove the inspection cover. Rotate the crankshaft clockwise using a flywheel turning tool to access the six torque converter-to-flexplate bolts. Never rotate the engine counter-clockwise, as this can loosen the crank bolt. Push the TC fully rearward into the bellhousing before separating the transmission from the engine block.
Critical Installation Torque Specs & Clearances
When mating the new or rebuilt torque converter to the 6L80 transmission, you must verify that it is fully seated. The TC must engage the transmission input shaft, the stator support, and finally the transmission oil pump gear. You will feel three distinct "clunks" or drops. If the TC is not fully seated, tightening the bellhousing will crush the oil pump, resulting in immediate no-drive conditions upon startup.
Once the transmission is bolted to the engine, measure the clearance between the torque converter mounting pads and the flexplate. The ideal gap is between 0.125" (1/8 inch) and 0.250" (1/4 inch). If there is zero gap, the TC is bottoming out on the crankshaft pilot, which will destroy the engine thrust bearing. If the gap exceeds 0.375", the TC bolts will distort the front cover when tightened, leading to internal leaks.
Essential GM 6L80 Torque Specifications
- Bellhousing to Engine Block (M12 bolts): 37 lb-ft (50 Nm)
- Torque Converter to Flexplate (M8 bolts): 35 lb-ft (47 Nm)
- Torque Converter to Flexplate (M10 bolts - Heavy Duty): 46 lb-ft (62 Nm)
- Transmission Crossmember to Frame: 70 lb-ft (95 Nm)
- Transmission Pan Bolts (M6): 106 lb-in (12 Nm) - Do not over-torque, or you will strip the aluminum casing.
Fluid Fill, TCC Relearn, and Adaptation
The 6L80 requires ACDelco Dexron VI automatic transmission fluid. Total system capacity is approximately 11.2 quarts, but a standard pan drop and torque converter replacement will only require about 6 to 7 quarts initially. Fill through the dipstick tube or the side-fill plug (if equipped on later models) until fluid drips from the level-check plug on the transmission pan with the fluid temperature between 86°F and 122°F (30°C - 50°C).
Once the fluid level is verified, the final and most critical step in the torque converter replacement procedures is the TCC Relearn. The 6L80 TCM adapts its apply pressure based on the friction characteristics of the clutch material. Using a bi-directional scan tool (such as GM GDS2, Snap-on Zeus, or Autel MaxiSys), navigate to the Transmission Special Functions and execute the "TCC Relearn" procedure. This typically requires driving the vehicle on a flat road at a steady 45 to 60 mph in 5th or 6th gear, maintaining light throttle (10-15%) while the scan tool monitors TCC slip. The relearn is complete when the TCC slip speed consistently drops below 20 RPM and the apply pressure stabilizes. Skipping this software adaptation will result in harsh lockup engagements and premature wear on your newly installed hardware.