The Physics of Matching HP to Torque Converter Stall on the GM 6L80
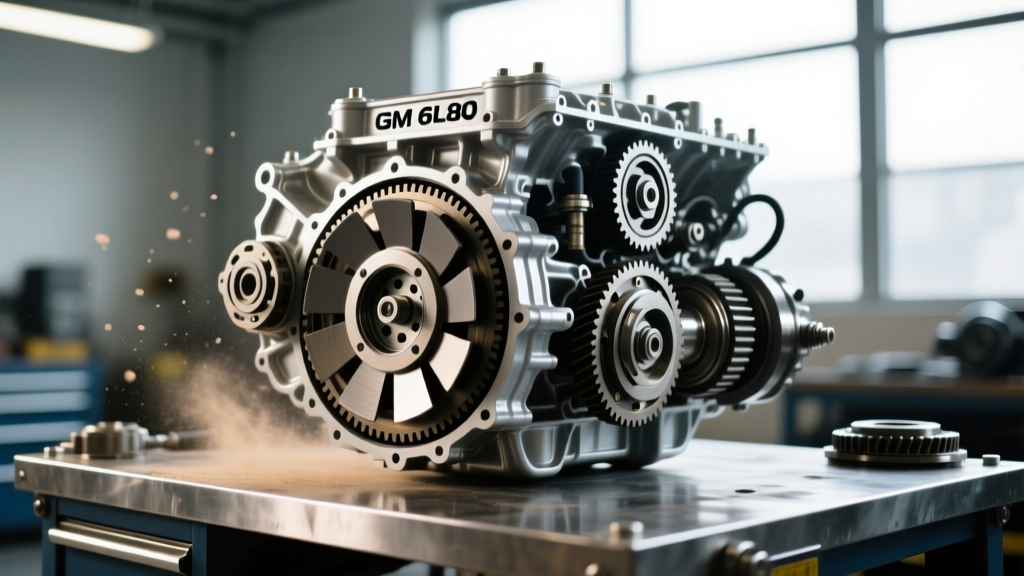
The GM 6L80 (RPO MYC/MYD) is a legendary six-speed automatic transmission found in everything from the C6 Corvette to the Silverado 1500. However, when enthusiasts begin modifying the 6.2L L9H, LS3, or LT1 engines to produce north of 450 horsepower, the factory torque converter becomes the weakest link in the drivetrain. Understanding how to properly match engine hp to torque converter stall speed and clutch capacity is the difference between a reliable street/strip machine and a transmission that destroys its friction linings in a single weekend.
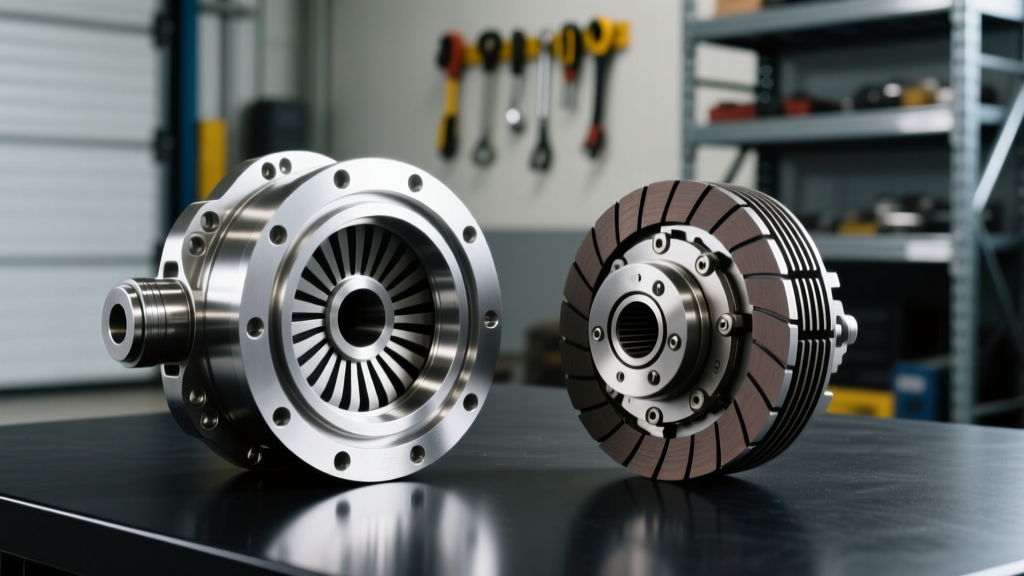
A stock 6L80 torque converter features a single-disc or specialized woven carbon torque converter clutch (TCC) designed to slip slightly during apply, managed by a Pulse Width Modulated (PWM) solenoid. When you introduce forced induction, nitrous, or aggressive cam profiles, the engine's torque curve shifts. If the stall speed is too low for the new camshaft, the engine will bog. If the TCC lining isn't upgraded to handle the increased torque multiplication, the clutch will micro-slip, generating catastrophic heat and glazing the apply surface. Upgrading the converter requires a precise removal and installation procedure to protect the fragile front pump and stator support tube.
Diagnostic Prep: Confirming TCC Failure Before Replacement
Before dropping the transmission, verify that the issue isn't simply a faulty Variable Force Solenoid (VFS) or a worn valve body bore. Common 6L80 TCC shudder often mimics mechanical failure but can sometimes be resolved with a Sonnax TCC regulator valve upgrade or a simple fluid flush. However, if your bidirectional scanner shows TCC slip RPMs exceeding 50-70 RPM under steady-state highway cruising, or if you find heavy metallic debris and friction material in the pan, mechanical replacement is mandatory.
Technician's Note: Always inspect the transmission fluid cooler lines and the radiator-integrated cooler. The 6L80 is notorious for internal cooler failures that allow coolant to mix with Dexron VI fluid, creating a strawberry-milkshake emulsion that destroys the TCC lining and clutch packs in under 500 miles.
6L80 Drivetrain Separation and Transmission Drop
Replacing the torque converter requires removing the transmission from the vehicle. For RWD applications (like the Camaro or Corvette), this involves dropping the exhaust, driveshaft, and crossmember. For 4WD trucks (Silverado/Sierra), the transfer case must be unbolted and supported or removed entirely.
Step-by-Step Removal Protocol
- Safety & Prep: Disconnect the battery and support the engine from above using an engine support bar. The 6L80 bellhousing is a structural component; removing it without engine support will stress the motor mounts and exhaust headers.
- Flexplate Access: Remove the six torque converter-to-flexplate bolts through the inspection cover. Critical: Use a flywheel holding tool to prevent the engine from rotating. Do not pry against the flexplate ring gear.
- Electrical & Hydraulic Disconnects: Unplug the 20-way main transmission connector, the output speed sensor, and the shift solenoid harness. Disconnect the cooler lines at the transmission case to prevent bending the hard lines.
- Bellhousing Separation: Support the transmission with a jack. Remove the bellhousing bolts (note the varying lengths and their specific locations). Carefully slide the transmission straight back. Never let the weight of the transmission hang on the torque converter hub, as this will instantly crack the front pump housing or warp the stator support tube.
Converter Extraction and Flexplate Inspection
Once the 6L80 is on the bench, pull the torque converter straight out of the bellhousing. You will likely lose 2 to 3 quarts of fluid. Before installing a new unit, you must inspect the flexplate and the stator support tube.
Measure the flexplate runout using a dial indicator mounted to the engine block. GM specifications dictate a maximum runout of 0.012 inches. If the flexplate is warped beyond this spec, the new torque converter will experience cyclic loading on the pump drive hub, leading to premature front pump bushing failure. Additionally, inspect the stator support tube (the shaft the converter hub slides over). If you feel deep grooves or scoring where the converter bushing rides, the support tube must be replaced, or the new converter will leak TCC apply pressure directly back to the pan.
Pre-Lube, Installation, and the Depth Measurement
Dry-starting a torque converter is a death sentence for the transmission front pump. Before installation, pour at least 2 quarts of genuine GM Dexron VI into the new converter. Rotate the hub by hand to distribute the fluid into the stator and turbine fins.
When sliding the new converter into the 6L80 bellhousing, you must pass through three distinct engagements:
- The transmission input shaft splines.
- The stator support tube.
- The front pump drive gear.
The Depth Check: Once fully seated, place a straight edge across the machined face of the bellhousing. Measure the distance from the straight edge to the converter mounting pads. This measurement must be between 1.00 and 1.25 inches. If the converter sits flush or protrudes, it is not fully engaged in the front pump. Forcing the transmission to the engine block in this state will shatter the pump gear and destroy the transmission upon initial startup.
6L80 Torque Specifications and Fluid Data
Adhering to exact torque specs is vital for maintaining drivetrain harmony and preventing fastener fatigue under high-horsepower loads.
| Component / Fastener | Specification (Imperial) | Specification (Metric) | Notes |
|---|---|---|---|
| Converter to Flexplate Bolts | 35 - 45 lb-ft | 47 - 61 Nm | Apply medium threadlocker; use new OEM bolts. |
| Bellhousing to Engine Block | 37 lb-ft | 50 Nm | Verify varying bolt lengths per GM service manual. |
| Transmission Crossmember | 52 lb-ft | 70 Nm | Check mount rubber for dry rot. |
| Total System Fluid Capacity | 11.2 Quarts | 10.6 Liters | Dexron VI Only. Dry fill requires approx. 7 quarts. |
| TCC Apply Pressure (Max) | 145 - 165 PSI | 10 - 11.4 Bar | Varies based on VFS solenoid command & HP load. |
Cost Breakdown: OEM vs. High-Performance Upgrades
When matching hp to torque converter requirements, your budget will dictate your parts sourcing. For a stock replacement on a daily-driven Silverado, an OEM GM converter (Part #24253110 or updated revision) typically costs between $450 and $650. However, if you are pushing 500+ HP, you must step up to a billet-cover, multi-disc aftermarket unit from manufacturers like Circle D Specialties or Vigilante. These high-stall, high-clamp-load converters range from $900 to $1,400.
Labor for a 6L80 R&R (Remove and Replace) generally books at 6.5 to 8.5 hours. At an average independent shop rate of $130-$160 per hour, expect to pay between $850 and $1,360 in labor. Always factor in $100 for a new transmission filter, pan gasket, and 8 quarts of Dexron VI fluid.
Post-Installation TCC Relearn and Adaptation
The 6L80 is a fully adaptive transmission. The Transmission Control Module (TCM) learns the volume and pressure required to apply the TCC smoothly based on the wear characteristics of the old converter. If you install a new converter and immediately drive the vehicle without performing a TCC Relearn, the TCM will apply the new clutch with the aggressive pressure maps meant for a worn, slipping clutch. This results in harsh, banging engagements and can instantly crack the new TCC friction material.
Using a bidirectional OBD-II scanner (such as an Autel MaxiSys or Snap-on Zeus), navigate to the Transmission Special Functions menu. Execute the 'TCC Relearn' or 'Fast Adapt' procedure. This resets the apply volume counters. Following the electronic reset, perform the physical drive cycle: drive the vehicle at 45-55 mph in 5th and 6th gears, applying light throttle to allow the TCM to map the new slip curves. According to ATRA technical bulletins, failing to perform this adaptation is the number one cause of premature TCC failure on newly rebuilt or replaced GM 6-speed units.
Final Thoughts on Drivetrain Synergy
Upgrading your GM 6L80 torque converter is not just about bolting in a new part; it is about recalibrating the entire drivetrain to handle your engine's specific power band. By respecting the depth measurements, verifying flexplate runout, and executing proper TCM adaptations, you ensure that your horsepower is effectively translated to the pavement without sacrificing the longevity of your transmission.