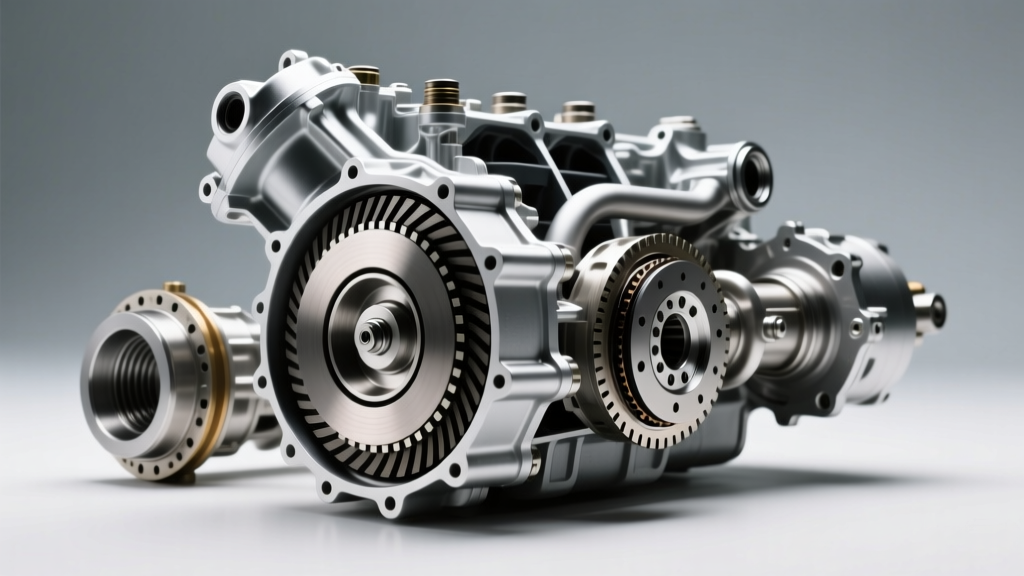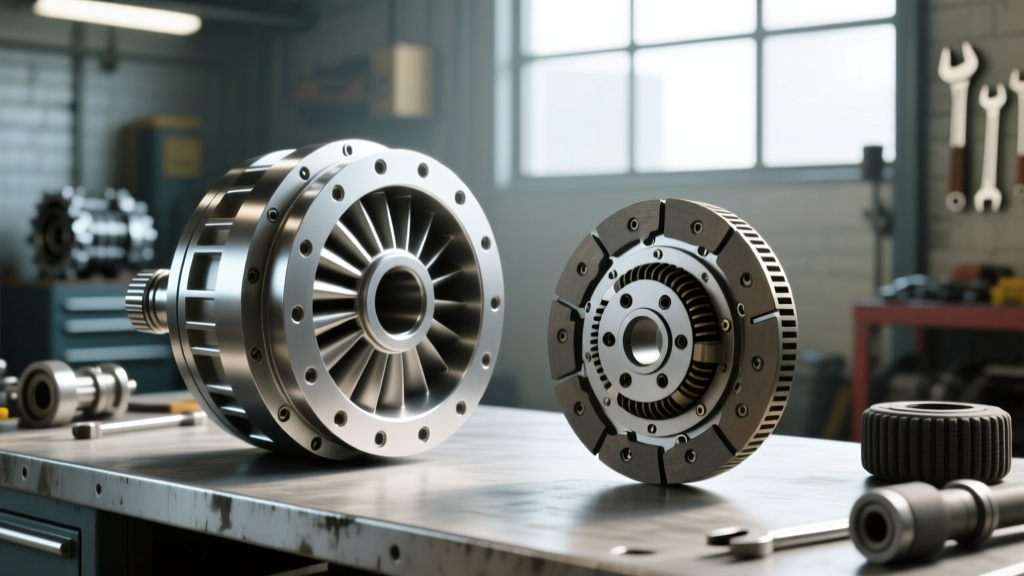
Introduction to the GM 6L80 Torque Converter
The GM 6L80 and 6L90 transmissions are engineering marvels that have powered millions of Silverados, Tahoes, Camaros, and Corvettes since their introduction. However, as these units accumulate mileage, the torque converter clutch (TCC) friction lining inevitably degrades. If you are experiencing classic torque converter problem symptoms—such as highway speed shudder, erratic slip RPMs, or P0741/P0742 diagnostic trouble codes—a targeted replacement procedure is mandatory. This model-specific repair guide details the exact teardown, replacement, and relearn protocols required to restore your 6L80 to factory performance without causing secondary damage to the transmission.
Verifying Torque Converter Problem Symptoms Before Teardown
Before dropping the transmission, you must confirm that your torque converter problem symptoms are not actually stemming from a failing valve body, a restricted cooler circuit, or a faulty TCC PWM solenoid. Connect a bi-directional scan tool (like GM’s GDS2 or an advanced aftermarket tablet) and monitor the 'TCC Slip Speed' PID during steady-state highway cruising in 6th gear.
- Healthy TCC Operation: A healthy 6L80 torque converter will exhibit a steady slip of 10 to 20 RPM when the TCC is commanded fully ON.
- Friction Material Failure: If the slip oscillates wildly between 0 and 150 RPM, or consistently reads above 50 RPM, the converter's internal friction material has glaze-failed or detached.
- Stator Clutch Failure: Perform a stall test (safely, in a controlled environment). If the stall speed is significantly below the factory 1,800–2,000 RPM specification, the internal stator one-way clutch has failed and is dragging.
For a comprehensive breakdown of hydraulic wear patterns that mimic TCC failure, refer to the Sonnax Technical Resources library, which provides invaluable valve body diagnostic flowcharts for the 6L80 series.
Required Parts and Tooling for the Job
Using the correct components is non-negotiable for a lasting repair. The OEM ACDelco torque converter (Part #24276344) is the standard replacement, but for heavy-duty truck applications or modified engines, upgrading to a billet-cover aftermarket unit prevents flexplate cracking and cover ballooning under high torque loads.
You will also need 10 to 12 quarts of genuine ACDelco Dexron VI (Part #10-9243). Do not use generic 'multi-vehicle' fluids; the 6L80's precise TCC apply hydraulics demand the exact friction modifiers found in Dexron VI, as outlined in the ACDelco Automatic Transmission Fluid Specifications. Furthermore, procure a Sonnax TCC Apply Valve Kit (77892E-04K) to install in the oil pump during reassembly. Worn pump valves are a leading root cause of repeat TCC shudder, and replacing this valve while the transmission is out is a critical E-E-A-T best practice.
Step-by-Step 6L80 Torque Converter Replacement Procedure
1. Transmission Removal and Converter Extraction
Drain the transmission pan and remove the crossmember, driveshaft, and shift linkage. Support the transmission with a jack equipped with a wide transmission pan adapter. Unbolt the bellhousing from the engine block. Critical Warning: Before pulling the transmission back, you must remove the six flexplate-to-torque converter bolts (15mm) through the lower inspection cover. Never use the transmission jack to force the unit away from the engine block while the bolts are attached; doing so will shatter the fragile aluminum transmission oil pump housing.
2. The Critical Cooler Flush
This is where most general repair shops fail. The 6L80 torque converter sheds microscopic friction material and metallic debris into the cooler circuit. If you do not perform a pressurized machine flush, the new converter will ingest this debris, destroying the new TCC lining within 5,000 miles. Flush the cooler lines in reverse flow until the fluid runs perfectly clear.
Pro-Tip: Inspect the thermal bypass valve located in the cooler line fitting on the transmission case. These valves frequently stick closed when cold, starving the new converter of lubrication and causing premature overheating. Many transmission specialists recommend deleting the thermal bypass valve or replacing the entire fitting with a fixed-orifice delete plug to ensure constant cooler flow.
3. The 3-Stage Seating Process
Installing the new torque converter into the 6L80 transmission requires a precise 3-stage seating process. If the converter is not fully seated, it will crush the oil pump gear upon bellhousing tightening, resulting in catastrophic, immediate failure.
- Stage 1 (Pump Gear): Slide the converter hub into the transmission. You will feel the first 'clunk' as the hub flats engage the inner oil pump gear.
- Stage 2 (Stator Support): Push inward and rotate slightly. You will feel the second 'clunk' as the converter slides over the stator support shaft.
- Stage 3 (Turbine Spline): Push inward one final time while rotating. The third 'clunk' indicates the turbine splines have fully engaged the transmission input shaft.
4. Depth Measurement and Bellhousing Installation
Once fully seated, lay a straight edge across the bellhousing mating surface. Use a dial caliper or depth micrometer to measure the distance from the straight edge to the torque converter mounting pads. On a 6L80, the converter must sit 0.500' to 0.750' (12.7mm to 19mm) below the bellhousing face. If it is flush or protruding, it is NOT seated. Pull it out and repeat the 3-stage process. Only proceed to mate the transmission to the engine block once this depth is verified.
Essential 6L80 Torque Specifications and Fluid Data
| Component / Fastener | Torque Specification | Notes |
|---|---|---|
| Flexplate to Torque Converter Bolts (M10x1.5) | 35 lb-ft (47 Nm) | Apply blue threadlocker; use new OEM bolts. |
| Transmission to Engine Block (Bellhousing) | 37 lb-ft (50 Nm) | Tighten in a crisscross pattern. |
| Transmission Crossmember to Frame | 70 lb-ft (95 Nm) | |
| Transmission Pan Bolts (8mm) | 106 lb-in (12 Nm) | Do not overtighten; aluminum threads strip easily. |
| Fluid Capacity (Pan Drop & TC Swap) | 8.5 - 9.5 Quarts | Verify via dipstick at 140°F (60°C). |
Post-Installation: TCC Adaptive Relearn and Road Test
The 6L80 Transmission Control Module (TCM) adapts to the friction characteristics of the old, worn-out converter. If you install a new converter without resetting the adaptives, the TCM will apply the TCC with the same aggressive, high-pressure mapping it used for the slipping unit, causing immediate shudder on the new part.
Using GDS2 or a high-end bi-directional scanner, navigate to the TCM module and execute the 'Fast Adapt' or 'TCC Adaptive Reset' function. Follow this with a specific road test: drive the vehicle until the transmission fluid reaches 140°F (60°C), then perform 15 to 20 steady-state TCC apply and release cycles in 5th and 6th gears at light throttle (10-15% TPS). This allows the TCM to accurately map the friction coefficient of the new material. For further industry-standard rebuilding protocols, consult the Automatic Transmission Rebuilders Association (ATRA) technical bulletins.
Common Post-Replacement Pitfalls to Avoid
- Ignoring the Pump Valve: Failing to install the Sonnax TCC apply valve kit in the oil pump will result in low TCC apply pressure, leading to a P0741 code within the first 100 miles.
- Skipping the Flush: Leaving old, contaminated fluid in the radiator cooler will circulate clutch debris directly into the new converter's apply circuit.
- Using the Wrong Fluid: Dexron III or generic synthetic blends lack the specific friction modifiers required for the 6L80's woven carbon-fiber TCC lining, guaranteeing a shudder complaint from the customer.
- Forcing the Bellhousing: If the transmission will not seat flush against the engine block, the torque converter is hung up on the flexplate or not fully seated. Using bellhousing bolts to 'pull' the transmission to the block will snap the pump ears off the case.