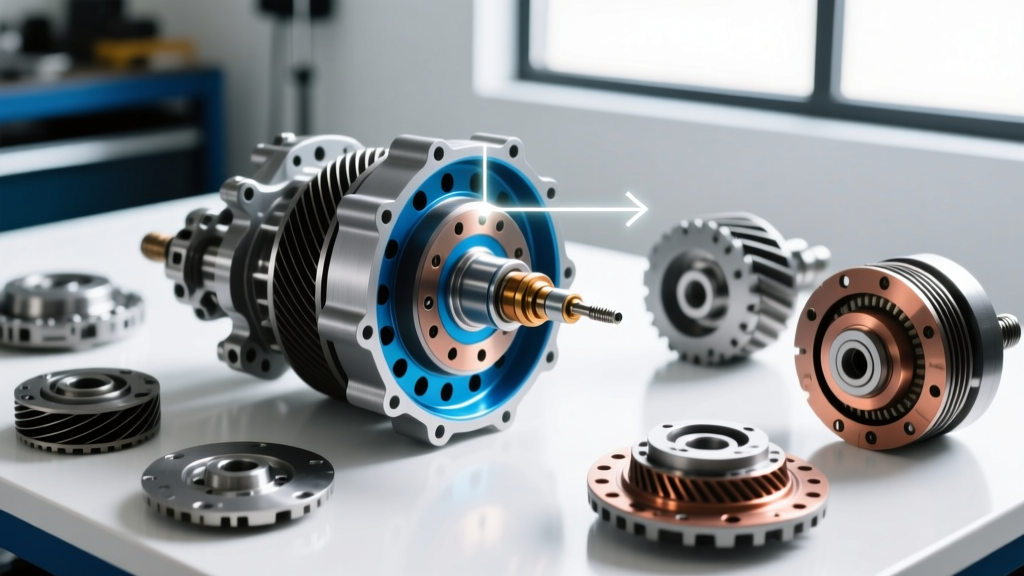
The 6L80 TCC Shudder: Why You Are Searching for Repair Costs
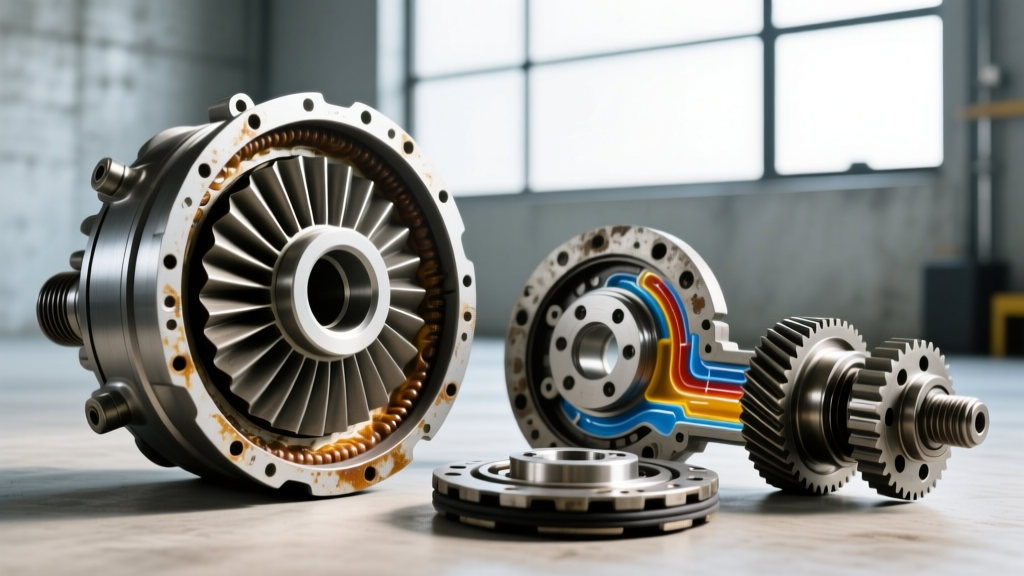
When your Silverado, Sierra, or Tahoe starts shuddering between 40 and 60 mph and throws a P0741 (Torque Converter Clutch System Performance) or P0742 (Torque Converter Clutch Circuit Stuck On) code, the culprit is almost always the torque converter. The GM 6L80 and 6L90 transmissions are notorious for TCC lining delamination and solenoid fatigue. Naturally, your first instinct is to search for the torque converter replacement cost near me. However, local dealership quotes for this specific repair can easily exceed $3,500, leaving many truck owners wondering if a DIY driveway swap is viable.
As transmission specialists, we have compiled this comprehensive 2026 model-specific repair guide for the GM 6L80. We will break down the exact OEM part numbers, critical depth measurements, torque specifications, and the real-world cost differences between professional shops and a DIY approach.
Cost Breakdown: Dealership vs. Independent vs. DIY
The phrase 'torque converter replacement cost near me' yields wildly different results depending on who you call. Below is a realistic pricing matrix for a 2015-2020 GM 1500 Series truck equipped with the 6L80E transmission.
| Repair Route | Estimated Cost (2026) | Parts Used | Labor Time & Rate |
|---|---|---|---|
| Dealership | $3,200 - $4,100 | OEM GM / ACDelco | 9.5 Hours @ $165+/hr |
| Independent Shop | $2,100 - $2,800 | Remanufactured / OEM | 9.5 Hours @ $130/hr |
| DIY (Driveway) | $750 - $950 | OEM ACDelco + Fluid | Your Weekend (Free) |
According to industry data from RockAuto and current shop labor guides, the 6L80 requires transmission removal to access the torque converter. While the book time is roughly 8.5 to 9.5 hours, a DIY mechanic with a transmission jack, engine support bar, and standard metric sockets can complete this over a weekend, saving over $2,000 in labor.
Required OEM Parts and Specialty Tooling
Do not cheap out on the torque converter itself. The 6L80 relies on a highly specific lockup apply strategy, and aftermarket converters often cause persistent shudder or shift-quality issues. According to Sonnax transmission engineers, using an OEM-spec converter with updated TCC lining materials is critical for longevity.
- Torque Converter: ACDelco OEM Part # 24236933 (Verify with your specific VIN, as 2018+ models may use 24261690).
- Transmission Filter Kit: ACDelco Part # 24236524 (Includes the deep pan filter and O-ring).
- Fluid: ACDelco Dexron VI Automatic Transmission Fluid (P/N 10-9395). You will need approximately 11.5 quarts for a dry fill, or 7-8 quarts for a swap where the cooler lines are plugged.
- Front Pump Seal Protector: Essential for preventing the new TC hub from cutting the Teflon front pump seal during installation.
- Engine Support Bar: Required to hold the engine up once the transmission crossmember is dropped.
Step-by-Step 6L80 Removal Procedure
1. Preparation and Drivetrain Disconnect
Begin by disconnecting the negative battery terminal. Safely lift the vehicle on jack stands or a lift. Drain the transmission pan by removing the 5mm Allen fill plug first (to ensure you can refill it later), then drop the pan, replace the filter, and reinstall the pan using a thin bead of RTV silicone (GM P/N 12378521). Reinstall the pan bolts to 18 lb-ft.
Remove the front and rear driveshafts. Disconnect the transmission cooler lines, wiring harnesses, and the shift linkage cable. Support the transmission with a jack and remove the rear crossmember.
2. Engine Support and Bellhousing Separation
Install an engine support bar across the top of the engine bay. This is mandatory; without it, the engine will tilt backward violently once the transmission is unbolted, potentially damaging the hood or tearing coolant hoses. Remove the starter motor to expose the flexplate-to-torque converter bolts. There are six M10 bolts securing the TC to the flexplate. Rotate the crankshaft using a 21mm socket on the harmonic balancer bolt to access all six. Remove the bellhousing-to-engine block bolts (typically 15mm and 18mm).
The Most Critical Step: TC Hub Depth Measurement
Expert Warning: The number one cause of catastrophic front pump failure during a 6L80 torque converter replacement is improper seating. If the converter is not fully engaged into the transmission input shaft and stator support, tightening the bellhousing bolts will crush the front pump gear, destroying the transmission instantly.
Before installing the new torque converter, you must perform the Three-Click Test. As you slide the TC into the bellhousing, you should feel three distinct engagements:
- The input shaft splines engaging.
- The stator support engaging.
- The transmission oil pump drive gear engaging.
Once seated, use a straight edge across the bellhousing mating surface and measure the depth to the TC mounting pads. The measurement must be at least 0.50 to 1.00 inches (12mm to 25mm) below the bellhousing face. If the converter sits flush with the bellhousing, it is NOT seated. Pull it out, lubricate the hub with Dexron VI, and try again.
Installation and Critical Torque Specifications
Once the transmission is mated to the engine block, the tightening sequence is just as important as the depth check. Refer to GM Service Information for the exact 2026 torque specs for the 6L80 platform:
- Bellhousing-to-Engine Block Bolts: 37 lb-ft (50 Nm). Tighten in a crisscross pattern to prevent binding the input shaft.
- Flexplate-to-Torque Converter Bolts: 35 lb-ft (47 Nm). Use a high-strength thread locker (Red Loctite 262) on these M10 bolts. Never reuse stretched OEM bolts.
- Transmission Crossmember-to-Frame Bolts: 70 lb-ft (95 Nm).
- Transmission Cooler Line Fittings: 15 lb-ft (20 Nm). Over-tightening these will crack the aluminum radiator end-tanks.
The 6L80 Fluid Fill and Thermal Bleed Procedure
The 6L80 does not have a traditional dipstick. It utilizes a standpipe inside the transmission pan to regulate fluid level. Filling it incorrectly will lead to immediate TCC shudder or pump cavitation.
Thermal Expansion Protocol
1. With the vehicle level and the engine off, pump Dexron VI into the fill hole until it drips out.
2. Start the engine, cycle the shifter through P-R-N-D, pausing for 3 seconds in each gear.
3. Connect a bi-directional OBD2 scan tool capable of reading GM-specific Transmission Fluid Temperature (TFT) data.
4. The fluid must be between 185°F and 203°F (85°C - 95°C) for an accurate level check. This is the operating temperature where the fluid's thermal expansion matches the standpipe calibration.
5. With the engine running and the transmission in Park, remove the fill plug. Add fluid until a steady stream drips out, then reinstall the plug and torque to 18 lb-ft.
Final Verdict: Is DIY Worth It?
If your search for 'torque converter replacement cost near me' was driven by budget constraints, the DIY route on the 6L80 is highly rewarding, provided you have the physical capability to maneuver a 250-lb transmission and the discipline to follow the depth-check and thermal-fill protocols. However, if you lack an engine support bar, a transmission jack, or a capable scan tool for the Dexron VI temperature bleed, paying an independent shop $2,400 is a safer investment than risking a $4,000 front-pump failure due to a millimeter of improper TC seating.