The GM 6L80 and 8L90 Transmission Cooler Line Dilemma
General Motors' 6L80 and 8L90 transmissions, widely deployed in Silverado and Sierra 1500 trucks from 2006 through the early 2020s, are renowned for their torque capacity and adaptability. However, their thermal management systems—specifically the factory plastic quick-connect cooler lines—are a notorious weak point. When these vehicles are subjected to heavy towing, stop-and-go traffic, or the extreme underhood temperatures generated by the 5.3L and 6.2L EcoTec3 V8 engines, the factory plastic collars become brittle. The internal EPDM O-rings flatten and extrude, leading to sudden fluid loss and catastrophic transmission failure.
Upgrading to braided stainless steel lines or integrating an auxiliary transmission cooler requires completely removing the OEM plastic assemblies. This is not a job for slip-joint pliers or screwdrivers. Utilizing the correct quick disconnect tool for transmission cooler lines is absolutely mandatory to prevent scoring the radiator's aluminum mating nipples or snapping the fragile factory retainers inside the radiator housing.
Selecting the Right Quick Disconnect Tool for Transmission Cooler Lines
GM utilizes two primary quick-connect diameters for their transmission cooler circuits: 3/8-inch (9.5mm) and 1/2-inch (12.7mm). The 6L80 typically uses 3/8-inch lines for standard cooling, while the 8L90 and heavy-duty trailering packages often step up to 1/2-inch lines to maximize fluid volume and flow rate.
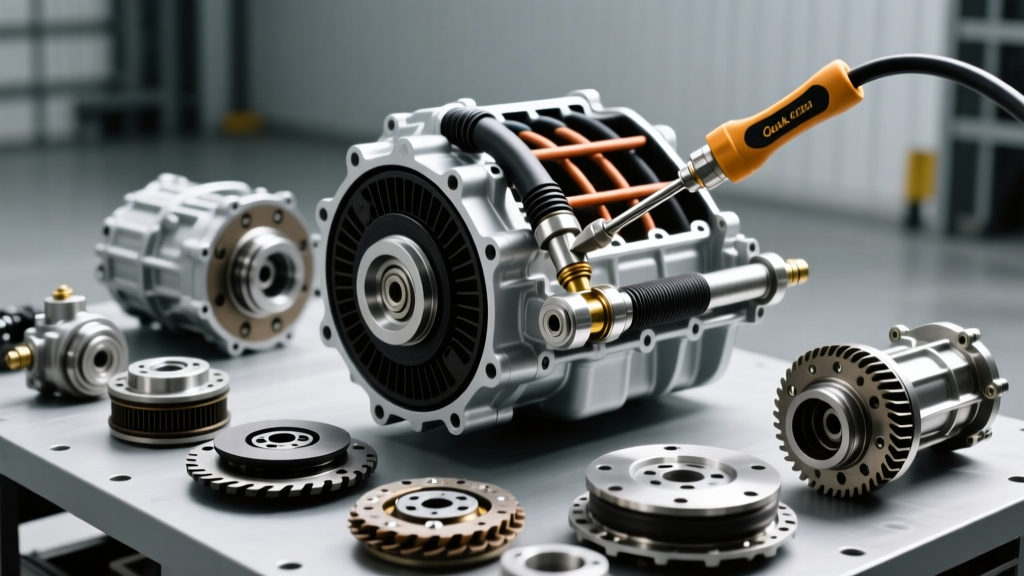
To disengage these fittings, you need a collar-style or scissor-style disconnect tool that slips between the quick-connect housing and the internal retaining teeth. Using a dedicated quick disconnect tool for transmission cooler lines ensures uniform pressure distribution around the retaining ring, allowing the line to slide out cleanly without damaging the radiator's solder joints.
Tool Sizing and Compatibility Chart
| Tool Type / Size | Application | Recommended Part Number | Est. Cost (2026) |
|---|---|---|---|
| 3/8" (9.5mm) Collar Tool | GM 6L80 Standard Cooler Lines | Lisle 39400 / OTC 4796 | $25 - $35 |
| 1/2" (12.7mm) Collar Tool | GM 8L90 / HD Trailering Packages | Lisle 39400 / OTC 4796 | $28 - $40 |
| Universal Scissor Set | Multi-application (Fuel & Cooler) | OTC 7301A | $45 - $60 |
According to tooling specifications from the Lisle Corporation, the collar tools are manufactured from glass-filled nylon or hardened steel, designed specifically to withstand the high breakaway torque required when lines have been heat-cycled for over 100,000 miles.
Step-by-Step Removal: Factory Plastic Lines to Radiator
Before beginning, ensure the transmission is cool to the touch. Dexron VI fluid can cause severe burns if the system is pressurized and hot. Place a low-profile drain pan (minimum 10-quart capacity) directly beneath the radiator's lower crossmember.
- Locate the Quick-Connects: On the 6L80/8L90, the cooler lines typically route from the transmission's right-side (passenger) output block to the bottom or side tanks of the engine radiator.
- Clean the Fittings: Use a dedicated brake parts cleaner and a nylon bristle brush to remove caked-on road grime and oil residue from the quick-connect collars. Debris forced into the radiator tank during removal will clog the internal cooler fins.
- Insert the Tool: Select the correct size from your quick disconnect tool for transmission cooler lines set. Push the tool firmly into the gap between the outer plastic housing and the inner metal tube. You should feel the tool bottom out against the internal stainless-steel retaining ring.
- Disengage and Pull: Apply inward pressure toward the radiator while gently twisting the tool. This compresses the retaining teeth. Simultaneously, pull the transmission line outward (away from the radiator). The line should pop free with a distinct 'click'.
- Cap the Radiator Nipples: Immediately cap the exposed radiator nipples with clean vinyl tubing or dedicated plastic caps to prevent dust ingress.
Expert Warning: Never use excessive prying force. If the line does not release, the internal O-ring has likely bonded to the metal tube due to heat cycling. Apply a small amount of penetrating fluid to the seam, wait five minutes, and re-insert the tool. Forcing the line can crack the radiator's plastic end-tank, resulting in a $600+ radiator replacement.
Upgrading to AN-Fitting Braided Steel Cooler Lines
Once the factory plastic lines are removed, the optimal upgrade path for GM trucks is converting to AN-6 or AN-8 braided stainless steel lines. This eliminates the plastic collar failure point entirely and improves thermal transfer.
Adapter Selection and Routing
The OEM transmission output block on the 6L80 and 8L90 typically features a 1/4-inch NPT or 5/8-18 inverted flare thread, depending on the exact model year and RPO code (e.g., NHT vs. standard). You will need specific adapter fittings to convert the OEM block to a -6 AN or -8 AN male flare.
- Standard Duty (6L80): Use -6 AN (3/8" I.D.) braided lines. This matches the factory flow volume of approximately 1.5 to 2.0 gallons per minute (GPM) at 2,000 RPM.
- Heavy Duty / Towing (8L90): Use -8 AN (1/2" I.D.) braided lines. The 8L90's higher pump displacement requires the larger I.D. to prevent cavitation and excessive line pressure drop.
When routing the new lines, maintain a minimum 2-inch clearance from the exhaust manifolds and catalytic converters. Utilize stainless steel Adel clamps (cushioned) bolted to the factory frame crossmembers to secure the lines and prevent chassis vibration fatigue.
Torque Specifications and Reassembly
Proper torque is critical when mating aluminum AN fittings to the steel transmission case and brass/aluminum radiator adapters. Over-torquing will strip the case threads or crack the adapter; under-torquing will result in high-pressure leaks at the cooler feed.
| Connection Point | Thread / Fitting Type | Specified Torque | Sealant Required? |
|---|---|---|---|
| Transmission Case Adapter | 1/4" NPT to -6 AN | 12 - 15 lb-ft | Yes (PTFE Tape or Liquid) |
| Transmission Case Adapter | 5/8-18 Inverted Flare | 18 - 22 lb-ft | No (Metal-to-Metal Seal) |
| Radiator Adapter | 5/8-18 to -6 AN | 15 - 18 lb-ft | No |
| AN Hose End to Adapter | -6 AN Flare (Aluminum) | 15 - 20 lb-ft | No |
| AN Hose End to Adapter | -8 AN Flare (Aluminum) | 20 - 25 lb-ft | No |
Note: Always use a calibrated beam-style or digital torque wrench. Click-style wrenches often over-torque small fittings due to breakaway friction.
Auxiliary Cooler Integration and Thermal Bypass Considerations
For GM trucks equipped with the factory towing package, the cooling circuit often includes a thermal bypass valve located either in the transmission pan or inline near the cooler. This valve restricts fluid flow to the radiator until the fluid reaches approximately 180°F (82°C) to promote rapid warm-up.
While beneficial for cold-climate fuel economy, this valve is detrimental to heavy towing in hot climates. When integrating an auxiliary cooler—such as the highly rated stacked-plate units from Derale Performance—you must decide whether to retain, modify, or delete the bypass valve.
Recommended Aux Cooler Setup for 6L80/8L90
The most robust configuration for trucks towing over 8,000 lbs is a series flow setup: Transmission Out -> Factory Radiator Cooler -> Thermal Bypass (Modified Open) -> Auxiliary Air-to-Fluid Cooler -> Transmission In. This ensures the fluid always passes through the auxiliary heat exchanger. Mount the auxiliary cooler in front of the A/C condenser, ensuring you use zip-ties with rubber isolators or factory-style bracketry to prevent core puncture.
Bleeding the Cooler Circuit and Refilling
The 6L80 and 8L90 transmissions are highly sensitive to fluid level and aeration. The total dry-fill capacity is approximately 11.2 quarts, but a standard pan-drop and cooler line replacement will only require 6.5 to 7.5 quarts of Dexron VI fluid.
- Pre-Fill the Cooler: Before connecting the return line to the transmission, use a funnel to pour 1 quart of fresh Dexron VI directly into the auxiliary cooler and new lines. This prevents the transmission pump from drawing air on initial startup.
- Initial Fill: Add 5 quarts of Dexron VI through the dipstick tube.
- The Idle Bleed Procedure: Start the engine. With your foot firmly on the brake, cycle the gear selector through P-R-N-D, pausing for 3 seconds in each gear. This actuates the valve body clutches and forces fluid into the torque converter and cooler lines.
- Final Level Check: With the engine idling and the transmission fluid temperature (TFT) between 86°F and 122°F (verified via an OBD-II scanner), check the dipstick. Add fluid in 0.5-quart increments until the level is in the crosshatch zone.
As noted by lubrication engineers at AMSOIL, using a high-quality synthetic Dexron VI is critical for the 6L80/8L90, as the fluid must maintain its shear stability and anti-foaming properties under the extreme pressure of the variable line pressure solenoid.
Summary
Replacing the fragile OEM plastic cooler lines on GM's 6L80 and 8L90 transmissions is one of the most effective preventative maintenance procedures you can perform. By investing in the proper quick disconnect tool for transmission cooler lines, utilizing correct AN-fitting torque specifications, and verifying your thermal bypass configuration, you ensure your transmission operates well within its safe thermal limits, even under the most demanding 2026 towing conditions.