Why the Front Differential Demands Attention
When enthusiasts and daily drivers think of drivetrain maintenance, the rear differential and transmission usually steal the spotlight. However, the front differential in 4WD trucks, SUVs, and AWD crossovers operates in a uniquely hostile environment. It is often tucked behind skid plates, subjected to deep water fordings, and forced to manage the torque loads of steering and suspension articulation simultaneously. As of 2026, while many unibody AWD crossovers have moved to sealed Power Transfer Units (PTUs) integrated directly into the transaxle, traditional body-on-frame 4WD vehicles still rely on standalone front differentials that require strict, interval-based fluid servicing.
Neglecting this service leads to accelerated ring and pinion gear wear, bearing failure, and ultimately, a catastrophic loss of 4WD capability. This comprehensive, step-by-step guide will walk you through the exact procedure for servicing a front differential, focusing on the most common architectures: the Independent Front Suspension (IFS) clamshell designs (like the GM 8.25-inch and Toyota 8-inch) and solid front axles (like the Dana 30 and Dana 44).
The Great Friction Modifier Myth
Before draining a single drop of gear oil, we must address a pervasive mistake made by DIYers: the unnecessary addition of friction modifiers. Limited-slip (LSD) rear differentials often require a friction modifier additive to prevent clutch-pack chatter during cornering. However, the vast majority of front differentials on modern 4WD trucks are either open differentials or utilize automatic locking mechanisms (such as the GM Eaton G80 or Toyota automatic disconnecting differentials). These front units do not use clutch packs that require friction modifiers. Adding them to an open or auto-locking front differential can actually reduce the fluid's film strength and lead to premature gear wear. Always consult your specific factory service manual, but as a general rule, stick to straight API GL-5 75W-90 synthetic gear oil for the front axle.
Determining Your Service Intervals
Manufacturer recommendations for front differential fluid changes vary wildly, and they are often overly optimistic for real-world driving. Below is a practical framework for determining when to swap your gear oil, based on data compiled from AMSOIL Technical Study Bulletins and heavy-duty fleet maintenance schedules.
| Driving Condition Profile | Recommended Interval | Primary Fluid Degradation Factor |
|---|---|---|
| Normal (Highway commuting, light loads) | 60,000 - 100,000 miles | Thermal breakdown over time |
| Severe (Towing, frequent 4WD use, steep grades) | 30,000 - 50,000 miles | Extreme shear stress and heat |
| Extreme (Water fording, deep mud, snow plowing) | 15,000 miles or Immediately post-submersion | Emulsification (water contamination) |
Pro-Tip: If your front differential breather tube is not extended above the wheel wells, driving through water deeper than 12 inches will cause the hot axle housing to rapidly cool, creating a vacuum that sucks water past the axle seals and into the gear oil. If the fluid looks like a chocolate milkshake, an immediate drain and fill is mandatory to prevent rust and bearing spalling.
Tools and Materials Required
Preparation is half the battle. Gather the following before putting the vehicle on jack stands:
- Fluid: 2 to 3 quarts of API GL-5 75W-90 Full Synthetic Gear Oil (e.g., Mobil 1 Synthetic Gear Lube or AMSOIL Severe Gear).
- Sealant: Permatex Ultra Black RTV Silicone or a pre-cut differential cover gasket (Lube Locker).
- Hand Tools: 3/8-inch and 1/2-inch drive ratchets, metric and SAE socket sets (commonly 10mm, 13mm, 15mm, and 1/2-inch).
- Torque Wrench: A calibrated 3/8-inch drive torque wrench capable of measuring 15 to 60 lb-ft.
- Miscellaneous: Brake cleaner, plastic gasket scraper, drip pan, nitrile gloves, and a high-quality threaded fluid pump.
Step-by-Step Front Differential Fluid Change Procedure
Phase 1: Safe Lifting and Access
Unlike the rear axle, the front differential is heavily integrated with the steering linkage, CV axles, and skid plates. Safely lift the front of the vehicle using a hydraulic floor jack and support it with heavy-duty jack stands placed on the designated frame pinch welds or axle tubes. Remove any factory skid plates blocking access to the differential cover or fill plug. Inspect the axle seals where the CV axles enter the differential housing; if you see thick, wet gear oil coating the inner CV joints, address the seals before proceeding.
Phase 2: Draining the Old Gear Oil
The draining process depends entirely on your axle architecture:
- Solid Axles (Dana 30/44, Ford 8.8): These typically feature a removable steel or cast-iron cover. Place your drain pan underneath, crack the lowest bolt first to relieve pressure, then remove all perimeter bolts. Pry the cover off gently with a flathead screwdriver.
- GM 8.25-inch IFS: This differential features a dedicated drain plug and a separate fill plug, making it one of the easiest front differentials to service. Simply remove the drain plug and let it empty.
- Toyota 8-inch IFS Clamshell: Older Toyota units notoriously lack a drain plug, requiring the removal of the CV axles and the entire front differential assembly to drain and service the RTV seal. Fortunately, most 2016+ models include a drain plug. If yours lacks one, consider drilling and tapping a flush-mount drain plug into the lowest point of the housing, or prepare for a full clamshell removal.
Phase 3: Surface Preparation and Cleaning
If you removed a differential cover, the mating surfaces must be surgically clean. Spray the housing flange and the cover with brake cleaner. Use a plastic gasket scraper to remove old RTV or cork gasket material. Never use a metal razor blade on aluminum housings, as scoring the mating surface will guarantee a permanent leak. Once clean, wipe the flange with isopropyl alcohol to remove any residual oils. If using RTV, apply a continuous 3/16-inch bead of Permatex Ultra Black around the cover, encircling every bolt hole. Allow the RTV to skin over for 10 minutes before mating it to the housing.
Phase 4: Reassembly and Torque Sequences
Reinstalling the cover or drain plug requires strict adherence to torque specifications. Overtightening will warp thin stamped-steel covers or strip aluminum IFS housings. Refer to the table below for common front differential torque specs:
| Front Differential Model | Cover/Fastener Type | Torque Specification |
|---|---|---|
| Dana 30 / Dana 44 (Jeep/Solid Axle) | Stamped Steel Cover Bolts | 25 - 30 lb-ft |
| GM 8.25-inch IFS (Silverado/Sierra) | Drain & Fill Plugs | 24 lb-ft |
| GM 8.25-inch IFS | Cover Bolts (if equipped) | 22 lb-ft |
| Toyota 8-inch IFS (Tacoma/4Runner) | Clamshell Mounting Nuts | 58 lb-ft |
| Ford 8.8 IFS (F-150) | Fill/Drain Plugs | 20 - 25 lb-ft |
When tightening a multi-bolt cover, always use a crisscross or star pattern. This ensures the gasket or RTV compresses evenly, preventing a blowout under thermal expansion. For deeper mechanical insights on drivetrain fasteners, refer to MotorTrend's How-To Archives.
Phase 5: The Refill Process
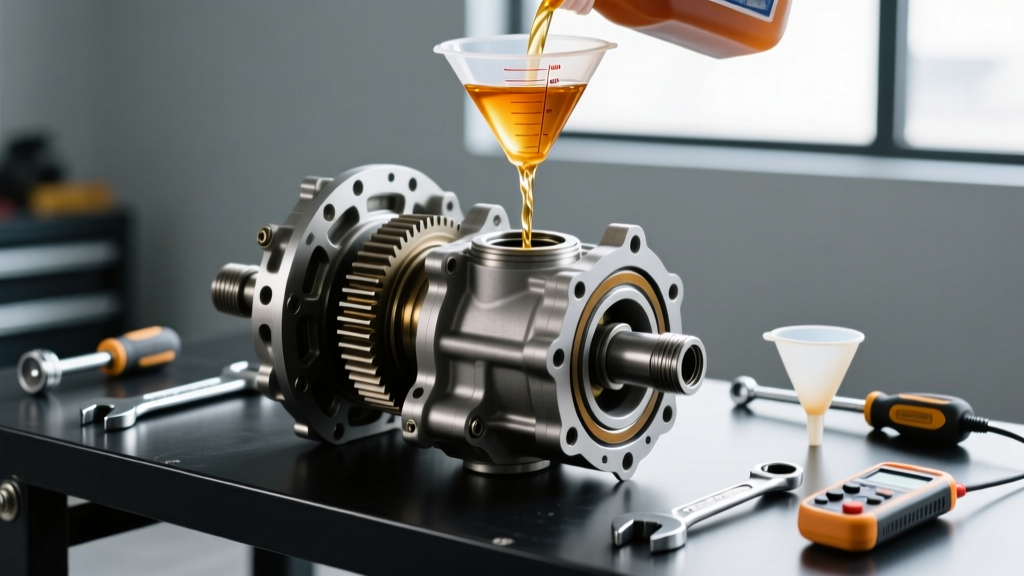
This is where many DIYers fail. You cannot simply pour gear oil into the fill hole of an IFS differential using a standard funnel and gravity. The fill hole is often located higher than the internal gear cavity due to packaging constraints around the oil pan and steering rack.
- Thread a manual fluid pump into your bottle of 75W-90 gear oil.
- Attach the pump hose securely into the differential fill hole.
- Pump the fluid slowly. You will hear the fluid level rising as the tone of the splashing changes.
- Continue pumping until the fluid begins to weep out of the bottom edge of the fill hole. Stop immediately.
- Wipe the threads clean, apply a small amount of Teflon tape or thread sealant to the fill plug (if not equipped with an O-ring), and torque it to spec.
Capacity Check: Do not rely solely on the 'weep' method if your vehicle is not perfectly level. A GM 8.25 IFS holds approximately 1.8 pints (0.85L). A Dana 30 holds roughly 2.5 pints (1.25L). Measure your pumped volume to ensure you have reached the factory capacity.
Post-Service Diagnostics: Identifying Abnormal Noises
After completing the front differential fluid change and taking the vehicle for a test drive, engage 4WD High and 4WD Low in a safe, low-traction environment. Listen carefully for abnormal acoustics.
- High-Pitched Whining: If a whine develops immediately after the service, the differential is likely under-filled, causing the ring gear to starve for lubrication at the top of its rotation. Alternatively, if you overfilled the unit, the churning of the gears can aerate the fluid, leading to foaming and overheating.
- Clunking on Engagement: A distinct 'clunk' when shifting into 4WD usually points to worn shift motor actuator gears or excessive backlash in the ring and pinion, not the fluid itself. However, fresh, high-quality synthetic fluid can sometimes make existing mechanical wear more acoustically apparent due to improved damping properties.
- Binding in Turns: If the front end hops or binds during tight turns in 4WD on dry pavement, this is normal driveline wind-up. If it happens in 2WD, your front differential auto-disconnect (if equipped) may be stuck, or the CV joints are failing.
Final Thoughts on Drivetrain Longevity
Treating your front differential fluid change as a critical maintenance milestone rather than an afterthought is the key to achieving 200,000+ miles from your 4WD system. By utilizing high-quality synthetic 75W-90 gear oil, adhering to strict torque sequences, and respecting the severe-duty service intervals, you ensure that your ring and pinion gears remain perfectly lubricated through every trail, tow, and winter storm. Keep your skid plates bolted up, your breather tubes extended, and your gear oil fresh.