Breaking Down the Ford F150 Rear Differential Repair Cost
When diagnosing a whining, clunking, or binding rear axle on a 2015-2025 Ford F-150, owners and technicians alike must weigh the options between a full axle replacement and a targeted rebuild. Understanding the Ford F150 rear differential repair cost is critical before turning a single wrench. The F-150 platform primarily utilizes the legendary Ford 8.8-inch (31-spline) and the heavier-duty 9.75-inch (34-spline) rear axles. While these axles are robust, high mileage, heavy towing, and inadequate differential fluid maintenance eventually lead to bearing failure, ring and pinion wear, or limited-slip clutch degradation.
In 2026, supply chain stabilization has brought aftermarket rebuild kit prices down, but professional labor rates have climbed. Below is a comprehensive cost breakdown comparing a DIY approach versus hiring a professional drivetrain shop.
| Cost Factor | DIY Rebuild Estimate | Professional Shop Estimate |
|---|---|---|
| Master Rebuild Kit (Timken/Yukon) | $250 - $350 | $350 - $500 (w/ markup) |
| Ring & Pinion Gear Set (if needed) | $280 - $400 | $350 - $550 |
| Differential Fluid & Additives | $60 - $90 | $90 - $130 |
| Consumables (RTV, Loctite, Cleaners) | $25 | $45 |
| Labor (4 to 7 Hours) | $0 (Your Time) | $600 - $1,050 |
| Total Estimated Cost | $615 - $865 | $1,435 - $2,275 |
Expert Insight: If your F-150's ring and pinion gears are severely pitted or the pinion bearing has spun and damaged the housing bore, a rebuild kit will not suffice. You will need a bare housing remachine or a complete remanufactured axle assembly, which pushes the cost well past $3,000.
Required Tools and Differential Fluid Specifications
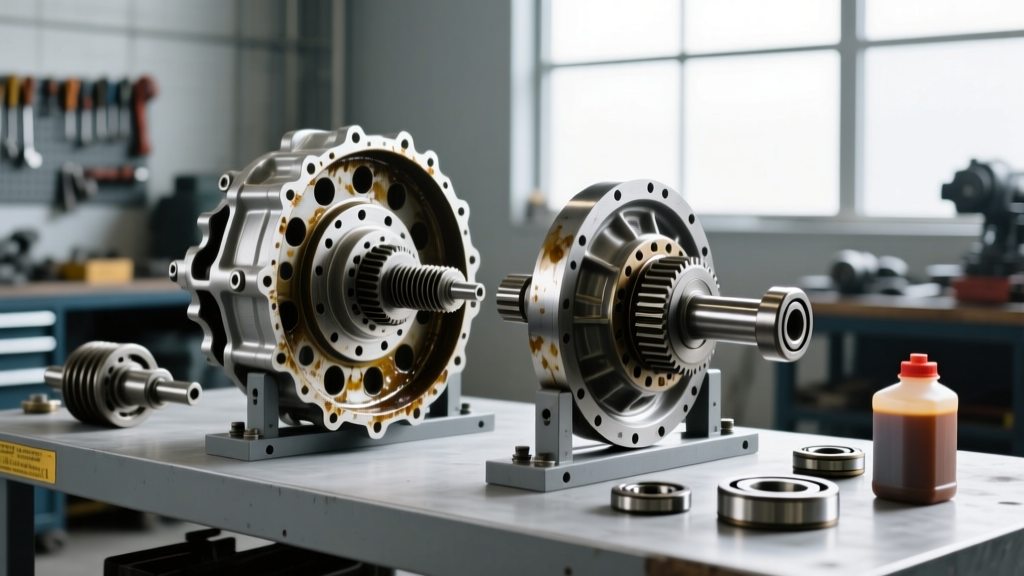
A differential rebuild is not a standard fluid change; it requires precision measuring tools. To properly set pinion depth and gear backlash, you cannot rely on guesswork. Furthermore, selecting the correct differential fluid is paramount for the longevity of the rebuild.
Specialty Tools Required
- Dial Indicator with Magnetic Base: Essential for measuring ring gear backlash (accuracy to 0.001 inches).
- Inch-Pound Torque Wrench: Required for measuring pinion bearing rotational preload.
- Foot-Pound Torque Wrench (up to 250 lb-ft): For the pinion nut and differential bearing cap bolts.
- Bearing Puller/Press: A hydraulic press is highly recommended for removing and installing pinion and carrier bearings without damaging the cages.
- Case Spreader: Crucial for the Ford 8.8 and 9.75 axles to safely remove the carrier without prying and scoring the bearing seats.
Differential Fluid & Additive Specs
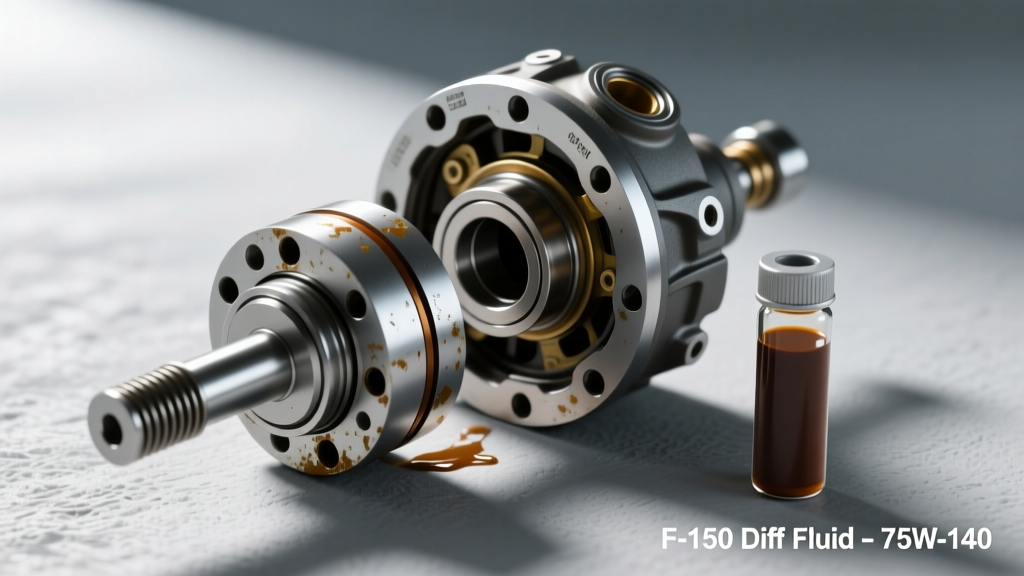
For the Ford 8.8-inch and 9.75-inch axles, fluid selection depends on your towing habits. Ford's baseline specification for standard duty is a 75W-85 synthetic blend. However, for trucks equipped with the Max Trailer Tow Package or those frequently hauling heavy loads, a 75W-140 Full Synthetic Gear Oil is mandatory to prevent thermal breakdown.
- Standard Duty: Motorcraft SAE 75W-85 Premium Rear Axle Lubricant.
- Heavy Duty / Towing: Motorcraft 75W-140 Synthetic (XY-75W140-QL) or AMSOIL Severe Gear 75W-140.
- Limited-Slip Additive: If your F-150 is equipped with a Traction-Lok (Limited Slip) differential, you must add 4 oz of Motorcraft XL-3 Friction Modifier (or equivalent) to prevent clutch chatter during low-speed cornering.
- Capacity: The 8.8-inch axle holds approximately 2.5 to 2.8 quarts; the 9.75-inch holds roughly 3.0 to 3.3 quarts.
Step-by-Step F-150 Rear Differential Rebuild Procedure
The following procedure outlines the rebuild process for the ubiquitous Ford 8.8-inch and 9.75-inch axles. Always refer to the specific factory service manual for your exact model year, as spline counts and housing nuances vary between the solid rear axle (SRA) configurations.
Phase 1: Teardown and Component Inspection
Begin by safely supporting the truck and draining the existing differential fluid into a catch pan. Inspect the drained fluid for metallic glitter or large chunky debris; heavy metal chunks indicate catastrophic bearing or gear failure. Remove the rear brake calipers and rotors, then unbolt the axle shafts and slide them out of the housing. Using a case spreader, gently expand the housing just enough (no more than 0.015 inches) to pop the differential carrier out. Remove the pinion nut using an impact gun (note: an impact gun is fine for removal, but never for installation). Push the pinion gear out of the housing and use a press to remove the pinion bearings and races.
Phase 2: Setting Pinion Depth and Bearing Preload
This is the most critical phase of the rebuild. The pinion gear must sit at an exact depth relative to the ring gear centerline. This is controlled by a shim located between the pinion bearing cone and the pinion gear itself.
- Measure Original Depth: Before pressing off the old inner pinion bearing, measure the distance from the bearing face to the pinion head. Compare this to the new gear set's etched depth variance (+ or - markings on the pinion head).
- Select Shim: Install the appropriate pinion depth shim. Press the new inner bearing onto the pinion.
- Install Pinion and Outer Bearing: Drop the pinion into the housing, install the outer bearing, the new crush sleeve, and the pinion yoke.
- Set Bearing Preload: Thread the new pinion nut. Using your inch-pound torque wrench on the yoke nut, tighten the pinion nut in small increments while checking rotational torque. For new bearings, you are looking for 16-29 in-lbs of rotational preload. For used bearings, the spec is 8-14 in-lbs. Warning: If you over-tighten and exceed the crush sleeve's yield point, you must throw the crush sleeve away and start over with a new one.
Phase 3: Dialing in Backlash and Carrier Preload
With the pinion set, press the carrier bearings onto the differential case and bolt the ring gear to the case. Use new ring gear bolts coated with Red Loctite 272 and torque them to 70-85 lb-ft in a crisscross pattern.
Place the carrier back into the housing. Install the differential bearing caps (keep them matched to their original sides; they are line-bored from the factory and are not interchangeable). Install the carrier shims on both sides. You must achieve a slight drag (carrier preload) while simultaneously setting the ring gear backlash.
- Target Backlash: 0.008 to 0.012 inches.
- Measurement: Mount the dial indicator perpendicular to a ring gear tooth. Rock the ring gear back and forth while holding the pinion yoke stationary. Adjust the side shims until the backlash falls perfectly within spec and the carrier exhibits a slight rotational drag.
- Final Torque: Torque the differential bearing cap bolts to 70-85 lb-ft.
Phase 4: Reassembly, Sealing, and Fluid Fill
Perform a final contact pattern check using yellow gear marking compound on three separate teeth around the ring gear. Rotate the assembly under load and verify the pattern sits centered on the drive and coast sides of the teeth. If the pattern is biased toward the toe or heel, you must adjust the pinion depth shim and repeat Phase 2.
Once the pattern is verified, clean the differential housing mating surface with brake cleaner. Apply a continuous 1/4-inch bead of high-temp RTV silicone (such as Permatex Ultra Black) to the differential cover. Bolt the cover on and torque the perimeter bolts to 25-30 lb-ft. Allow the RTV to cure for at least 2 hours before filling.
Fill the axle with your chosen 75W-140 or 75W-85 synthetic gear oil until it reaches the bottom of the fill hole. If equipped with a Traction-Lok limited-slip unit, inject the 4 oz bottle of XL-3 friction modifier before topping off the fluid. Reinstall the axle shafts, torque the axle shaft flange nuts to 98 lb-ft (for 8.8) or 129 lb-ft (for 9.75), and reinstall the brakes.
Rebuild vs. Remanufactured Axle Replacement
While mastering the Ford F150 rear differential repair cost and DIY rebuild process saves significant money, it is not always the most logical choice. According to drivetrain specialists at Yukon Gear & Axle, if the differential housing bore is elongated from a spun pinion bearing, or if the axle tubes are bent from off-road abuse, a rebuild kit will fail prematurely. In these edge cases, sourcing a remanufactured axle assembly from Timken or a certified Ford dealer is the only safe option.
Furthermore, if you lack a hydraulic press, a case spreader, and the patience to iterate on pinion depth shims, the professional labor cost of $600-$1,050 is a worthwhile investment to guarantee a whine-free, reliable rear end. Always consult the Ford Motor Company Support portal for your specific VIN's axle ratio and limited-slip configuration before ordering parts.
Post-Rebuild Break-In Procedure
A freshly rebuilt differential requires a proper break-in to heat-cycle the gear oil and seat the new bearings. Drive the F-150 at highway speeds (50-60 mph) for 15 miles, then allow the axle to cool completely. Repeat this cycle 3 to 4 times. Avoid heavy towing or aggressive acceleration for the first 500 miles. After the break-in period, drain and refill the differential fluid one final time to remove any microscopic metallic shavings generated during the initial gear mating process.