The F-150 A/C Clutch Dilemma: Repair vs. Replace
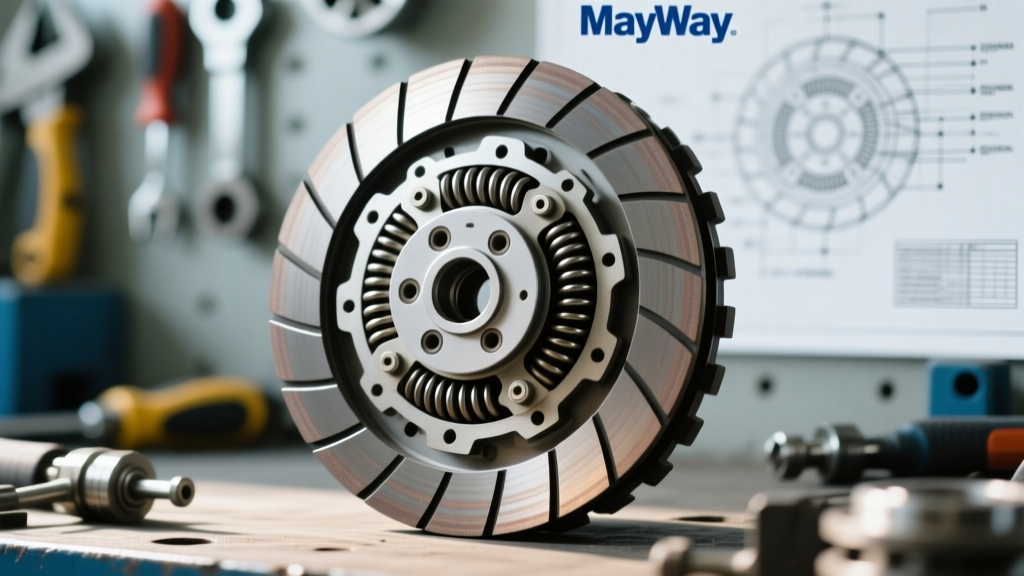
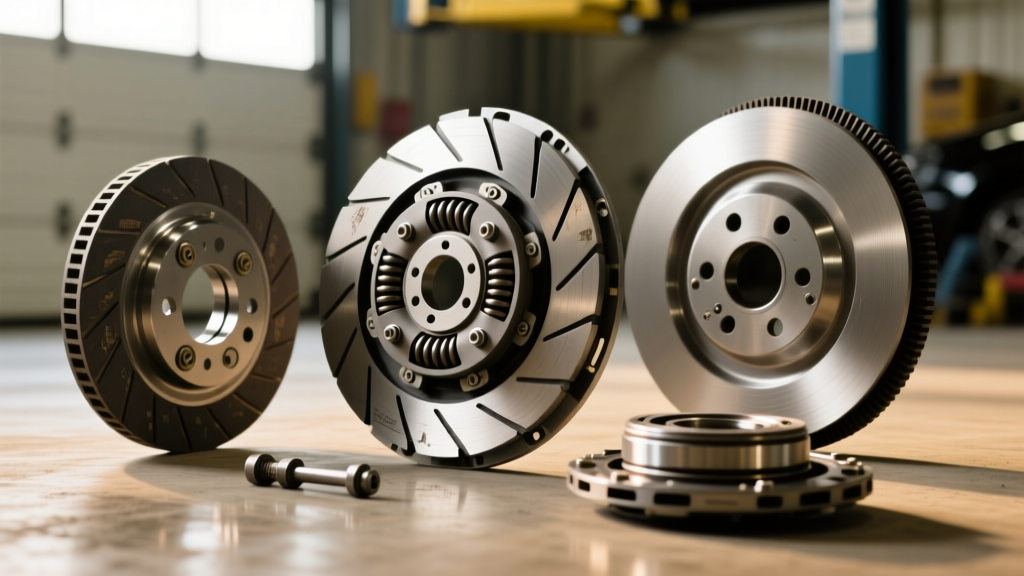
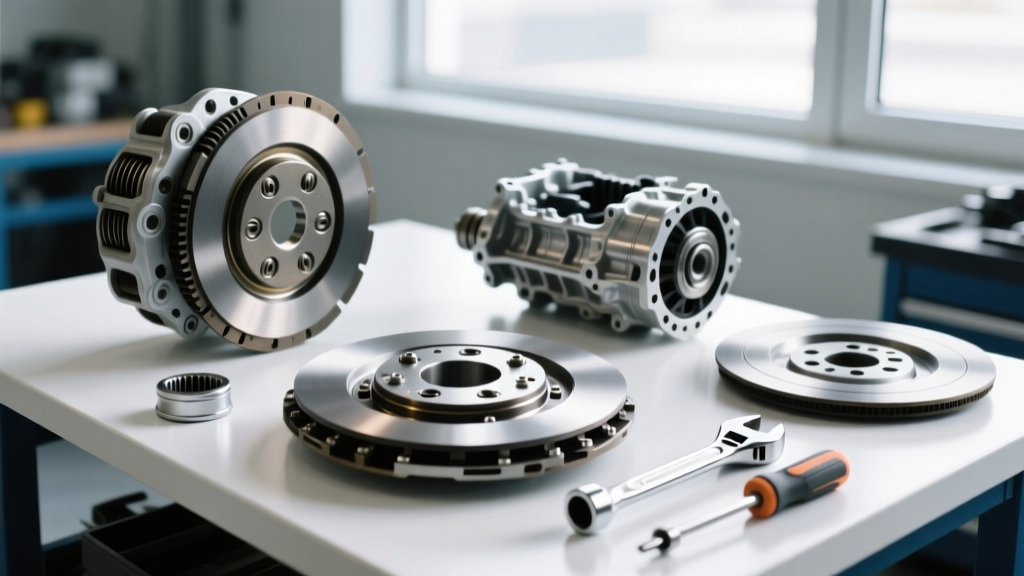
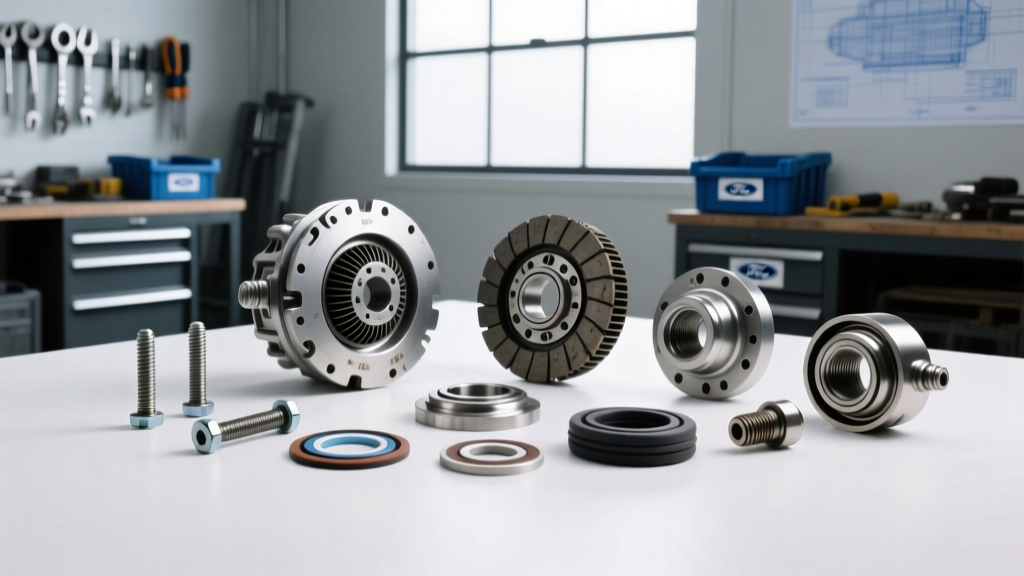
When the air conditioning in your Ford F-150 stops blowing cold, the immediate suspect is often the A/C compressor clutch. As a critical component of the vehicle's HVAC system, the electromagnetic clutch engages and disengages the compressor pulley from the internal swashplate shaft. However, executing a successful Ford F150 A/C compressor clutch replacement requires more than just unbolting the front hub. It demands a precise understanding of your truck's specific compressor architecture, accurate electrical diagnostics, and a strategic approach to clutch kit selection.
In this 2026 guide, we break down the exact diagnostic steps, part selection matrices, and torque specifications required to replace the clutch assembly on America's best-selling truck without evacuating the entire refrigerant system.
Critical Architecture Check: Does Your F-150 Even Have a Clutch?
Before ordering a clutch kit, you must identify your F-150's compressor generation. Ford transitioned through several A/C architectures over the last decade, and confusing them is the number one mistake DIYers make.
- 2011–2014 F-150 (5.0L Coyote & 3.5L EcoBoost): These trucks predominantly use traditional fixed-displacement or early variable-displacement compressors equipped with a standard electromagnetic clutch (coil, pulley/bearing, and friction hub).
- 2015–Present F-150 (2.7L, 3.5L EcoBoost, 5.0L): Many newer models utilize clutchless variable displacement compressors (such as the Denso 6SEU16C or 7SEU17C). These units do not have an electromagnetic coil. Instead, they feature a torque-limiting dampener pulley that spins continuously. If your 'clutch' is failing on a 2017 F-150, you are actually looking at a pulley bearing or internal control valve failure, rendering a standard 'clutch kit' useless.
Pro-Tip: If you look at the front of your compressor and see a flat, stationary faceplate surrounded by a spinning pulley, you have a traditional clutch. If the entire front face spins with the pulley, you have a clutchless system.
Step 1: Diagnostic Verification Before Purchasing a Kit
Never replace a clutch without verifying the failure mode. A slipping clutch might just be an excessive air gap, while a non-engaging clutch could be a wiring issue.
The Multimeter & Voltage Drop Test
F-150s are notorious for voltage drop across the Central Junction Box (CJB) relays. With the engine running and A/C set to MAX, use a multimeter to back-probe the compressor clutch connector.
- Required Voltage: You must see at least 11.5V. If you see 9V or lower, the clutch cannot generate enough magnetic force to pull in the hub when hot. Fix the relay or wiring first.
- Coil Resistance: Unplug the connector and measure the resistance across the clutch coil pins. A healthy coil reads between 3.2 and 4.8 Ohms at 68°F (20°C). An open circuit (OL) means a burnt coil; a reading near 0.0 Ohms means a short.
The Air Gap Measurement
Use a feeler gauge to measure the gap between the clutch hub and the pulley face. The factory specification is 0.020' to 0.030' (0.50mm - 0.75mm). If the gap has widened to 0.050' due to wear, the electromagnet cannot bridge the gap. Sometimes, simply removing the hub and taking out one shim washer will restore operation without buying a new kit.
Step 2: Clutch Kit Selection Guide (OEM vs. Aftermarket)
If your coil is burnt or the pulley bearing is howling, it is time to select a replacement kit. The market is flooded with options, but HVAC systems are highly sensitive to component tolerances. Below is our expert comparison matrix for F-150 clutch kits.
| Brand | Kit Contents | Warranty | Avg. Price (2026) | Best Application |
|---|---|---|---|---|
| Motorcraft (OEM) | Coil, Pulley, Hub, Shims | 24 Months | $130 - $180 | Daily drivers, fleet trucks, long-term reliability |
| Four Seasons | Coil, Pulley, Hub | 12 Months | $65 - $95 | Budget repairs, moderate climates |
| GPD (Global Parts) | Coil, Pulley, Hub | 12 Months | $75 - $110 | Complete system overhauls (when buying GPD condensers) |
| UAC (Universal Air) | Coil, Pulley, Hub | 12 Months | $50 - $80 | Beater trucks, pre-sale fixes |
Why 'Clutch-Only' Kits Can Be a Trap
While replacing just the clutch saves you from paying for an A/C evacuation and recharge (which costs $150–$250 at a shop), it carries a risk. If your compressor's internal shaft seal is leaking, or the swashplate is internally scoring, the new clutch will be destroyed by the resulting excessive rotational drag. Always check for refrigerant dye around the compressor snout before committing to a clutch-only repair.
Step 3: Sourcing the Correct Motorcraft Part Numbers
For the 2011–2014 F-150 5.0L and 3.5L, the most common OEM compressor assemblies are the Motorcraft YC-1129 and YC-1228 series. However, Ford rarely sells the clutch as a single unified part number through standard dealerships; they prefer to sell the entire compressor. To source genuine OEM clutch components, you often have to cross-reference the compressor casting number to aftermarket suppliers like ACKITS or browse the RockAuto catalog for Four Seasons equivalents that match the OEM footprint. Always verify the pulley diameter (typically 4.5' or 5' for F-150s) and the number of serpentine belt grooves (usually 6-groove) before checkout.
Step 4: Step-by-Step Clutch-Only Replacement Procedure
Replacing the clutch on the truck requires specialized A/C tools. You will need an A/C clutch puller/installer set (such as the Lisle 45750 or equivalent), snap-ring pliers, and a feeler gauge. Note: This procedure assumes you are keeping the refrigerant in the system. Do not open any refrigerant lines.
- Access the Compressor: Disconnect the negative battery terminal. On the 5.0L Coyote, the compressor is low on the passenger side. You may need to remove the passenger front wheel and inner fender liner for the best access angle.
- Remove the Center Hub Bolt: Use a strap wrench to hold the pulley, or carefully use an impact wrench on a low setting to remove the center retaining bolt (usually a 6mm hex or 10mm/13mm head, depending on the exact compressor model).
- Pull the Hub: Thread the A/C clutch puller tool into the center of the friction hub. Tighten the center forcing screw until the hub pops off the splined shaft. Keep track of the shim washers on the shaft!
- Remove the Pulley and Coil: Use snap-ring pliers to remove the large retaining snap ring holding the pulley/bearing assembly to the compressor nose. Slide the pulley off. Next, remove the smaller snap ring retaining the electromagnetic coil and slide it off.
- Install the New Coil: Clean the compressor nose. Slide the new coil on, ensuring the anti-rotation pin on the back of the coil aligns perfectly with the hole in the compressor housing. Failure to align this will snap the pin and ruin the coil instantly. Reinstall the snap ring.
- Press on the New Pulley: Use the clutch installer tool (a large threaded cup) to press the new pulley/bearing assembly onto the compressor nose. Do not hammer it on, as you will shatter the ceramic bearing or damage the internal swashplate bearings. Secure with the snap ring.
- Set the Air Gap (Crucial Step): Place your original shim washers onto the shaft. Slide the new friction hub onto the splines. Using your installer tool, press the hub down until it bottoms out against the shims. Measure the air gap with a feeler gauge. If it is wider than 0.030', remove a shim. If it is tighter than 0.020', add a shim. Target: 0.025'.
- Torque the Center Bolt: Reinstall the center bolt and torque it to 11–15 lb-ft (15–20 Nm). Reconnect the electrical connector and battery.
When to Abandon the Clutch Kit and Replace the Entire Compressor
While a clutch kit costs under $100, a complete compressor replacement is often the wiser financial decision if the truck has high mileage. If your F-150 has over 120,000 miles, the internal Teflon rings and swashplate bearings are likely nearing the end of their service life. Replacing the clutch on a compressor with a failing internal shaft seal will result in refrigerant oil blowing onto the new clutch friction surface, causing immediate slippage and failure. In these cases, sourcing a complete Motorcraft or Denso compressor assembly, replacing the orifice tube, and flushing the condenser is the only way to guarantee a lasting repair.
For more in-depth diagnostic flowcharts and OEM part cross-references, consult the Motorcraft HVAC service portal or your local dealership's parts counter with your exact VIN.