The Drivetrain Crossover: Automotive Physics in Home Appliances
While AutoGearNexus primarily focuses on automotive drivetrains—ranging from the robust GM 6L80 to the precision engineering of the ZF 8HP—the fundamental physics of friction-based engagement and rotational inertia apply universally. Many of our readers are dedicated gearheads who also wrench on their own equipment at home. Today, we are applying our transmission-level diagnostic rigor to a surprisingly complex piece of household drivetrain engineering: the direct-drive top-load washing machine. Specifically, we are analyzing the Maytag washer clutch replacement time estimate, breaking down the mechanical realities that separate factory "book time" from real-world wrenching.
Whether you are dealing with a Maytag Commercial Technology model or a standard residential direct-drive unit (often manufactured by Whirlpool), the clutch assembly is the critical link between the gearcase and the spin basket. When the friction linings glaze or the engagement springs fatigue, the machine loses its ability to transfer torque, resulting in a washer that agitates but refuses to spin. Understanding the time required to replace this component requires a deep dive into the teardown sequence, seized hardware variables, and mechanical tolerances.
Anatomy of the Maytag Direct-Drive Clutch
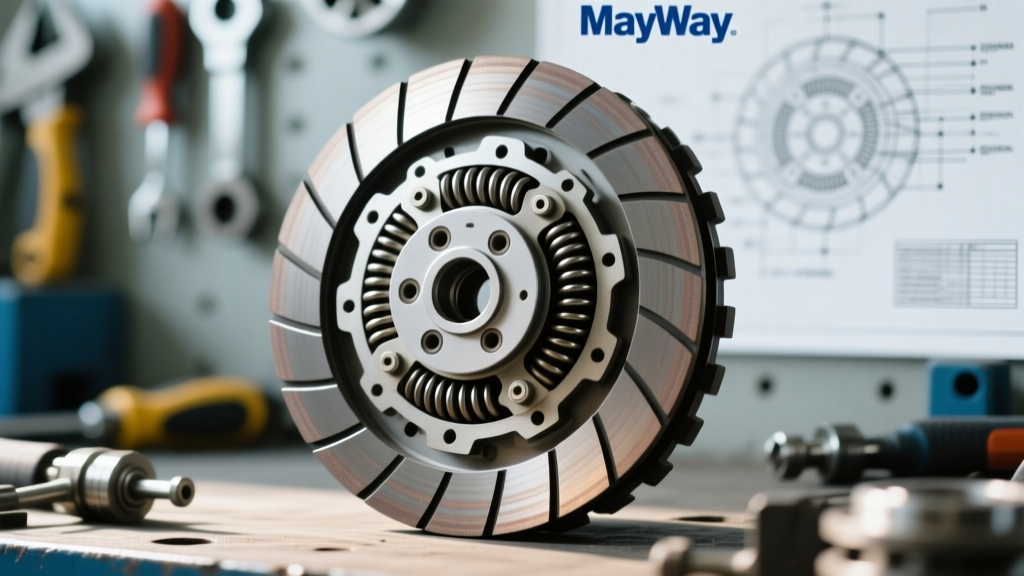
Before estimating the clock, we must understand the component. The standard Maytag/Whirlpool direct-drive clutch (common part number WPW10006355 or the updated W10536347 kit) operates on principles remarkably similar to an automatic transmission's clutch band or a centrifugal clutch in a small-block go-kart.
- The Drum and Lining: Acts as the friction surface, analogous to the friction material on a 4L60E 3-4 clutch pack. When the lining wears down to the metal backing, torque transfer drops to zero.
- The Engagement Spring: Provides the clamping force. Over thousands of spin cycles, metallurgical fatigue reduces the spring rate, leading to slip under heavy, wet loads.
- The Brake Cam and Lugs: Dictates the transition between agitation (low-speed, high-torque) and spinning (high-speed, low-torque).
According to Repair Clinic's technical database, clutch failure accounts for nearly 22% of all direct-drive spin-cycle failures, making it a high-probability diagnostic target.
The Time Estimate Matrix: Book vs. Reality
In the automotive world, a flat-rate manual dictates the job time. Appliance repair operates similarly, but the environment introduces severe variables. Below is the 2026 time estimate matrix for a complete Maytag washer clutch replacement, factoring in the removal of the cabinet, agitator, gearcase, and clutch assembly.
| Task Phase | Factory Book Time | Pro Appliance Tech (Real) | DIY Mechanic (Real) |
|---|---|---|---|
| Prep, Drain & Cabinet Removal | 12 Minutes | 15 Minutes | 35 Minutes |
| Agitator & Drive Block Extraction | 10 Minutes | 12 Minutes | 45+ Minutes* |
| Gearcase Drop & Clutch Swap | 20 Minutes | 25 Minutes | 50 Minutes |
| Reassembly & Calibration | 18 Minutes | 20 Minutes | 40 Minutes |
| Total Estimated Time | 60 Minutes | 72 Minutes | 170+ Minutes |
*Note: The DIY time for agitator extraction can exceed 2 hours if galvanic corrosion has seized the drive block to the agitator spline.
Step-by-Step Teardown & Critical Time Traps
To accurately plan your Saturday afternoon, you must account for the specific mechanical hurdles inherent to the Maytag direct-drive platform. Here is where the clock usually runs out.
Phase 1: The Agitator Bolt and Drive Block (The Great Time Thief)
Accessing the clutch requires dropping the entire gearcase, which means the agitator must come out first. The agitator is secured by a single 7/16-inch or 1/2-inch bolt deep inside the fabric softener dispenser cup. Time Trap: Because this bolt sits in a damp environment, galvanic corrosion frequently welds the steel bolt to the aluminum spline.
Pro-Tip: Do not waste 45 minutes stripping the bolt head with a standard socket. Use a 6-point impact socket and a high-torque cordless impact wrench. If the bolt snaps, you will need an EZ-Out or a left-handed drill bit, instantly adding an hour to your time estimate.
Once the bolt is out, the drive block (part # WPW10077090) must be removed using a specialized spanner wrench (TB1234). Prying it off with screwdrivers will score the transmission shaft, leading to catastrophic seal leaks later.
Phase 2: Gearcase Extraction
The gearcase is held to the main tub by three 1/2-inch hex-head bolts. Unlike automotive subframes, these bolts thread directly into stamped steel and plastic tub rings. Time Trap: The rear bolt is often obscured by the drain hose routing and the shift actuator wiring harness. Failing to disconnect the actuator motor plug before dropping the case will rip the wiring harness out of the main control board, turning a mechanical clutch job into an electrical nightmare.
Phase 3: Clutch Disassembly and Swap
With the gearcase on the bench, the clutch is held by a single C-clip and a retaining spring. This phase is rapid. However, cleaning the brake drum surface is mandatory. Just as you would use brake cleaner on a flywheel before installing a new automotive clutch disc, you must wipe down the washer's spin basket brake surface with isopropyl alcohol to remove years of accumulated fabric softener residue and metallic dust.
Torque Specifications and Reassembly Standards
Appliance manufacturers like Whirlpool (Maytag's parent company) rarely publish exact torque specs for stamped-steel chassis components in their consumer manuals. However, applying automotive drivetrain standards is critical for longevity. According to discussions on Appliance Repair Forums, experienced technicians adhere to the following mechanical tolerances:
- Gearcase Mounting Bolts (1/2-inch): Torque to 12-15 ft-lbs. Over-torquing will crack the plastic tub ring or warp the main tub seal, causing immediate water intrusion into the new clutch.
- Agitator Bolt: Torque to 15-18 ft-lbs. Use a medium-strength threadlocker (blue Loctite) to prevent vibrational backing-out during high-speed spin cycles.
- Drive Block Nut: Tighten securely with the spanner wrench and tap it with a rubber mallet to seat it fully against the splines. A loose drive block will strip the aluminum agitator splines within three loads.
Cost vs. Time ROI Analysis (2026 Perspective)
Is the time investment worth the DIY approach? Let us break down the financial realities of a Maytag washer clutch replacement in 2026.
- OEM Clutch Assembly (WPW10006355): $45 - $65
- Spanner Wrench & Specialty Tools: $25 (amortized)
- Professional Appliance Repair Labor: $120 - $180 (Flat rate diagnostic + 1 hour labor)
- Total Professional Invoice: $220 - $280+
By performing the job yourself, you save approximately $150 to $200. For a DIY mechanic accustomed to swapping a clutch on a manual transmission Honda Civic or rebuilding a valve body on a Ford 6R80, the mechanical aptitude required here is minimal. The primary investment is purely the time spent navigating the cramped, rust-prone environment of a 5-year-old washing machine.
Final Diagnostic Verdict
Before committing to the 2-to-3-hour teardown, verify the failure. If the washer agitates perfectly but the basket will not spin—and you hear a distinct grinding or slipping noise from beneath the tub—the clutch lining is exhausted. However, if the motor hums and the belt (if equipped on your specific hybrid model) squeals, check the drive pulley and shift actuator first. For comprehensive wiring diagrams and shift-actuator diagnostic codes, always consult the official Whirlpool/Maytag technical service repository using your specific model number.
Treating your appliance's drivetrain with the same respect and diagnostic rigor as your vehicle's transmission ensures that when you finally hit the "Start" button, the engagement is smooth, the torque transfer is absolute, and the spin cycle hits 800 RPM without a hint of slip.