Why the C5 Corvette is a Unique Beast
If you are diving into a C5 clutch replacement for the first time, welcome to one of the most rewarding weekend projects in the automotive world. The 1997-2004 Chevrolet Corvette (C5) is an engineering marvel, but its rear-mounted transaxle layout completely changes the rules of engagement compared to a standard front-engine, rear-transmission muscle car. Instead of unbolting a transmission from the back of the engine block, you will be working from the rear of the vehicle, dealing with a torque tube, a remote hydraulic slave cylinder, and a highly specific clutch actuation system.
As we navigate the 2026 aftermarket landscape, parts availability for the C5 remains excellent, but the margin for error is slim. This beginner-friendly explainer will walk you through the exact procedure steps, highlighting the critical pitfalls that cost novice mechanics hundreds of dollars in wasted parts and labor.
The 'Pull-Type' Trap: Buying the Right C5 Clutch Kit
Before you even pick up a wrench, we need to address the single most common mistake beginners make when ordering parts. The Tremec T56 transmission found in the C5 Corvette utilizes a pull-type clutch.
CRITICAL WARNING: Do not buy a clutch kit meant for an F-Body (Camaro/Firebird) T56. F-Body T56s use a push-type clutch. If you attempt to install a push-type clutch in your C5, it will not fit, and converting the bellhousing and input shaft to accept it is a massive, unnecessary undertaking.
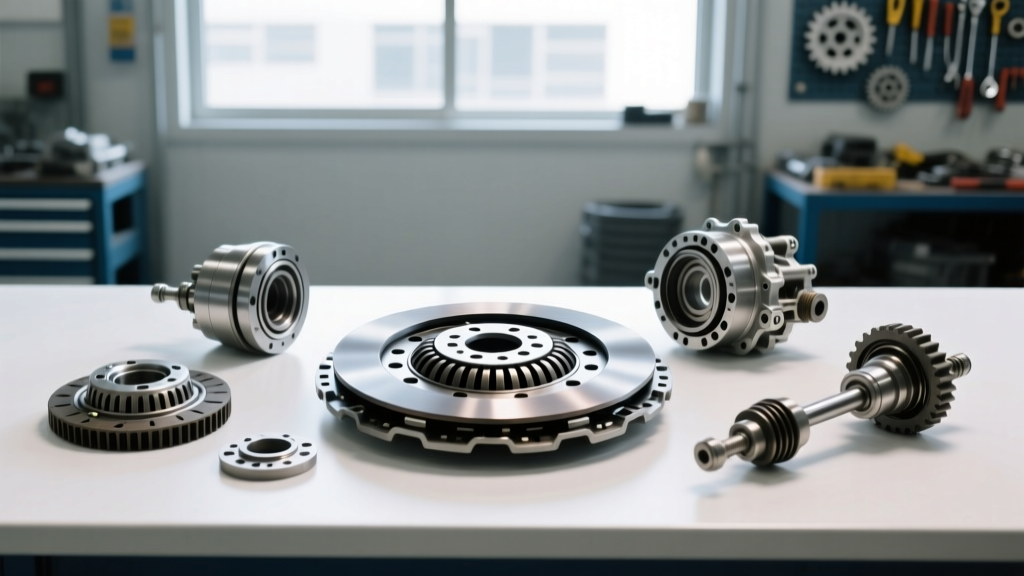
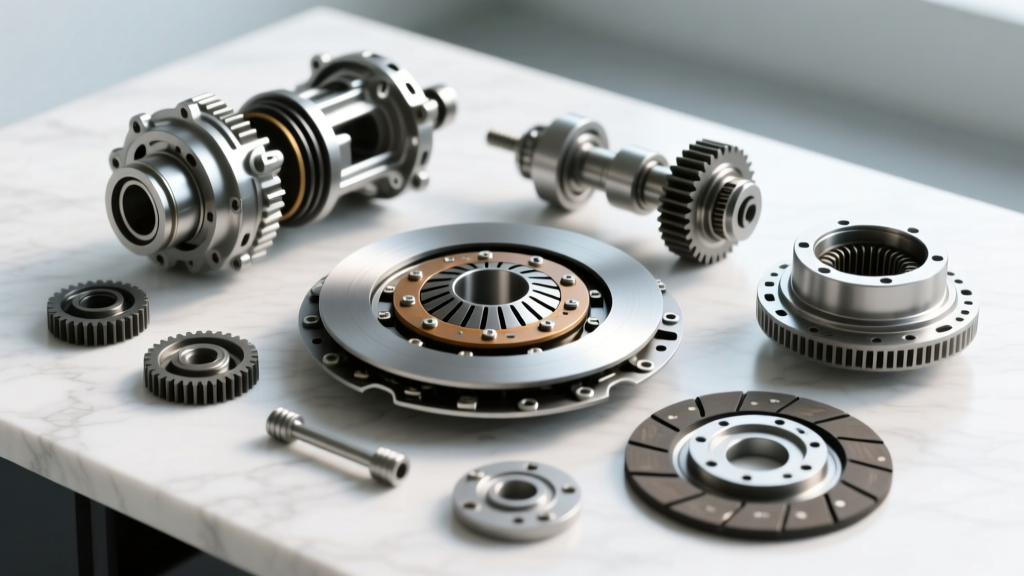
When shopping on sites like Summit Racing, ensure the kit explicitly states 'C5 Corvette Pull-Type'. The gold standard for OEM replacement is the Sachs pull-type kit (often part number Sachs 2400 118 003 or equivalent LuK numbering). These kits include the pressure plate, disc, release bearing (which is integrated into the clutch fork assembly on pull-types), and the vital alignment tool.
Phase 1: Interior and Undercarriage Prep
The C5's shifter is connected directly to the rear-mounted transaxle. You must remove it from inside the cabin before dropping the transmission.
- Disconnect the Battery: Always start by disconnecting the negative terminal. The C5's electrical system is sensitive, and you will be working near the starter and alternator wiring later.
- Remove the Shifter: Peel back the leather console boot. You will find a single bolt on the passenger side of the shifter base that locks the shifter into the tailhousing. Remove this bolt and pull the shifter straight up and out.
- Lift and Support: Raise the vehicle on a lift or high-quality jack stands. You need maximum clearance to maneuver the transaxle out from the rear.
- Drop the Exhaust: The C5 exhaust system (whether OEM mufflers or an aftermarket catted X-pipe) completely blocks access to the transaxle and torque tube. Unbolt the exhaust from the catalytic converters back and lower it safely to the floor.
Phase 2: Dropping the T56 Transaxle
Here is where the C5's architecture shines. You do not need to remove the massive torque tube from the engine block. The torque tube and bellhousing can remain bolted to the chassis and engine while you slide the transaxle out the back.
Disconnecting the Hydraulics and Linkage
Locate the hydraulic clutch line running from the master cylinder to the slave cylinder inside the bellhousing. The C5 uses a quick-disconnect fitting. Use a specialized fuel-line disconnect tool or carefully compress the plastic retaining tabs to pull the line free. Have a catch pan ready, as DOT 3/4 brake fluid will leak out. Cap the line immediately to prevent the master cylinder from draining completely.
Unbolting the Transaxle
Support the transaxle with a transmission jack. Remove the six bolts securing the T56 transaxle case to the rear of the bellhousing. According to Tremec's technical documentation, these are typically M12 bolts requiring a 37 lb-ft torque spec upon reassembly. Once the bolts are out, gently pry the transaxle away from the bellhousing dowels and slide it straight rearward. Lower the transaxle to the ground.
Phase 3: Flywheel and Clutch Installation
With the transaxle out, you now have clear access to the flywheel through the open back of the bellhousing. This is the most critical phase of the C5 clutch replacement procedure.
Flywheel Assessment and Torque Specs
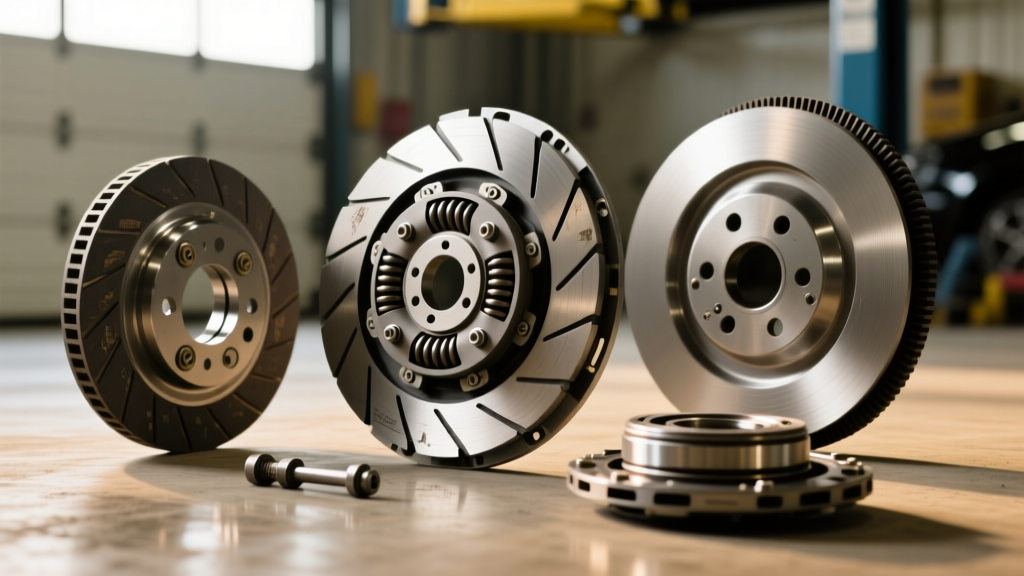
Inspect the flywheel for heat spots, bluing, or deep grooves. While some machine shops can resurface an LS1/LS6 flywheel, the 2026 consensus among Corvette specialists is to replace it if it has more than 30,000 miles of hard use. A warped flywheel will cause immediate chatter with a new pull-type clutch.
| Component | Fastener Size | Torque Specification | Notes |
|---|---|---|---|
| Flywheel to Crankshaft (OEM) | M10 x 1.5 | 15 lb-ft + 53 Degrees | Use new OEM torque-to-yield bolts |
| Flywheel to Crankshaft (ARP) | M10 x 1.5 (ARP 134-2503) | 74 lb-ft | ARP bolts are reusable; use ARP lube |
| Pressure Plate to Flywheel | M8 | 35 lb-ft | Star pattern sequence |
| Transaxle to Bellhousing | M12 | 37 lb-ft | Apply medium threadlocker |
The Pull-Type Alignment Challenge
Unlike a push-type clutch where the diaphragm fingers point outward, a pull-type clutch's fingers point inward toward the transmission. A standard 'T-handle' alignment tool will not work. You must use the specific pull-type alignment sleeve included in your Sachs/LuK kit, or purchase a dedicated tool like the Kent-Moore J-38873 equivalent. If the disc is not perfectly centered on the input shaft, the transaxle will not slide back into the bellhousing, and you risk bending the clutch fork.
Torque the pressure plate bolts to 35 lb-ft in a crisscross pattern, gradually pulling the clutch down against the flywheel. Once torqued, remove the alignment tool.
Phase 4: Reassembly and Hydraulic Bleeding
Reversing the removal process requires patience. Apply a very light coat of high-temperature grease to the input shaft splines—do not over-grease, as excess grease will sling onto the clutch disc and cause immediate slipping.
Slide the transaxle forward into the bellhousing. Ensure the clutch fork properly engages with the release bearing. Reinstall the six transaxle-to-bellhousing bolts and torque to 37 lb-ft.
Bleeding the Remote Slave Cylinder
The C5 hydraulic clutch system is notorious for trapping air because the slave cylinder sits lower than the master cylinder. To bleed it properly:
- Fill the remote reservoir (located under the passenger side hood hinge) with fresh DOT 4 fluid.
- Reconnect the quick-disconnect hydraulic line until it clicks.
- Have an assistant pump the clutch pedal 15-20 times with the bleeder screw on the slave cylinder closed to build pressure.
- Open the bleeder screw to release air, close it, and repeat until the fluid is completely free of micro-bubbles.
- Verify pedal feel. It should be firm and consistent. For more community-tested bleeding tricks, the archives at the CorvetteForum C5 Tech section remain an invaluable resource.
Cost Breakdown: DIY vs. Professional Shop
Understanding the financial landscape helps you appreciate the value of turning the wrenches yourself. Below is a realistic cost comparison for a standard C5 clutch replacement in today's market.
| Expense Category | DIY Approach | Professional Corvette Shop |
|---|---|---|
| Clutch Kit (Pull-Type) | $350 - $450 | $400 - $550 (Shop markup) |
| Flywheel (OEM Replacement) | $250 - $350 | $300 - $450 |
| Fluids, Bolts, & Tools | $75 - $120 | Included in labor/parts fee |
| Labor (4-6 Hours) | $0 (Your Time) | $600 - $900 |
| Total Estimated Cost | $675 - $920 | $1,300 - $1,900 |
Post-Installation: The Break-In Procedure
Your C5 clutch replacement isn't truly finished until the clutch is properly bedded. For the first 500 miles, avoid wide-open throttle (WOT) pulls, aggressive launch control, and 'lugging' the engine at low RPMs in high gears. Drive with varied RPMs in stop-and-go traffic to allow the friction material to mate evenly with the flywheel surface. Skipping this step will lead to premature glazing and a shuddering pedal that will force you to drop the transaxle all over again.