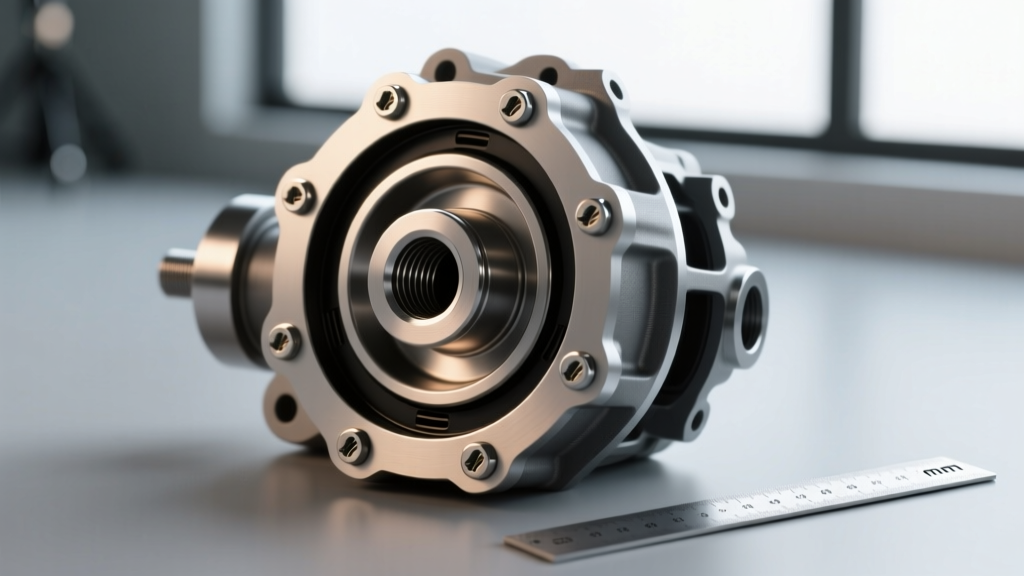
The 6F35 Transmission and the Importance of Precision Fitment
When diagnosing drivetrain NVH (Noise, Vibration, and Harshness) or performing a transmission swap, understanding the exact specifications of the 2013 Ford Escape torque converter is non-negotiable. The 2013 model year marked a critical transition for the Escape, introducing the second generation of the vehicle and heavily utilizing the Ford 6F35 six-speed automatic transmission. Whether paired with the 1.6L EcoBoost, the 2.0L EcoBoost, or the naturally aspirated 2.5L Duratec, the 6F35 relies on precise torque converter mating to maintain hydraulic pressure and mechanical balance.
In 2026, as these vehicles age and enter their second or third transmission lifecycle, aftermarket replacements and rebuilt units are common. However, incorrect bolt pattern assumptions, improper seating depth, and flawed torque sequences remain the leading causes of premature 6F35 oil pump failure and severe torque converter clutch (TCC) shudder. This technical deep-dive explores the exact dimensional metrics, bolt patterns, and symptom-diagnosis protocols required for flawless fitment.
Decoding the 6F35 Torque Converter Bolt Pattern
The 2013 Ford Escape torque converter interfaces with the engine via the flexplate. Unlike older Ford C6 or AOD transmissions that utilized complex multi-pattern flexplates, the 6F35 utilizes a highly specific, application-dependent bolt pattern. Misidentifying this pattern or attempting to use an adapter plate for a mismatched junkyard unit will result in immediate rotational imbalance.
| Specification | Measurement / Value | Technical Notes |
|---|---|---|
| Flexplate Bolt Pattern | 4-Bolt | Standard for 6F35 Gen 2 applications |
| Bolt Circle Diameter | 240.0 mm (9.45 in) | Measure center-to-center across the diagonal |
| Pilot Hub Diameter | 33.5 mm (1.319 in) | Must precisely match the crankshaft pilot bore |
| TC-to-Flexplate Bolt Size | M10 x 1.25 | Grade 10.9 minimum; OEM flanged hex head |
| Seating Depth (Flush Check) | 10.0 mm - 14.0 mm | Measured below the bellhousing mating surface |
According to data published by Sonnax Industries, the 240mm bolt circle is a hallmark of Ford's front-wheel-drive transverse platforms. The 4-bolt pattern is asymmetrical in some heavy-duty EcoBoost applications to prevent installation at the wrong rotational index, which would throw the engine assembly out of neutral balance by several ounces.
Critical Fitment Metrics: Preventing the "Pump Crunch"
The most catastrophic mistake a technician can make when installing a 2013 Ford Escape torque converter is failing to verify the seating depth. The 6F35 transmission utilizes an internal gear-type oil pump driven by the torque converter's rear hub (the stator support/pump drive tangs).
The Three-Point Seating Protocol
Before the transmission is mated to the engine block, the torque converter must pass the three-point seating check. You must feel and hear three distinct mechanical engagements as you slide the TC onto the transmission input shaft:
- Engagement 1: The Turbine Spline. The internal splines of the torque converter mate with the transmission input shaft. This requires slight rotational wiggling to align the teeth.
- Engagement 2: The Stator Support. The converter hub slides over the stator support shaft, which houses the front seal and provides radial stability.
- Engagement 3: The Pump Drive Gear. The flat tangs on the rear of the converter hub must fully slot into the inner drive gear of the transmission oil pump.
If the third engagement is missed, the torque converter will sit approximately 12mm to 15mm too far outward. When the transmission is bolted to the engine block, the bellhousing will forcefully push the converter inward. Because the pump gear is not engaged to accept this axial travel, the converter hub will crush against the pump housing. This results in the infamous "Pump Crunch," instantly fracturing the cast aluminum or powdered metal pump housing. As noted in diagnostic bulletins by Transmission Digest, this failure leads to immediate zero-line-pressure upon first startup, burning out the clutch packs before the vehicle ever moves.
Symptom Diagnostics: When Fitment or Hardware Fails
Even if the pump survives installation, marginal fitment errors manifest as distinct drivability symptoms. Understanding these symptoms is crucial for accurate warranty diagnosis and avoiding unnecessary transmission teardowns.
1. High-Frequency NVH and Highway Vibration
The Symptom: A 30Hz to 45Hz vibration felt primarily through the floorpan and steering wheel at speeds between 45 and 65 mph, often worsening under light throttle load. The Fitment Cause: This is rarely a TCC issue if it occurs outside of lockup RPM ranges. It is typically caused by flexplate warping due to an improper torque sequence on the crankshaft bolts, or the use of incorrect M10x1.25 torque converter bolts that bottom out in the flexplate pad. When a bolt bottoms out before clamping the flexplate to the TC pad, the converter operates slightly off-axis, creating a severe rotational wobble. Always verify that there is a minimum of 2mm of thread protrusion past the flexplate nut or pad when test-fitting.
2. TCC Shudder and Fluid Starvation
The Symptom: A rhythmic shaking or "rumble strip" feeling when the Torque Converter Clutch attempts to apply in 4th, 5th, or 6th gear, accompanied by erratic line pressure data on a bi-directional scan tool. The Fitment Cause: If the torque converter pilot hub (33.5mm) is worn, or if the crankshaft pilot bore was not cleaned of debris during engine installation, the converter will sit off-center. This eccentricity causes the rear hub to bind against the stator support and front pump bushing. The resulting friction generates excessive heat, degrading the friction material on the TCC clutch lining and causing microscopic metal contamination that clogs the 6F35's delicate valve body solenoids. Using a micrometer to verify the pilot hub diameter and applying a thin layer of high-temperature assembly lube to the pilot is mandatory.
3. Whining and Cavitation at Idle
The Symptom: A high-pitched whine that changes pitch with engine RPM, most audible in Park or Neutral. The Fitment Cause: This indicates pump cavitation. If the torque converter was not pre-filled with ATF before installation, or if the seating depth was marginally shallow (e.g., 5mm instead of 12mm), the pump gears are only partially engaged. This creates a vacuum leak at the pump suction side, drawing air into the hydraulic circuit. Always pre-fill the 2013 Ford Escape torque converter with at least 1.5 quarts of MERCON LV fluid through the stator support area before mating it to the flexplate.
OEM vs. Aftermarket: Part Numbers and Torque Specs
Sourcing the correct hardware is just as critical as the installation technique. While Ford Motorcraft Parts remains the gold standard for OEM replacements, high-quality aftermarket remanufactured units from suppliers like Stallion or Precision International are widely used in 2026. Regardless of the source, the fastening specifications must be strictly adhered to.
Crucial Torque Specifications for the 6F35
- Flexplate to Crankshaft Bolts: 76 lb-ft (103 Nm) plus an additional 60-degree turn. (Note: These are Torque-To-Yield bolts and must be replaced every time they are removed).
- Torque Converter to Flexplate Bolts: 37 lb-ft (50 Nm). Do not exceed this spec, as the flexplate mounting pads are relatively thin and can deform, leading to the vibration symptoms mentioned above.
- Transmission to Engine Block Bellhousing Bolts: M12 bolts torqued to 59 lb-ft (80 Nm); M10 bolts torqued to 35 lb-ft (47 Nm).
Step-by-Step Installation Protocol for the 2013 Escape
To ensure a flawless installation and eliminate post-repair comebacks, follow this condensed protocol:
- Verify the Part: Confirm the 4-bolt, 240mm pattern and measure the pilot hub with digital calipers.
- Prep the Crank: Clean the crankshaft pilot bore with a wire brush and brake cleaner. Ensure no rust or old sealant remains.
- Lube and Seat: Apply a light coat of MERCON LV to the transmission input shaft splines and the front pump seal lip. Slide the TC on, rotating slightly until all three engagements are felt.
- Measure Depth: Place a straightedge across the bellhousing mating surface. Use a machinist ruler to measure the drop to the torque converter mounting pads. It must read between 10mm and 14mm.
- Secure for Transit: If the transmission must be moved or stored before engine mating, bolt a piece of wood or a specialized TC retention strap across the bellhousing face to prevent the converter from sliding forward and disengaging from the pump.
- Final Mating: Guide the transmission to the engine block. Never use the bellhousing bolts to draw the transmission to the engine if there is a gap. If it does not slide flush by hand, the torque converter is not fully seated. Remove the transmission and re-seat the converter.
Conclusion
The 2013 Ford Escape torque converter is a precision hydraulic component that demands exact adherence to dimensional specifications and torque values. By respecting the 6F35's 4-bolt pattern, verifying the critical 10-14mm seating depth, and diagnosing NVH symptoms through the lens of mechanical fitment, technicians and DIY enthusiasts can ensure long-term reliability and optimal drivetrain performance.