The Deceptive Simplicity of the Ford C4 SelectShift
The Ford C4, affectionately known as the SelectShift, is a cornerstone of classic American automotive history. Produced from 1964 through 1981, this robust 3-speed automatic transmission is a staple in early Mustangs, Falcons, and F-100s. Because of its relatively simple hydraulic design and lack of complex electronics, the Ford C4 transmission rebuild is often viewed as an ideal entry point for DIY mechanics and weekend warriors.
However, this perceived simplicity is a trap. The C4's hydraulic tolerances and mechanical clearances are unforgiving. A single miscalculation during assembly can result in catastrophic hard-part failure, burnt clutch packs, or a transmission that refuses to shift out of first gear. Whether you are building a mild street cruiser or a 600-horsepower drag racing monster, avoiding common assembly errors is the difference between a bulletproof drivetrain and a very expensive boat anchor. Below, we break down the five most critical mistakes made during a C4 rebuild and provide the exact specifications needed to do it right.
Mistake 1: Blind Assembly and Ignoring Endplay
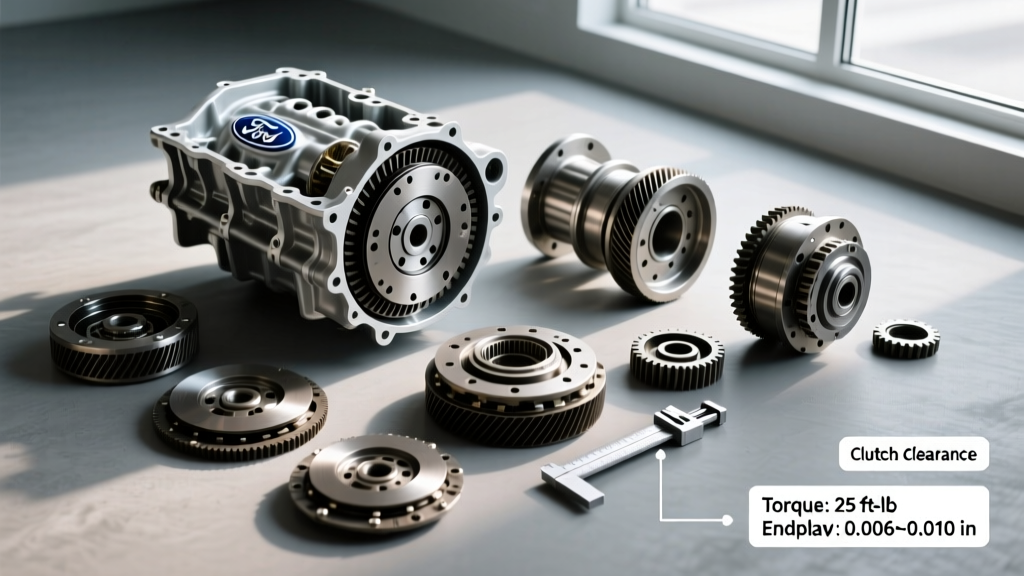
The most frequent—and destructive—mistake in a Ford C4 transmission rebuild is failing to measure and set the total geartrain endplay. Unlike modern transmissions with complex thrust bearing setups, the C4 relies on selective thrust washers to maintain proper clearance between the planetary gearsets.
The Specifications
- Target Endplay: 0.010 to 0.029 inches
- Adjustment Method: Selective thrust washers (located behind the front ring gear or rear sun gear, depending on the specific model year and case casting)
If endplay is too tight (under 0.010), the planetary gears will bind when the transmission reaches operating temperature, leading to shattered sun shells and burnt washers. If it is too loose (over 0.035), the geartrain will physically slam back and forth during shifts, causing premature wear to the output shaft and clutch drum splines.
Expert Fix: Never assemble a C4 without a magnetic dial indicator mounted to the bellhousing. Measure the endplay before installing the front pump. If your measurement is out of spec, swap the selective thrust washer. Ford originally offered these in thicknesses ranging from 0.060 to 0.120 inches (part number series C4AZ-7D010). Aftermarket suppliers like Summit Racing Equipment still stock complete selective washer kits for precise dialing.
Mistake 2: Guessing Clutch Pack Clearances
The C4 utilizes two primary clutch packs: the Forward clutch and the Direct (High) clutch. Rebuilders often make the mistake of simply stacking the frictions and steels from a master kit and slamming the snap ring in without checking the clearance. Clutch packs that are too tight will drag and overheat; packs that are too loose will result in flared, slipping shifts that glaze the friction material in minutes.
Exact Clearance Targets
- Forward Clutch Pack: 0.020 to 0.035 inches
- Direct Clutch Pack: 0.020 to 0.035 inches
To achieve these clearances, you must use selective snap rings. The C4 snap rings typically range from 0.060 to 0.098 inches in thickness. When using high-performance friction materials, such as Raybestos GPZ or Alto Red Eagle Kevlar-lined plates, always consult the manufacturer's specific clearance guidelines, as some high-energy frictions require slightly looser clearances (up to 0.040) to account for thermal expansion and fluid bleed-off.
Mistake 3: Pump Housing Damage via Misalignment
The front pump on a C4 is a crescent-style gear pump. The inner pump gear is driven by the torque converter hub, while the outer gear is driven by the inner gear. The stator support tube passes directly through the center of this assembly. A classic rookie mistake is forcing the pump assembly into the case or using the pump mounting bolts to 'draw' the pump down into the case.
If the torque converter is not fully seated into the inner pump gear (you must hear three distinct 'clunks' when seating the converter: input shaft, stator, and pump gear), tightening the pump bolts will instantly crack the cast-iron pump housing or gall the aluminum stator support. Furthermore, misalignment will cause the pump gears to bind, resulting in zero line pressure and immediate transmission failure upon engine start.
Torque Specification: Once the pump is verified to drop into the case flush by hand, torque the pump-to-case bolts to 12-15 ft-lbs. Always rotate the input shaft by hand after torquing to ensure smooth, drag-free rotation.
Mistake 4: Valve Body Warpage and Cross-Leaks
The C4 valve body is a complex maze of hydraulic circuits routed through the separator plate and gaskets. Two major errors occur here: using the wrong year-specific gaskets, and over-torquing the valve body bolts.
Ford made subtle changes to the C4 separator plate and valve body casting throughout its production run. Using a 1970 separator plate gasket on a 1968 valve body will block critical fluid orifices, resulting in no reverse or locked-up shifts. Furthermore, the valve body is made of relatively soft aluminum. Mechanics accustomed to modern torque specs often over-tighten the valve body bolts, warping the casting and causing internal cross-leaks between the line pressure and shift circuits.
Expert Fix: Always use a matched gasket set from a reputable manufacturer like TransGo, ensuring the kit matches your exact case casting number. Torque the valve body-to-case bolts to exactly 5-7 ft-lbs (60-84 in-lbs). Follow a crisscross tightening pattern to ensure even clamping force.
Mistake 5: The '1.5 Turns' Intermediate Band Myth
The intermediate band provides engine braking in second gear and holds the drum during the 1-2 shift. The factory Ford service manual historically recommended backing off the intermediate band adjustment screw exactly 1.5 turns after torquing it to 10 ft-lbs. While this works for standard OEM-style bands, it is a massive mistake when using modern aftermarket performance bands.
If you install a heavy-duty Kevlar-lined intermediate band (highly recommended for any C4 making over 300 horsepower), the 1.5-turn rule will often leave the band too loose, causing a severe 1-2 shift flare and rapid band burnout. Performance bands typically require backing the screw off 2.0 to 2.5 turns, or utilizing a specific aftermarket adjustment screw with a different thread pitch. Always defer to the band manufacturer's instructions over the 50-year-old Ford factory manual.
Ford C4 Rebuild Cost Breakdown
Understanding the financial commitment is crucial when deciding between a DIY approach and hiring a professional. Below is a realistic cost breakdown for a Ford C4 transmission rebuild in 2026, factoring in current parts pricing and machine shop rates.
| Component / Service | DIY Cost Estimate | Professional Shop Cost |
|---|---|---|
| Master Rebuild Kit (Frictions, Steels, Gaskets) | $140 - $220 | $180 - $250 (Shop Markup) |
| High-Performance Band & Clutch Upgrades | $80 - $150 | $120 - $200 |
| Hard Parts (Pump, Drums, Sun Shell - if needed) | $100 - $350 | $150 - $450 |
| Machine Work (Case Boring, Valve Body Resurfacing) | $150 - $250 | Included in Labor/Overhead |
| Shift Kit (e.g., TransGo SK-C4) | $40 - $60 | $60 - $90 |
| Assembly Labor & Dyno Testing | $0 (Your Time) | $800 - $1,400 |
| Total Estimated Cost | $510 - $1,030 | $1,310 - $2,390 |
Note: Prices vary based on region, core condition, and whether you are building a stock replacement or a high-stall drag racing unit. For deep-dive technical resources and specialty C4 components, Baumann Engineering remains an industry-leading authority.
Final Verdict: Measure Twice, Build Once
A Ford C4 transmission rebuild is a highly rewarding project that can save you thousands of dollars compared to buying a crate transmission or paying a specialty shop. However, the margin for error is razor-thin. By investing in a quality dial indicator, a set of selective snap rings, and a calibrated inch-pound torque wrench, you eliminate the guesswork that destroys amateur builds. Respect the clearances, follow the torque sequences, and your SelectShift will deliver decades of reliable, crisp-shifting performance.