The Drivetrain Dilemma: PTO Clutch vs. Hydrostatic Transmission
When a Cub Cadet lawn tractor or zero-turn mower loses its ability to engage the blades or drive the wheels, owners are immediately faced with a costly diagnostic crossroads. Is the failure rooted in a localized electrical or friction component, or has the main hydrostatic transmission suffered a catastrophic internal blowout? Making the correct transmission rebuild vs replacement decision requires precise troubleshooting. Often, what feels like a total drivetrain failure is actually a seized PTO clutch bearing or a burnt field coil. In these cases, utilizing a cub cadet pto clutch rebuild kit can save you over a thousand dollars compared to unnecessarily replacing a hydrostatic drive unit.
This step-by-step guide will walk you through isolating the failure point, evaluating the viability of a PTO clutch rebuild, and making the ultimate financial decision between rebuilding components or replacing the entire Cub Cadet transmission assembly.
Step 1: Isolate the Failure Point (Triage)
Before ordering parts or tearing down the chassis, you must determine whether the Hydro-Gear transmission (commonly the ZT-2800 or 3100 series on Cub Cadet ZT models) or the PTO clutch is at fault. The symptoms often overlap, but the mechanical realities are vastly different.
- Symptom A: Engine bogs down or stalls when the PTO switch is pulled. This usually indicates a seized PTO clutch bearing, a shorted field coil, or an air gap that has closed completely, causing the clutch to drag on the crankshaft. The transmission is likely fine.
- Symptom B: PTO engages, blades spin, but the tractor will not move forward or reverse. This isolates the failure to the hydrostatic transmission. The charge pump may have failed, or the swash plate is stuck.
- Symptom C: A loud grinding noise emanates from the belly of the mower regardless of blade engagement. This points to a failing PTO rotor bearing or a damaged crankshaft main seal, requiring immediate PTO removal to prevent engine block damage.
According to Jack's Small Engines, misdiagnosing a seized PTO clutch as a locked-up hydrostatic transmission is one of the most common and expensive mistakes DIYers make in small engine repair.
Step 2: Evaluate the Cub Cadet PTO Clutch Rebuild Kit Option
If your diagnostics point to the PTO clutch, your next decision is whether to buy a complete OEM replacement assembly or use a cub cadet pto clutch rebuild kit. It is vital to understand that while many residential Ogura clutches are sealed and must be replaced as a single unit, heavy-duty and commercial Cub Cadet models frequently use serviceable Warner Electric or Xtreme PTO clutches.
What is Included in a Rebuild Kit?
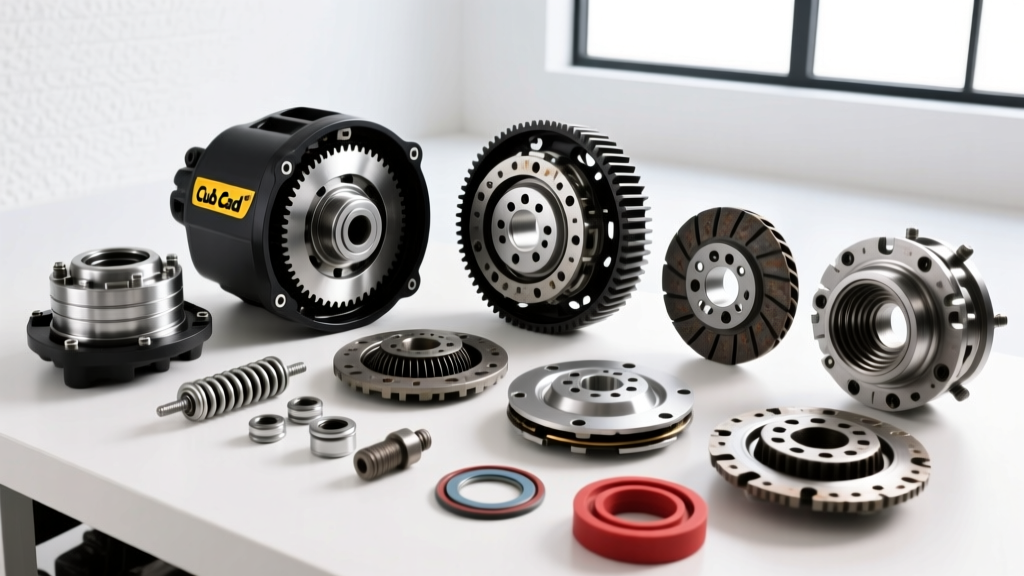
A standard PTO clutch rebuild kit (such as those for the Warner 5218 series or commercial Ogura GT2.5 equivalents) typically includes:
- Replacement armature and rotor bearings (usually 6203 or 6304 sealed deep-groove ball bearings).
- Friction lining discs (for models with bolt-on friction surfaces rather than molded epoxy).
- Replacement field coil assemblies (if the internal copper windings have shorted out due to heat and moisture ingress).
- Shims and snap rings for resetting the air gap.
Expert Insight: If your Cub Cadet features a fully molded, epoxy-sealed residential PTO clutch (common on the XT1 and XT2 series), rebuild kits are generally not available or cost-effective. In those cases, you bypass the rebuild kit and move straight to a full clutch replacement. However, for commercial ZT1 and ZT2 models, a rebuild kit is the gold standard for extending drivetrain life.
Step 3: The Rebuild vs. Replace Cost & Labor Matrix
To make an informed transmission rebuild vs replacement decision, you must weigh the cost of parts against the specialized labor required. Below is a 2026 pricing matrix for Cub Cadet drivetrain repairs.
| Repair Scenario | Estimated Parts Cost | Labor / Difficulty | Verdict |
|---|---|---|---|
| PTO Clutch Rebuild Kit (Bearings/Coil) | $45 - $95 | Moderate (2-3 Hours) | Highly Recommended for Commercial Clutches |
| Complete OEM PTO Clutch Replacement | $180 - $320 | Easy (1 Hour) | Best for Sealed Residential Clutches |
| Hydrostatic Transmission Rebuild (Seal/Charge Pump Kit) | $150 - $350 | Extreme (10+ Hours, Clean Room Required) | Not Recommended for DIY; High Risk of Failure |
| Complete Hydrostatic Transmission Replacement | $900 - $1,650 | Moderate (3-5 Hours) | Recommended for Catastrophic Hydro-Gear Failures |
As the data shows, while a hydrostatic transmission rebuild kit is cheap on paper, the Hydro-Gear service manuals explicitly state that rebuilding these units requires specialized honing tools, precise charge pressure testing, and a contamination-free environment. Therefore, the industry standard for hydrostatic failure is replacement, whereas PTO clutch failure is highly suited for a rebuild via kit.
Step 4: Step-by-Step PTO Clutch Rebuild Procedure
If you have determined that a rebuild kit is the correct path for your serviceable PTO clutch, follow these precise steps to ensure proper engagement and prevent crankshaft damage.
1. Safe Removal and Disassembly
Disconnect the negative battery terminal. The center PTO bolt is torqued to factory specifications (typically 55 ft-lbs for Kohler engines and 65 ft-lbs for Kawasaki FR/FS series). Use a strap wrench or an impact wrench to break the bolt loose. Slide the clutch assembly off the crankshaft, noting the orientation of the wiring harness.
2. Bearing and Coil Replacement
Remove the snap rings securing the rotor and armature. Press out the old bearings using a hydraulic press or a threaded bearing puller. Press the new bearings from your rebuild kit into the housing, ensuring you apply pressure only to the outer race to avoid brinelling the bearing internals. If replacing the field coil, route the new wiring harness away from the exhaust manifold to prevent heat degradation.
3. Setting the Critical Air Gap
This is where most DIY rebuilds fail. The air gap between the rotor and the armature must be perfectly calibrated. If it is too wide, the magnetic field will not engage the blades. If it is too tight, the clutch will drag, overheat, and eventually seize the crankshaft.
- Insert feeler gauges through the inspection slots in the armature.
- The target air gap for most Warner and Ogura commercial clutches is 0.014 to 0.018 inches.
- Adjust the gap using the shims provided in your rebuild kit.
- Rotate the clutch a full 360 degrees and check the gap at three equidistant points to ensure the armature is not warped.
4. Reinstallation and Torque Specs
Slide the rebuilt clutch back onto the crankshaft. Apply a medium-strength threadlocker (such as Loctite 243) to the center bolt threads. Torque the bolt to 55-65 ft-lbs depending on your specific engine manufacturer's specifications found on the Cub Cadet OEM Technical Documents portal.
Step 5: Making the Final Transmission Replacement Decision
What happens if your PTO clutch rebuild kit installation was successful, the blades engage perfectly, but the tractor still refuses to drive? You have now officially isolated the failure to the hydrostatic transmission.
When to Rebuild the Transmission
Rebuilding a Hydro-Gear 3100 series or ZT-2800 transmission is generally reserved for professional shops with dedicated clean rooms. If the failure is limited to an external charge pump or a leaky output shaft seal, you can perform a 'partial rebuild' without splitting the main casing. However, if the tractor has suffered a loss of hydraulic fluid, or if metal flakes are present on the magnetic dipstick, the internal gerotor gears and swash plates are scored.
When to Replace the Entire Unit
For 95% of home mechanics and even many commercial landscaping fleets, the correct decision is a complete transmission replacement. A remanufactured or brand-new Hydro-Gear unit comes pre-filled with the correct 20W-50 synthetic hydrostatic fluid, pre-purged of air, and carries a factory warranty. Attempting to rebuild a severely damaged hydrostatic transmission using a basic seal kit often results in 'whining' noises, poor tracking, and eventual secondary failure due to microscopic metal contamination that cannot be flushed out in a standard garage environment.
Summary: Diagnose First, Spend Second
The decision between a transmission rebuild, a full replacement, or a simple PTO service hinges entirely on accurate diagnostics. By understanding the symptoms of a failing PTO clutch versus a blown hydrostatic pump, you can confidently utilize a Cub Cadet PTO clutch rebuild kit to solve localized friction and bearing issues. Reserve your budget for a complete transmission replacement only when the hydraulic drive system has suffered undeniable internal catastrophic failure. Always adhere to precise torque specs and air gap measurements to ensure your Cub Cadet returns to the field with factory-level reliability.