Introduction to the Ford 8.8 Differential Rebuild
Rebuilding a rear axle is one of the most rewarding yet unforgiving tasks in automotive drivetrain work. The Ford 8.8-inch rear end, ubiquitous in everything from the Foxbody Mustang to the F-150 and Explorer, is a robust platform capable of handling immense torque when assembled correctly. However, a successful differential rebuild extends far beyond simply pressing on new bearings and torquing ring gear bolts. The true test of a rebuild lies in the microscopic mating of the ring and pinion gears during the initial miles of operation. This guide provides a comprehensive, step-by-step workshop procedure for tearing down, measuring, and reassembling the Ford 8.8 differential, culminating in the critical break-in protocol utilizing a premium synthetic lubricant.
Phase 1: Teardown and Core Inspection
Before any precision measurements can occur, the axle must be stripped to its bare housing. Begin by draining the old gear oil and removing the differential cover. Inspect the drained fluid for metallic particulate; a fine grey paste is normal wear, but chunky ferrous shards or brass-colored flakes indicate catastrophic bearing or thrust washer failure.
Housing and Bore Inspection
Using a bearing puller and a 20-ton shop press, carefully remove the carrier and pinion bearings. Once the housing is bare, clean it thoroughly with a high-flash solvent. The most critical, often-overlooked step in a rebuild is checking the carrier bearing bores for 'housing spread.' Under heavy load, the Ford 8.8 housing can flex outward, causing the carrier bearings to lose preload and the ring gear to deflect away from the pinion. Use a dial bore gauge to measure the carrier bearing bores. If the bores are out of round by more than 0.002 inches, the housing must be line-honed or sleeved by a professional machine shop before proceeding.
Phase 2: Precision Setup and Shimming
Setting up the gear mesh is an exercise in patience and precision. You are attempting to balance three interdependent variables: pinion depth, pinion bearing preload, and ring gear backlash.
Pinion Depth and Bearing Preload
Pinion depth dictates how deeply the pinion gear meshes into the ring gear. This is adjusted via shims located between the pinion head and the inner bearing race. Using a pinion depth setting tool (such as the OTC 7149), measure the distance from the pinion head to the centerline of the carrier bore. Compare this to the etching on the face of your new pinion gear. For the Ford 8.8, the nominal pinion depth is typically around 2.715 inches, but always defer to the specific manufacturing variance etched on your gear set.
Once depth is established, set the pinion bearing preload. While the factory utilized a crush sleeve to achieve preload, professional builders strongly recommend installing a solid pinion spacer kit (like the Yukon Gear & Axle F8.8-SK). A solid spacer eliminates the risk of the sleeve over-crushing during high-RPM shifts or heavy towing, maintaining a consistent 14 to 19 inch-pounds of rotational preload on new bearings.
Backlash and Contact Pattern
Backlash is the rotational play between the ring and pinion gears. Too little backlash, and the gears will bind and overheat as they thermally expand; too much, and the axle will clunk under load reversal. Mount a magnetic dial indicator to the housing, positioning the plunger perpendicular to the face of a ring gear tooth. Rotate the ring gear back and forth while holding the pinion stationary. Adjust the carrier side shims (or adjuster nuts on independent suspension models) until you achieve the target specification.
| Parameter | Specification / Target | Notes |
|---|---|---|
| Ring Gear Backlash | 0.008' - 0.012' | Measure at 3 equidistant points on the ring |
| Pinion Bearing Preload | 14 - 19 in-lbs | Measured with solid spacer and new bearings |
| Carrier Bearing Preload | 0.004' - 0.006' shim pack | Requires tight press-fit; use case spreader |
| Ring Gear Bolt Torque | 70 - 85 lb-ft | Apply Red Loctite 271; use star pattern |
| Pinion Nut Torque | 200 - 250 lb-ft | Yields crush sleeve; use solid spacer instead |
After achieving the correct backlash, apply a thin coat of yellow gear-marking compound to the drive and coast sides of the ring gear teeth. Rotate the assembly under moderate resistance. The contact pattern should be centered on the tooth face, slightly biased toward the heel on the drive side. If the pattern is high or low, adjust the pinion depth shim accordingly and repeat the process.
Phase 3: Final Assembly and Sealing
With the setup verified, the final assembly can commence. Apply a high-strength threadlocker to the ring gear bolts and torque them to 85 lb-ft in a crisscross pattern. If your 8.8 is equipped with a Trac-Lok limited-slip differential, ensure the clutch packs are properly shimmed and pre-loaded. Install the carrier into the housing using a differential case spreader to avoid damaging the bearing races or the housing bores. Finally, install the pinion seal, ensuring it is driven perfectly flush to prevent immediate gear oil leaks.
Phase 4: Fluid Selection and the Break-In Procedure
The mechanical rebuild is only half the battle. The lifecycle of your freshly cut ring and pinion depends entirely on the initial lubrication and thermal cycling. During the first few hundred miles, the microscopic asperities on the gear teeth mate and wear into one another. This process generates immense localized friction and heat. Selecting a premium synthetic lubricant is non-negotiable for post-rebuild protection.
Why Formulation Matters for Fresh Gears
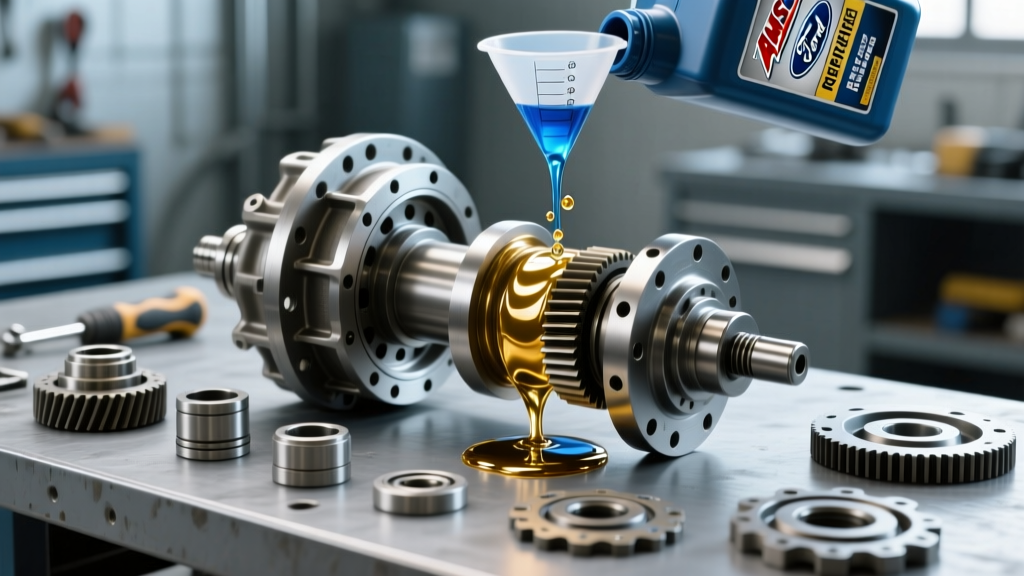
For optimal protection during this critical mating period, utilizing a high-quality Amsoil rear differential fluid, specifically the Severe Gear 75W-90 formulation (Product Code: SVG), is highly recommended by drivetrain specialists. Unlike conventional petroleum-based gear oils, synthetic formulations maintain their viscosity and film strength even when the differential housing temperatures spike past 250°F during the break-in phase. The extreme-pressure (EP) additives in this specific Amsoil rear differential fluid create a sacrificial chemical barrier on the gear surfaces, preventing microwelding and spalling as the metals bed together.
Furthermore, if your rebuild includes a clutch-type limited-slip differential, you must address friction modifier requirements. While some synthetic fluids contain basic friction modifiers, a dedicated additive like Amsoil Slip-Lock or the OEM Ford XL-3 Friction Modifier is often required to prevent the clutch packs from chattering during low-speed cornering. Add the modifier before filling the housing to ensure proper mixing.
The 500-Mile Break-In Protocol
Even with the best lubricants, a new gear set will generate excess heat. Follow this strict driving protocol to ensure the gears mate properly without losing their temper (hardness):
- Miles 0-10: Drive at varying speeds between 30 and 50 mph on flat, straight roads. Avoid heavy acceleration or hard braking. Pull over and allow the axle to cool for 30 minutes.
- Miles 10-50: Introduce mild acceleration and deceleration to load both the drive and coast sides of the gear teeth. Stop and let the housing cool to ambient temperature every 15 miles.
- Miles 50-500: Normal highway driving is permitted, but do not exceed 65 mph. Absolutely no towing, heavy hauling, or dyno testing during this period. The housing should never be too hot to touch with a bare hand.
- The 500-Mile Service: This is the most critical step. Drain the break-in fluid immediately after a drive while it is hot. You will likely notice a metallic sheen or fine glitter in the oil; this is the normal byproduct of the gears lapping themselves. Flush the housing with a half-quart of fresh fluid, reinstall the cover with a new gasket and RTV silicone, and refill with your final charge of Amsoil rear differential fluid.
By adhering to these precise setup tolerances and respecting the thermal dynamics of the break-in process, your rebuilt Ford 8.8 differential will deliver decades of quiet, reliable service. For further reference on installation tolerances, consult the Yukon Gear & Axle Installation Guides, and for detailed fluid specifications, review the technical data sheets at Amsoil Synthetic Gear Lube.