The Anatomy of Axle Failure: Bearings and Seals
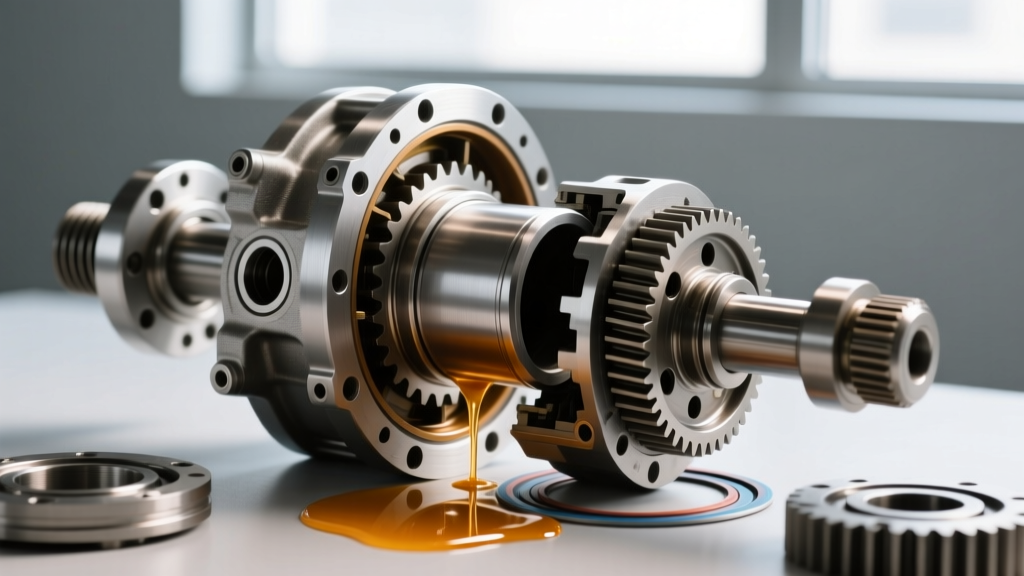
Differential rebuilds are among the most precision-demanding tasks in automotive drivetrain maintenance. Whether you are servicing a legacy solid-axle Dana 44, a Ford 8.8 independent rear suspension (IRS), or a modern torque-vectoring AWD coupling, the failure of differential bearings and axle seals inevitably leads to catastrophic gear wear if left unaddressed. As we navigate the 2026 automotive landscape, where drivetrains are subjected to the instant, massive torque loads of hybrid and electric-assist platforms, the tolerances for bearing preload and seal integrity are tighter than ever. This expert guide details the best practices for differential bearing and seal replacement, emphasizing the critical role of specialized lubricants like SL136 differential fluid in ensuring long-term reliability.
Pinion vs. Carrier Bearing Diagnostics
Before tearing into the differential housing, accurate diagnosis separates the professionals from the parts-changers. Bearing failures manifest in distinct acoustic signatures:
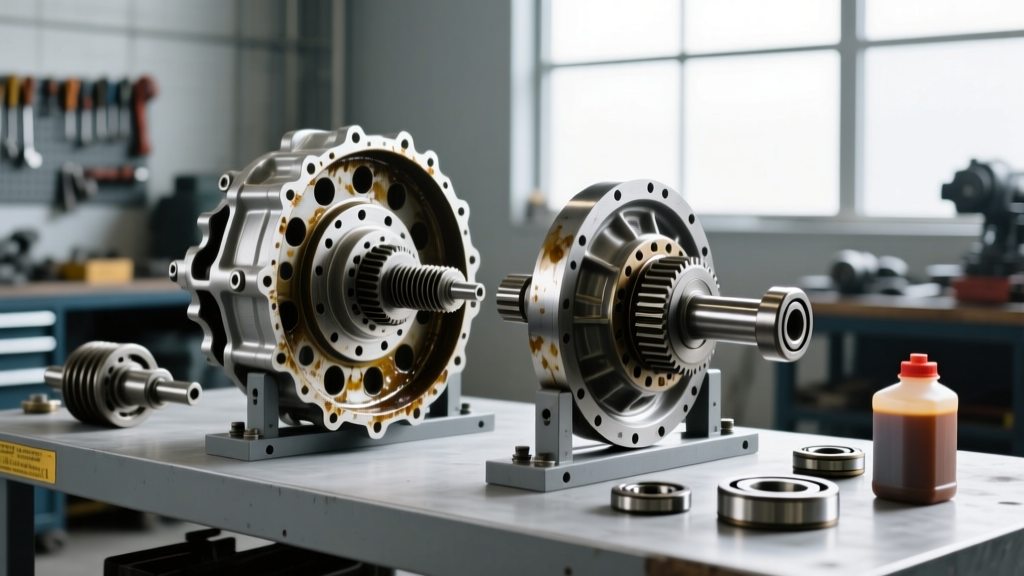
- Pinion Bearing Whine: A high-pitched whine that changes pitch precisely with vehicle speed, regardless of engine RPM or load. If the whine is prominent on deceleration (coast), the pinion bearing is likely failing on the coast side of the gear mesh, often due to improper preload or a leaking pinion seal allowing fluid starvation.
- Carrier Bearing Rumble: A low-frequency rumble or growl that typically peaks between 15 and 30 mph and may diminish at highway speeds. This indicates spalling or brinelling on the carrier bearing races.
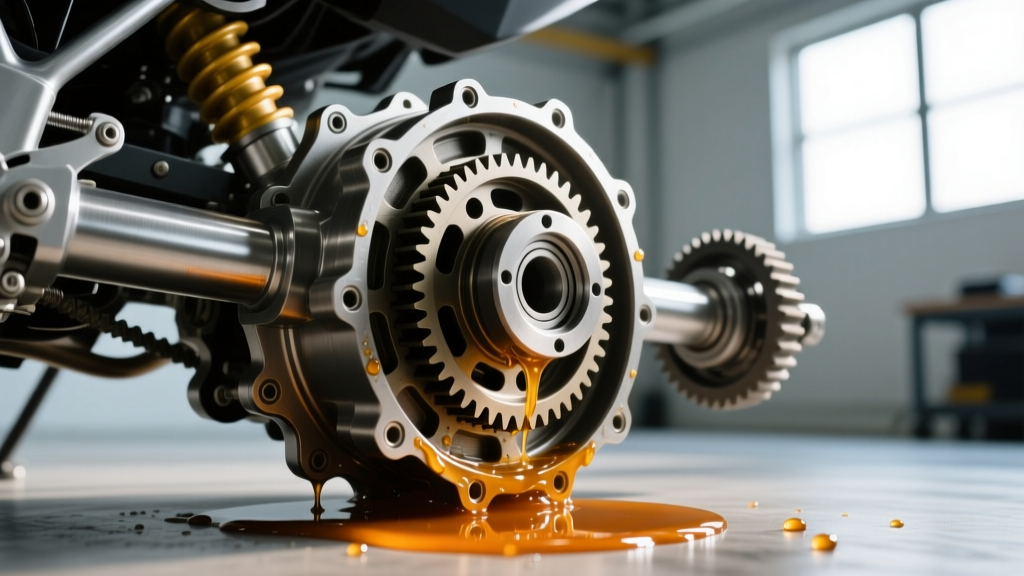
- Seal Leakage Indicators: Axle seal weeping is often misdiagnosed. Fluid slung radially across the inside of the wheel indicates a failed inner axle shaft seal. Conversely, fluid pooling at the front of the differential yoke points to a degraded pinion seal or a worn yoke sealing surface, which requires a speedi-sleeve installation alongside the new seal.
Precision Teardown: Preserving the Setup
The most common mistake during a differential bearing replacement is destroying the baseline measurements required to reassemble the unit with proper gear backlash and pattern. When removing the carrier and pinion, you must document every shim thickness.
According to the Yukon Gear & Axle Technical Resources database, reusing crushed or deformed shims will result in immediate backlash deviation. Always measure pinion depth shims and carrier side shims with a digital micrometer accurate to 0.0001 inches. If your differential utilizes a crush sleeve for pinion preload, discard it immediately. Modern best practices dictate upgrading to a solid pinion spacer kit, which eliminates the risk of over-crushing the sleeve and destroying the new pinion bearings during the torque-down sequence.
Expert Tip: Never pry bearings off the carrier or pinion gear using screwdrivers or cold chisels. The resulting micro-gouges on the bearing seats will create stress risers that guarantee premature failure. Always use a dedicated hydraulic press and bearing splitter plates, applying force exclusively to the inner bearing race.
Bearing & Seal Installation: Torque and Tolerances
Installing new bearings requires thermal expansion techniques or high-tonnage pressing. For the bearing races (cups), freeze them overnight and heat the differential housing slightly to allow them to drop in squarely. A misaligned race driven in with a hammer will cock in the bore, instantly ruining the bearing and altering the gear mesh pattern.
Seal installation demands equal care. The SKF Automotive Bearing Catalog emphasizes that dry-starting a new lip seal will cause immediate friction burns to the sealing edge. Always pack the seal lip with the exact differential fluid you plan to run, or use a dedicated PTFE assembly grease. For the pinion seal, ensure the yoke surface is mirror-smooth; if a wear groove is present, install a stainless steel speedi-sleeve before pressing the new seal.
| Component | Specification / Tolerance | Required Tooling |
|---|---|---|
| Pinion Nut (Crush Sleeve) | 200-250 lb-ft (Target: 15-25 in-lb rotating torque) | 3/4" Drive Torque Wrench, In-lb Beam Wrench |
| Pinion Nut (Solid Spacer) | 180-220 lb-ft (Yukon/Ratech Kit Specs) | 3/4" Drive Torque Wrench, Loctite 638 |
| Carrier Bearing Cap Bolts | 70-90 lb-ft (Ford 8.8 / Dana 44 Typical) | 1/2" Drive Torque Wrench, Thread Locker |
| Ring Gear Bolts | 85-120 lb-ft (Left-hand thread on some models) | Torque Wrench, Red Loctite 272 |
| Gear Backlash | 0.006" - 0.010" (OEM Dependent) | Magnetic Base, 0.001" Dial Indicator |
Fluid Selection: Why SL136 Differential Fluid Matters
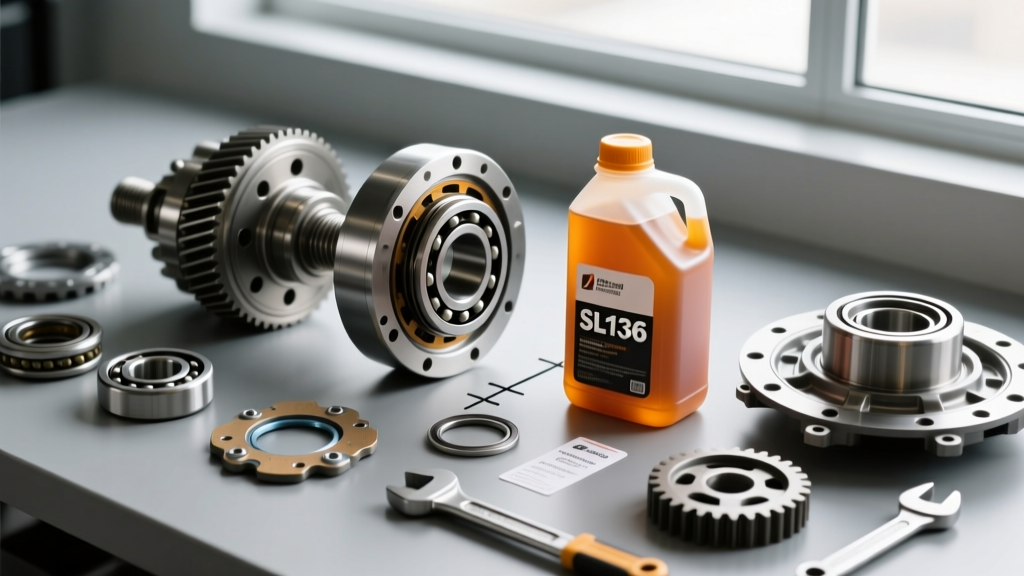
While legacy solid-axle setups often tolerated generic 80W-90 GL-5 gear oils, modern independent rear suspensions, torque-biasing differentials, and clutch-type limited-slip differentials (LSDs) require highly engineered lubricants. The SL136 differential fluid specification represents a class of low-viscosity, high-shear synthetic formulations designed specifically for advanced hypoid gear sets and carbon-fiber or paper-based clutch packs operating under extreme thermal loads.
Using the correct SL136 differential fluid is not merely a recommendation; it is a mechanical requirement. Generic gear oils often lack the precise friction modifiers required for modern LSDs, leading to clutch-pack chatter, shudder during low-speed cornering, and accelerated wear on the friction discs. Furthermore, SL136 formulations utilize polyalphaolefin (PAO) base stocks with advanced ester additives that resist foaming. In high-RPM differential applications, foaming gear oil loses its boundary lubrication properties, leading to the exact pinion bearing failures you just spent hours replacing.
Fill and Bleed Procedures
When refilling the differential after a bearing and seal service, the housing must be meticulously clean. Any metal shavings left from the bearing press or gear lapping will embed into the new bearing cages. Flush the housing with a dedicated solvent, followed by a sacrificial rinse of cheap gear oil, before draining completely.
Fill the differential with SL136 differential fluid to the exact bottom edge of the fill plug. For IRS setups or transaxles where the fill port is offset from the true fluid level, use a fluid level dipstick tool or measure the exact volumetric capacity specified in the OEM service manual (typically between 1.2 and 2.5 quarts for passenger vehicles). Do not overfill; excess fluid leads to churning, aeration, and blown axle seals due to internal pressure buildup.
Post-Rebuild Break-In Protocol
The Timken Bearing Damage Analysis Guide notes that over 40% of premature bearing failures occur within the first 500 miles of operation due to improper break-in. New bearings and gears generate significant friction and heat as the microscopic machining peaks wear down.
Follow this strict break-in protocol:
- Initial Drive: Drive the vehicle for 15-20 miles at varying speeds under 50 mph. Avoid heavy acceleration and hard braking.
- Thermal Check: Carefully check the differential housing temperature using an infrared thermometer. The housing should be warm (140°F - 180°F) but not hot enough to burn your hand. If it exceeds 200°F, stop immediately; your pinion preload is too tight.
- Cooldown Cycles: Allow the differential to cool completely to ambient temperature. Repeat this heat-cycle process three to four times. This allows the SL136 differential fluid to fully penetrate the bearing cages and properly seat the seal lips.
- 500-Mile Service: For severe-duty or track applications, drain and refill the SL136 differential fluid at 500 miles to remove the initial break-in metallic particulates, ensuring the longevity of your newly installed bearings and seals.
By adhering to these precision teardown, installation, and fluid selection protocols, you ensure that the differential operates quietly, efficiently, and reliably for tens of thousands of miles.