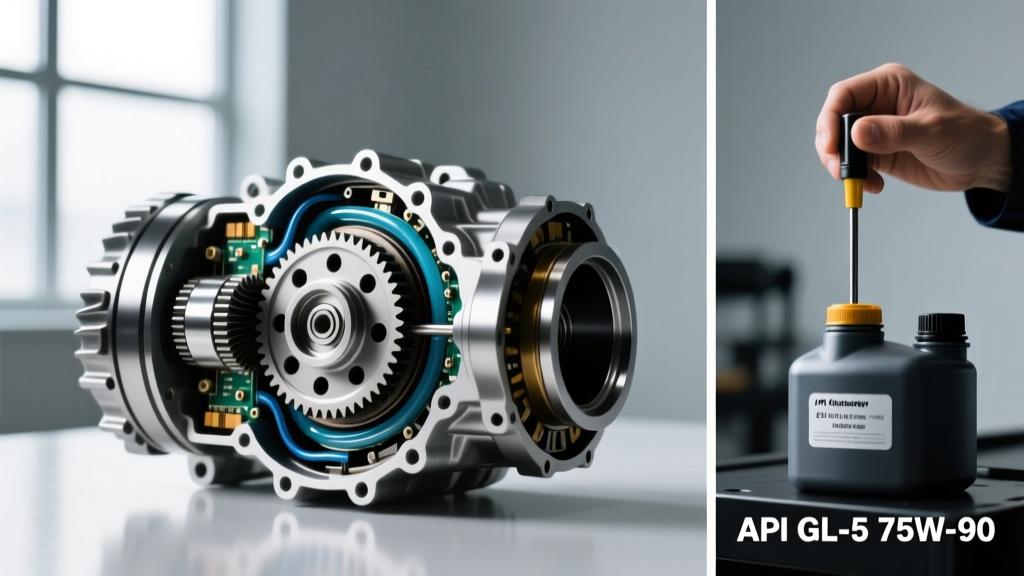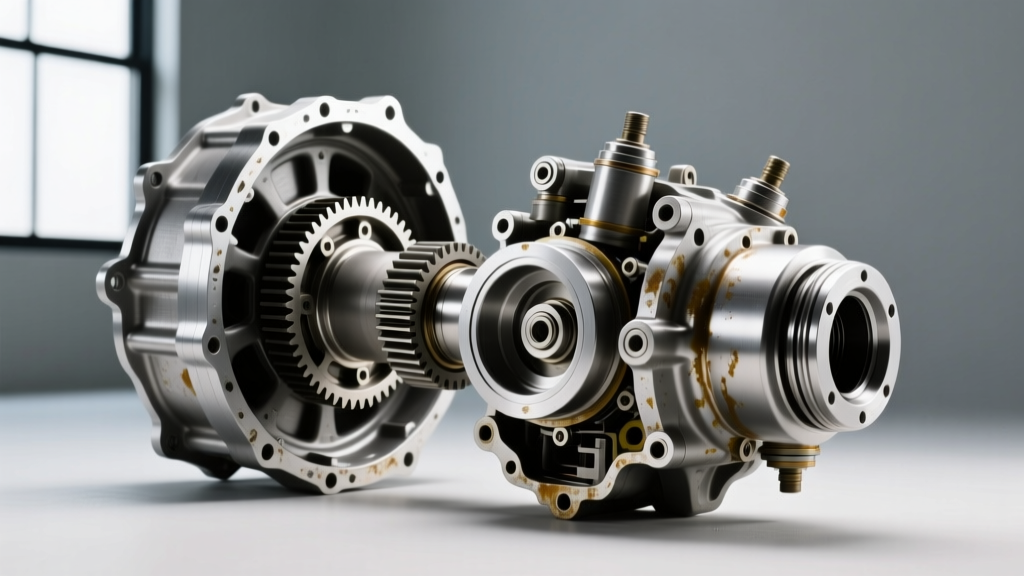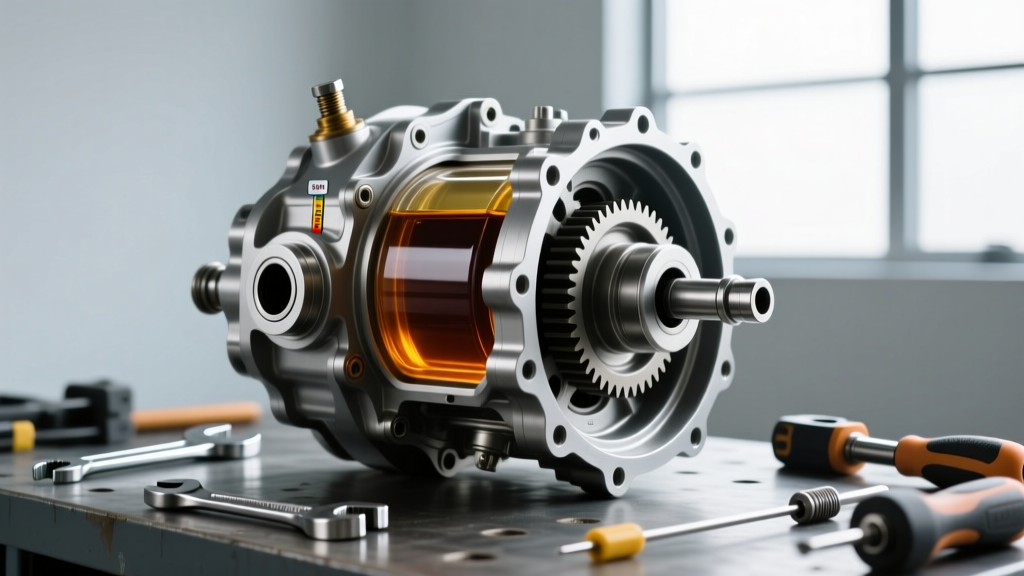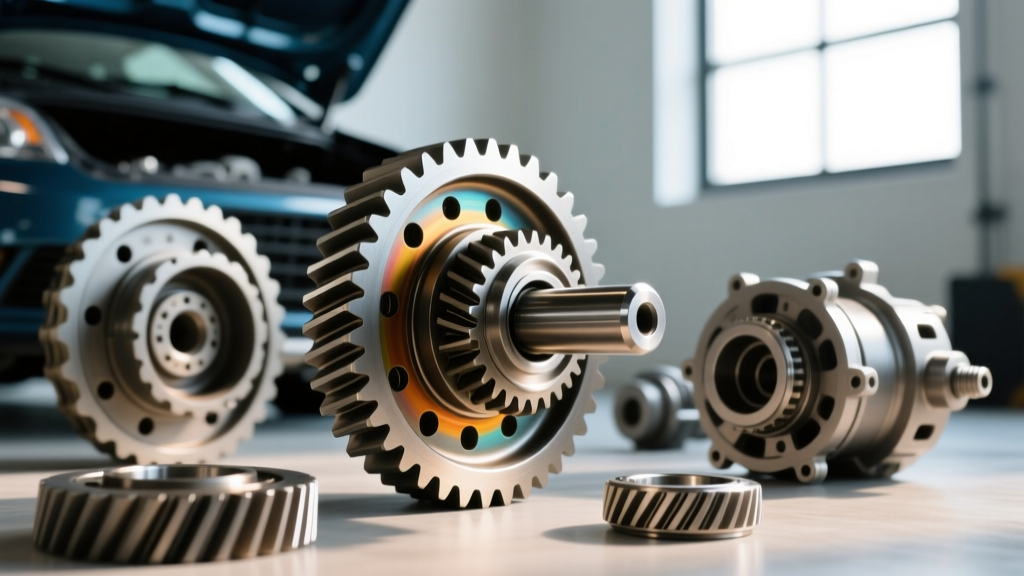
When automotive enthusiasts and daily drivers alike seek out professional differential services, the most intimidating phrase they encounter is often 'ring and pinion setup.' Whether you are regearing a Ford 8.8-inch rear end for larger off-road tires, building a Dana 60 for a restomod, or performing an EV swap in 2026 that requires custom axle ratios, understanding how these gears mesh is critical. A poorly set up gear set will whine, overheat, and self-destruct in under 500 miles. A perfectly set up gear set will outlast the vehicle itself.
This beginner-friendly explainer will demystify the dark art of gear setup. We will break down the exact measurements, tools, and real-world costs associated with ring and pinion installation, giving you the foundational knowledge to either tackle the job yourself or intelligently vet the shop performing your differential services.
The Holy Trinity of Gear Setup Measurements
Setting up a ring and pinion is not about tightening bolts until they stop turning. It is an exercise in precision machining tolerances. There are three primary measurements that dictate the lifespan and noise level of your differential.
1. Pinion Depth
Pinion depth is the distance from the centerline of the pinion gear to the centerline of the ring gear. Because every gear set is machined with slight variances, manufacturers stamp a specific depth variance on the head of the ring gear (e.g., +0.002 or -0.004). This number tells you how many thousandths of an inch to add or subtract from the factory baseline depth using precision shims placed behind the inner pinion bearing cup. If the pinion depth is wrong, the gear will never mesh correctly, regardless of how perfectly you set the backlash.
2. Backlash
Backlash is the amount of rotational 'play' or clearance between the teeth of the ring gear and the pinion gear before they make contact. For standard street-driven hypoid gears, the target backlash is typically between 0.008 and 0.012 inches. If backlash is too tight (under 0.005), the gears will bind, generate massive heat, and gall the teeth. If it is too loose (over 0.015), you will hear a distinct 'clunk' when shifting from drive to reverse, and the impact loading will eventually snap gear teeth under heavy throttle.
3. Bearing Preload
Preload refers to the rotational friction applied to the bearings to eliminate internal clearance. There are two types: pinion bearing preload and carrier bearing preload. Pinion preload is usually measured in inch-pounds (in-lbs) of rotational torque using a dial-type torque wrench. For new bearings, a typical pinion preload target is 15 to 25 in-lbs. Carrier bearing preload (side play) is achieved by tapping shims or threaded adjusters behind the carrier bearings to ensure the carrier is held rigidly in the housing without binding.
Essential Tools for the DIY Axle Builder
You cannot perform differential services with standard garage tools. Precision requires precision instruments. Before pulling the cover off your axle, ensure you have the following:
- Dial Indicator with Magnetic Base: Essential for measuring backlash down to the thousandth of an inch. (Budget: $40-$80)
- Inch-Pound Torque Wrench: A standard 1/2-inch drive clicker wrench cannot measure 20 in-lbs of pinion drag. You need a dedicated beam-style or dial-style inch-pound wrench. (Budget: $60-$120)
- Pinion Depth Setting Tool: Tools like the OTC 6610 or specific master setup bearings (which are honed out to slide on and off the pinion shaft without a press) save hours of frustration. (Budget: $80-$150)
- Gear Marking Compound: Yellow ochre paste used to visually verify the tooth contact pattern. Do not use Prussian blue; it is too thin for hypoid gears.
- Bearing Puller/Press: A 12-ton or 20-ton hydraulic shop press is mandatory for installing pinion and carrier bearings without damaging the cages.
Decoding the Gear Contact Pattern
Once your pinion depth is set close and your backlash is within spec, you must apply yellow marking compound to three or four teeth on the ring gear. Rotate the assembly back and forth under light brake pressure (to simulate load) and inspect the pattern. The ring gear tooth has a Drive side (convex, loaded during acceleration) and a Coast side (concave, loaded during deceleration). It also has a Heel (inner edge, closest to the center) and a Toe (outer edge).
The ideal pattern is centered vertically on the tooth face and slightly biased toward the heel on the drive side, moving toward the toe on the coast side. Here is a troubleshooting matrix for common pattern errors:
| Pattern Appearance | Diagnosis | Correction Strategy |
|---|---|---|
| Contact concentrated on the Toe (outer edge) | Pinion is too shallow (too close to ring gear center) | Increase pinion depth shim thickness to move pinion deeper into the housing. |
| Contact concentrated on the Heel (inner edge) | Pinion is too deep (too far from ring gear center) | Decrease pinion depth shim thickness to move pinion outward. |
| Contact high on the Face (top of tooth) | Backlash is too loose | Move ring gear closer to pinion by adjusting carrier shims, then re-check pinion depth. |
| Contact low on the Flank (root of tooth) | Backlash is too tight | Move ring gear away from pinion by adjusting carrier shims. |
Expert Insight for 2026 Builds: When performing differential services on older solid axles (like the GM 10-bolt or Ford 8.8), always use a 'setup bearing' or hone out an old inner pinion bearing. Pressing and pulling a brand-new Timken bearing on and off the pinion shaft 15 times to check patterns will ruin the bearing's internal tolerance before you even drive the car.
The Crush Sleeve Debate: Why Solid Spacers Win
Most factory differentials use a crush sleeve to establish pinion bearing preload. As you tighten the massive pinion nut (often requiring over 200 ft-lbs of torque), the steel sleeve collapses, creating friction on the bearings. The problem? It is a one-time use item. If you over-torque the nut by even a fraction of a turn, you must throw the sleeve away, pull the pinion, and start over. Furthermore, under extreme shock loads (like off-road rock crawling or drag racing launch), crush sleeves can collapse further over time, leading to catastrophic loss of preload and pinion bearing failure.
For any serious build, upgrade to a Solid Pinion Spacer kit (such as the Ratech Mfg. Kit #4110 for Ford 8.8 axles, retailing around $35). This replaces the crush sleeve with a solid steel spacer and a selection of precision shims. You set the exact rotational preload using the shims, and then torque the pinion nut to a permanent spec (usually 200-250 ft-lbs) without fear of over-crushing. It takes slightly longer to set up, but it guarantees lifelong bearing preload.
Real-World Costs: DIY vs. Professional Differential Services
Understanding the financial landscape of differential services helps you decide whether to invest in the tools or pay a professional. Below is a cost breakdown based on a standard Ford 8.8-inch or GM 12-bolt rear end regear using a high-quality Motive Gear or Yukon Gear & Axle kit.
| Service Component | DIY Cost Estimate | Professional Shop Cost |
|---|---|---|
| Ring & Pinion Gear Set (e.g., 4.10 ratio) | $220 - $300 | $250 - $350 (Shop markup) |
| Master Rebuild Kit (Bearings, Seals, Shims) | $120 - $160 | $150 - $200 |
| Specialty Tools (Dial Indicator, Press rental) | $150 - $250 | $0 (Included in shop overhead) |
| Labor (Setup, Pattern Checking, Assembly) | $0 (Your time) | $600 - $900 (4-6 hours @ $150/hr) |
| Gear Oil & Friction Modifier (75W-90 Synthetic) | $40 - $60 | $60 - $80 |
| Total Estimated Cost | $530 - $770 | $1,060 - $1,530 |
While professional differential services offer the comfort of a warranty and saved weekends, the DIY route cuts the cost in half. For those willing to learn, resources like the Randy's Ring & Pinion installation guides and Summit Racing's tech articles provide invaluable visual references for gear patterns.
Final Assembly: Ford 8.8 Torque Specifications Checklist
If you are assembling a ubiquitous Ford 8.8-inch differential, adhere strictly to these OEM torque specifications to ensure your setup survives the street. Always use a high-quality beam-style torque wrench for accuracy.
- Ring Gear to Carrier Bolts (3/8'-16 x 1.25'): 70-85 ft-lbs. Critical: Apply Red Loctite 271 to the threads. These bolts are left-hand thread on some aftermarket carriers, verify before tightening!
- Cross Pin Lock Bolt (5/16'-18): 15-30 ft-lbs. Apply medium threadlocker.
- Differential Bearing Cap Bolts (1/2'-13 x 3.0'): 70-85 ft-lbs. Note: The caps are line-bored from the factory. They must be installed in their original locations and original orientation, or the carrier will bind.
- Pinion Nut (Crush Sleeve Setup): 160-210 ft-lbs (Tighten only until 15-25 in-lbs of rotational drag is achieved. Do not exceed or the sleeve is ruined).
- Pinion Nut (Solid Spacer Setup): 200-250 ft-lbs (Torque to spec once shims establish the correct rotational drag).
Setting up a ring and pinion requires patience, cleanliness, and a willingness to tear it down and start over if the pattern isn't perfect. By mastering pinion depth, backlash, and bearing preload, you elevate your mechanical skillset and ensure your drivetrain operates silently and reliably for tens of thousands of miles.