When a Fluid Flush Isn't Enough: Diagnosing the Need for a Rebuild
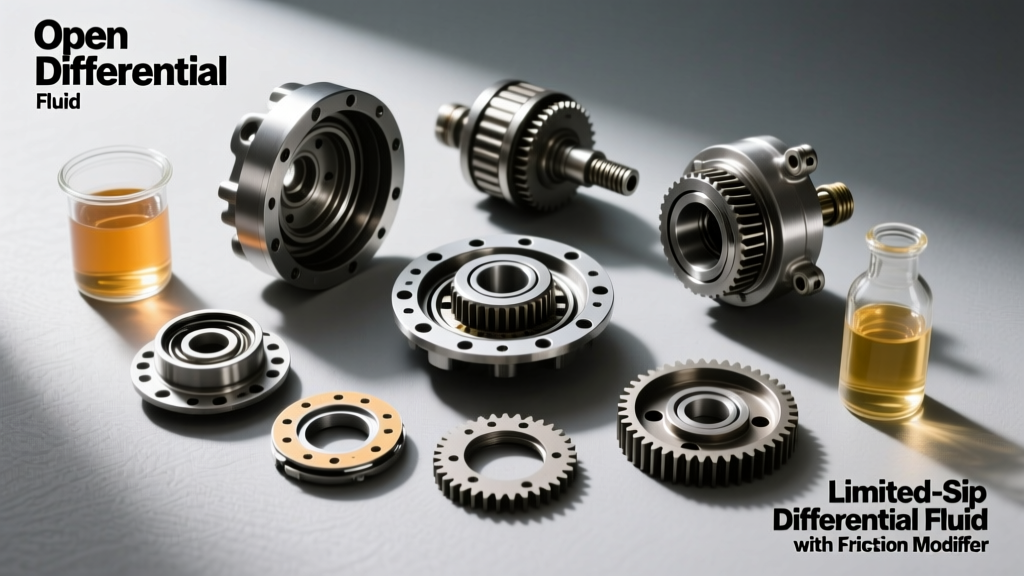
Every year, thousands of vehicle owners search for the average differential fluid flush cost hoping that a simple $150 to $250 service will cure the whining, howling, or clunking coming from their rear axle. While fresh 75W-140 synthetic gear oil and a new friction modifier can resolve minor chatter in a clutch-type limited-slip differential, it cannot reverse catastrophic mechanical wear. If your drain plug is coated in a thick, glittery slurry of ferrous metal and brass synchronizer dust, no fluid exchange will save you.
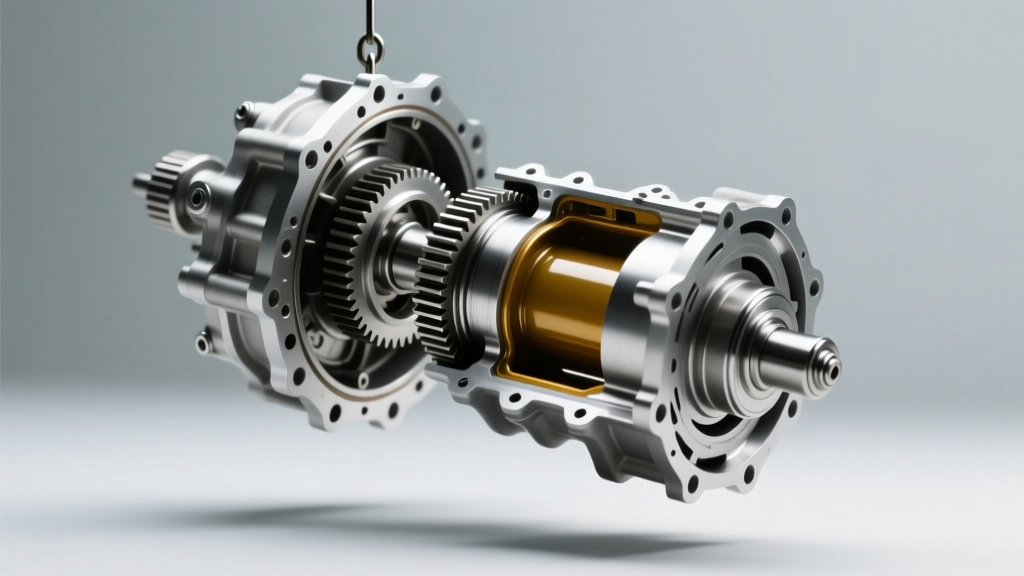
In 2026, with shop labor rates averaging $145 to $195 per hour, understanding the line between routine maintenance and a full differential rebuild procedure is critical for your wallet. This guide transitions from basic fluid diagnostics into a master-class, step-by-step rebuild procedure for the ubiquitous Ford 8.8-inch rear axle, found in millions of F-150s, Mustangs, and Rangers.
Diagnostic Matrix: Flush vs. Rebuild
| Symptom / Observation | Likely Culprit | Required Action | Estimated 2026 Cost |
|---|---|---|---|
| Mild chatter on low-speed turns | Worn LSD clutch packs / degraded modifier | Differential fluid flush & friction modifier | $150 - $250 |
| High-pitch whine on deceleration | Worn pinion bearing / incorrect pinion depth | Full teardown and bearing replacement | $850 - $1,400 |
| Deep grinding or 'marbles in a can' | Catastrophic ring & pinion or carrier failure | Complete rebuild with new R&P gearset | $1,500 - $2,800 |
Tools and Parts Required for the Ford 8.8 Rebuild
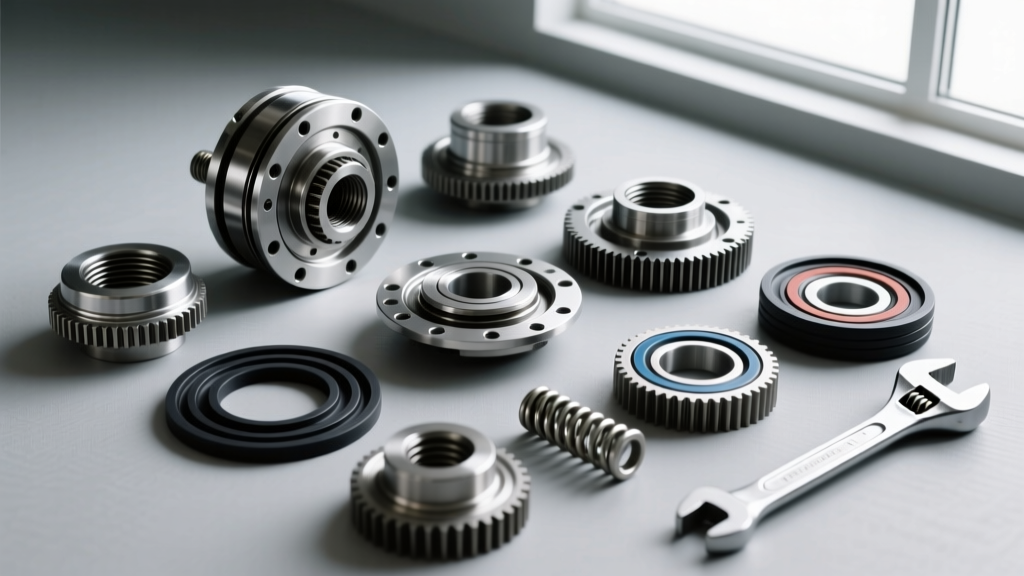
Before tearing into the axle housing, gather the necessary precision measuring tools and OEM-equivalent components. Guesswork during a differential rebuild procedure leads to rapid gear failure.
- Master Rebuild Kit: Yukon Gear YK F8.8 (Includes Timken carrier and pinion bearings, races, pinion seal, shims, and ring gear bolts).
- Crush Sleeve Eliminator: Yukon SK CS-F8.8 (Highly recommended over the factory one-time-use crush sleeve for precise preload setting).
- Ring & Pinion Set: Motive Gear or Yukon (e.g., 3.73 ratio, part # YG F8.8-373) if the current gears are pitted.
- Measuring Tools: 0-30 in-lb beam-style torque wrench (for bearing preload), 1-inch micrometer, and a dial indicator with a magnetic base.
- Fluid: Motorcraft 75W-140 Synthetic Hypoid Gear Oil (4.25 pints capacity) plus 4 oz of XL-3 Friction Modifier (for Traction-Lok axles).
Step 1: Teardown and Housing Preparation
Begin by draining the old fluid. Note the smell and debris; burnt fluid indicates severe overheating. Remove the driveshaft, brake calipers, and rotors. Pull the axle shafts using a slide hammer or by unbolting the retainer plates from the backing plates.
Pro-Tip: Before removing the bearing caps, use a center punch to mark the caps and the housing so they are reinstalled in their exact original orientation. The caps are line-bored from the factory with the housing; mixing them up will destroy your new carrier bearings.
Remove the bearing caps, then use a case spreader or a pry bar (carefully) to pop the carrier assembly out of the housing. Remove the pinion nut using an impact wrench, noting that it requires upwards of 200 lb-ft to break loose. Press the pinion gear out through the back of the housing.
Step 2: Setting Pinion Depth
The most critical aspect of any differential rebuild procedure is establishing the correct pinion depth. This dictates how the pinion gear meshes with the ring gear relative to the centerline of the carrier.
- Press the new Timken pinion bearings (Inner: 28580/28520, Outer: 28580/28520 for standard 8.8) onto the pinion shaft.
- Install the pinion into the housing using a setup bearing (a bearing with the inside diameter honed out so it slips on and off by hand for testing).
- Consult the etching on the head of your new pinion gear. It will read something like "+2" or "-1". This is the variance from the nominal factory depth.
- Measure your original pinion depth shim. If the original shim was 0.035" and your new gear is marked "+2" (meaning +0.002"), your new required shim pack is 0.037".
- Install the calculated shim pack behind the inner pinion race, reassemble the pinion, and torque the pinion nut to achieve roughly 10 in-lbs of rotational drag for the setup test.
Step 3: Checking the Gear Contact Pattern
Apply a liberal coat of yellow gear-marking compound to three or four teeth on both the drive and coast sides of the ring gear. Rotate the pinion back and forth against the drag of the ring gear to transfer the pattern.
Expert Insight: According to technical resources from Randy's Ring & Pinion, a perfect pattern sits dead-center from heel to toe, and slightly biased toward the toe on the drive side. If the pattern is too high (toward the top land), your pinion is too deep; reduce the shim thickness. If the pattern is too low (toward the root), increase the pinion depth shim.
Step 4: Setting Pinion Bearing Preload
Once the depth is verified, swap the setup bearings for your final, freshly pressed Timken bearings. If you opted for the Yukon Crush Sleeve Eliminator kit, you will use a solid spacer and a shim pack to set preload. This is vastly superior to the factory crush sleeve, which requires immense, difficult-to-control force to collapse.
- Target Preload (New Bearings): 16 to 29 inch-pounds of rotational torque.
- Target Preload (Used Bearings): 8 to 14 inch-pounds.
Measure the drag using your beam-style inch-pound torque wrench. Add or subtract shims behind the solid spacer until the rotational drag falls perfectly within spec. Once set, install the new pinion seal and torque the pinion flange nut to 160-220 lb-ft to lock it down.
Step 5: Carrier Setup and Backlash Adjustment
Mount the ring gear to the carrier. Clean the mating surfaces with brake cleaner, apply a drop of Red Loctite 271 to the new ring gear bolts, and torque them to 70-85 lb-ft in a star pattern.
Press the new carrier bearings onto the differential case. Install the carrier into the housing along with the factory adjusting shims (or select-a-shims if your kit includes them). Reinstall the bearing caps and torque to 70-85 lb-ft.
Mount your dial indicator perpendicular to a ring gear tooth. Pry the carrier back and forth to measure rotational backlash.
- Target Backlash: 0.008" to 0.012".
- Adjustment: To decrease backlash (move the ring gear closer to the pinion), add shim thickness to the passenger side and remove an equal amount from the driver side. To increase backlash, do the reverse.
Re-check your gear marking pattern with the final backlash set. The pattern will shift slightly under the load of final preload and backlash specs. As long as it remains within the acceptable toe-biased envelope outlined by Yukon Gear's installation manuals, you are ready to seal it up.
Step 6: Final Assembly and Fluid Specification
Reinstall the axle shafts, ensuring the splines do not damage the new axle shaft seals. Reconnect the brake components and driveshaft. The final step ties back to the core of axle longevity: the fluid fill.
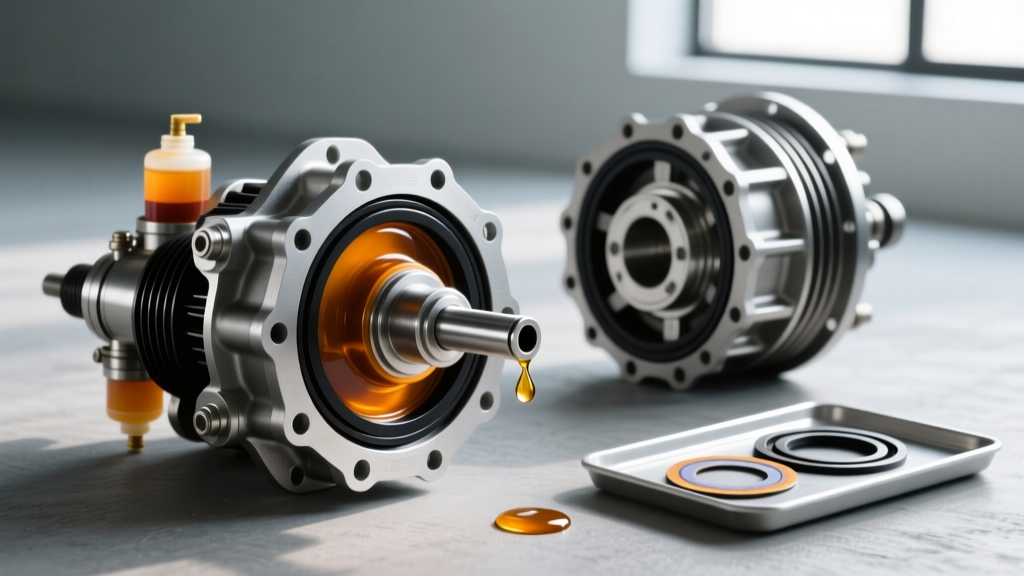
For the Ford 8.8, fill the differential through the top plug until the fluid reaches the bottom edge of the fill hole (approximately 4.25 pints). If your axle is equipped with a Traction-Lok limited-slip unit, it is mandatory to add 4 ounces of Ford Motorcraft XL-3 Friction Modifier before filling with the 75W-140 gear oil. Failure to do so will result in immediate clutch-pack chatter upon your first test drive, effectively rendering your expensive rebuild useless.
2026 Cost vs. Value Analysis
When weighing the differential fluid flush cost against a full rebuild, consider the long-term value. A shop-performed flush costs around $200. A shop-performed 8.8 rebuild ranges from $1,500 to $2,500 due to the 8-12 hours of precision labor required. However, by sourcing a high-quality master kit ($250-$350) and performing the teardown, measurement, and reassembly in your own garage, you can execute a factory-spec differential rebuild procedure for under $500 in parts and fluid. The investment in a dial indicator and inch-pound torque wrench pays for itself on the very first axle build, ensuring your drivetrain is ready for the road ahead.