Why the 4R100 Cooler System Demands Your Attention
The Ford 4R100 transmission, found in 1999-2003 Super Duty trucks and Excursions (often paired with the legendary 7.3L Powerstroke or 6.8L V10), is a heavy-duty workhorse. However, it generates immense heat, especially when towing. For a beginner stepping into the world of diesel or heavy-gas truck ownership, understanding your cooling system is not just recommended; it is mandatory for survival. Heat is the number one killer of automatic transmissions. Before you unhook a single fitting or buy replacement parts, studying a 4R100 transmission cooler lines diagram is the most critical step you can take to avoid catastrophic cross-connected plumbing.
Maintaining the cooler lines and flushing the system is a highly accessible weekend project. Unlike dropping the transmission pan or rebuilding the valve body, cooler line maintenance requires only basic hand tools, a few gallons of fluid, and a solid understanding of hydraulic flow. In this guide, we will break down the flow path, identify notorious failure points, and walk you through a professional-grade flush procedure.
Decoding the 4R100 Transmission Cooler Lines Diagram
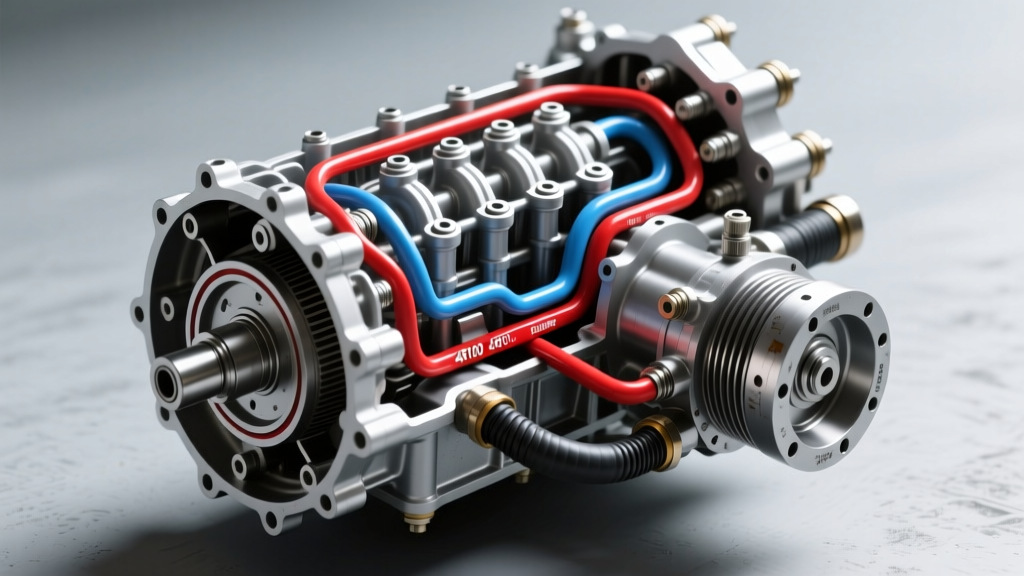
When you look at a factory 4R100 transmission cooler lines diagram, you are looking at a closed-loop hydraulic circuit designed to manage thermal loads. The 4R100 utilizes a multi-stage cooling setup. Here is the exact flow path you need to memorize before performing any maintenance:
- Stage 1: The Hot Line (Supply) - Superheated fluid exits the transmission case from the rear output shaft area and travels forward through the passenger side hard line.
- Stage 2: The Radiator Cooler - The fluid enters the bottom tank of the engine radiator. This acts as a primary heat exchanger, bringing the fluid temperature closer to the engine's operating temperature.
- Stage 3: The Auxiliary Cooler - From the radiator, the fluid routes to the front-mounted auxiliary tube-and-fin or stacked-plate cooler located in front of the A/C condenser.
- Stage 4: The Cold Line (Return) - The cooled fluid travels back via the driver side hard line, re-entering the transmission case to lubricate the clutches and cool the torque converter.
Why Flow Direction Matters for Beginners
If you install an aftermarket cooler or perform a flush in reverse, you risk overwhelming the transmission's internal thermal bypass valve. The 4R100 relies on correct return-line pressure to feed the torque converter and lube circuit. Reversing the flow based on a misread 4R100 transmission cooler lines diagram can lead to immediate converter ballooning or clutch burnout.
The Notorious Rubber Hose Failure Point
If there is one piece of E-E-A-T (Experience, Expertise, Authoritativeness, and Trustworthiness) knowledge every 4R100 owner must have, it is the awareness of the crimped rubber hose sections. Ford used short sections of rubber hose with crimped clamps to bridge the gap between the steel hard lines and the radiator/auxiliary cooler connections.
Over two decades of heat cycling, these rubber sections dry rot, and the factory worm-gear clamps slice into the degraded rubber. Under heavy towing, line pressure can spike above 150 PSI, causing these crimped ends to blow out entirely. This results in a rapid loss of MERCON V fluid, leaving you stranded and destroying the transmission in a matter of miles.
The Permanent Fix
During your maintenance inspection, trace the lines from the transmission to the radiator. If you see the original factory crimped rubber hoses, replace them immediately. You have two options:
- OEM Replacement Lines: Expect to spend $80 to $150 per line. They use improved crimping but still feature rubber.
- Steel-Braided or Hard-Line Conversion: Many enthusiasts bend their own steel hard lines or use high-pressure steel-braided hoses with fuel-injection style clamps (which do not cut into the rubber) or Oetiker crimp clamps. High-pressure transmission hose rated for 300+ PSI is mandatory here; never use standard low-pressure power steering hose.
Diagnostic Table: Common 4R100 Cooler Failures
| Failure Mode | Location | Symptom | Estimated Fix Cost |
|---|---|---|---|
| Rubber Hose Blowout | Passenger side frame rail / Radiator inlet | Sudden fluid loss, slipping gears, puddles under truck | $40 (Hose/Clamps) to $150 (OEM Line) |
| Internal Radiator Breach | Inside radiator bottom tank | Fluid levels rising, 'strawberry milkshake' coolant | $250 - $400 (New Radiator + Full Flush) |
| Quick-Disconnect Corrosion | Auxiliary cooler fittings | Slow weeping leak, crusty red buildup on fittings | $15 (Replacement quick-disconnect collars) |
| Auxiliary Cooler Clog | Front-mounted cooler core | High trans temps (>220°F) while towing, normal temps empty | $70 - $120 (New Stacked-Plate Cooler) |
Essential Tools and Torque Specifications
To work on the 4R100 cooler lines without causing damage, you need the right tools. The lines connect to the transmission case and radiator using specific fittings.
- Disconnect Tools: The 4R100 frequently uses Ford quick-disconnect fittings. You will need a Lisle 39400 Fuel Line Disconnect Tool set (specifically the 1/2' and 5/8' sizes).
- Flare Nut Wrenches: For the threaded adapter fittings on the transmission case, use an 18mm or 3/4' flare nut wrench to avoid rounding the soft steel nuts.
- Torque Specs: The threaded adapter fittings that screw into the aluminum transmission case should be torqued to 15-20 lb-ft. Over-torquing will crack the aluminum case, turning a $20 maintenance job into a $3,000 transmission replacement.
Step-by-Step Cooler Flush Procedure
Flushing the cooler and lines is a vital part of transmission cooler maintenance, especially if you are replacing a failed radiator or upgrading the auxiliary cooler. You do not need an expensive commercial flush machine; you can use the transmission's own internal pump.
Preparation
Ensure you have enough Motorcraft MERCON V fluid (Part # XT-5-QM). The 4R100 holds roughly 17 quarts dry, but a cooler and torque converter flush will require about 6 to 8 extra quarts. Never use MERCON LV in a 4R100; the friction modifiers are incompatible and will cause immediate shudder.
The Return-Line Flush Method
- Locate the Return Line: Based on your 4R100 transmission cooler lines diagram, identify the driver-side line returning from the auxiliary cooler to the transmission.
- Disconnect and Route: Disconnect this return line at the transmission case. Attach a piece of clear vinyl tubing to the disconnected metal line and route it into a large, marked drain pan.
- Cap the Case: Plug the open port on the transmission case with a rubber stopper or cap to prevent air from sucking in and fluid from leaking out.
- Start the Engine: With the truck in Park and the parking brake engaged, start the engine. Let it idle. You will see dark, dirty fluid pump out into the drain pan.
- Add Fresh Fluid: Have a helper pour fresh MERCON V into the transmission dipstick tube at the exact same rate it is pumping out. Never let the transmission pump suck air.
- Watch for the Color Change: Once the fluid in the clear vinyl tube turns bright, translucent red (usually after 4-6 quarts), shut off the engine immediately.
- Reconnect and Verify: Reconnect the return line using new quick-disconnect clips or fresh clamps. Check the fluid level with the engine running and the transmission at operating temperature.
Upgrading to a Stacked-Plate Auxiliary Cooler
The factory 4R100 tube-and-fin auxiliary cooler is adequate for empty highway driving, but it falls short for heavy towing or off-road use. If your 4R100 transmission cooler lines diagram shows a single-pass tube-and-fin unit, consider upgrading to a stacked-plate design.
Stacked-plate coolers, such as the Hayden Rapid-Cool 678 or the Derale 13503, offer up to 30% more surface area and better airflow. They integrate seamlessly into the existing 1/2' hose routing. When installing, always mount the new cooler after the radiator in the flow sequence, ensuring the fluid gets the maximum temperature drop before returning to the transmission. Expect to spend between $70 and $120 for a high-quality stacked-plate kit, which includes all necessary zip-ties, rubber cushions, and hose barbs.
Final Thoughts on Preventative Care
Maintaining the cooling system on a 4R100 is one of the highest-ROI projects a beginner can tackle. By understanding the flow diagram, eliminating the weak rubber hose links, and performing regular return-line flushes, you can easily push your transmission past 300,000 miles. Respect the line pressures, use the correct MERCON V fluid, and your Super Duty will reward you with relentless reliability.