The Toyota 8-Inch FJ Cruiser Rear Differential: Anatomy and Limits
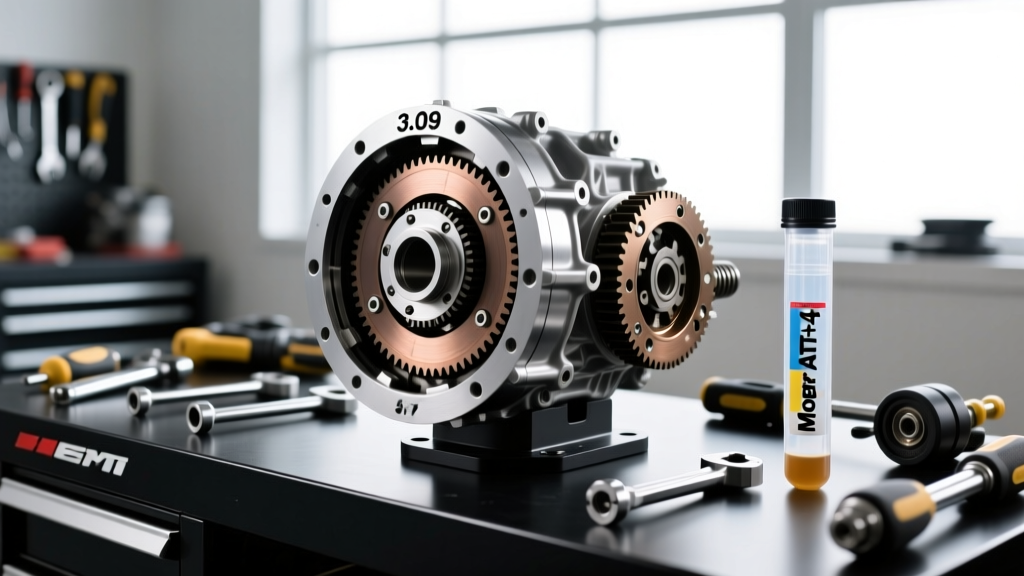
The Toyota FJ Cruiser (2007-2014) remains a legendary platform in the off-road community, largely due to its robust drivetrain. At the heart of the rear axle is the Toyota 8.0-inch rear differential. Often confused with the older solid-axle 8-inch found in vintage Land Cruisers, the FJ Cruiser rear differential is an independent front suspension (IFS) era hybrid design, featuring a 30-spline axle shaft configuration and a reverse-cut front differential paired with a standard-rotation rear. While the factory A750F 5-speed automatic transmission and 1GR-FE 4.0L V6 provide reliable power, the stock gear ratios severely bottleneck performance once you add armor, bumpers, and larger tires.
Most FJ Cruisers left the factory with either a 3.73 (base models) or 4.10 (TRD Off-Road packages) gear ratio in the rear. When you step up from the stock 265/75R16 tires to 33-inch or 35-inch mud-terrains, the effective final drive ratio plummets. This causes the transmission to hunt for gears, increases engine load, and dramatically raises transmission and differential temperatures. Regearing your fj cruiser rear differential is not just a luxury for rock crawlers; it is a critical reliability upgrade for any overlander running oversized rubber.
Choosing the Right Gear Ratio for Your FJ Cruiser
Selecting the correct ring and pinion ratio requires matching your tire size, typical cruising speed, and intended use. Because the FJ Cruiser features a 5-speed automatic with a relatively tall overdrive (0.716:1), you must gear deeper than you might in a manual Jeep to maintain highway drivability and allow the torque converter to lock up efficiently.
| Tire Size | Stock 3.73 RPM @ 70 MPH | 4.56 Ratio RPM @ 70 MPH | 4.88 Ratio RPM @ 70 MPH | 5.29 Ratio RPM @ 70 MPH |
|---|---|---|---|---|
| 31" (Stock) | ~2,100 | ~2,550 | ~2,750 | ~2,980 |
| 33" | ~1,970 (Sluggish) | ~2,400 (Optimal) | ~2,580 (Aggressive) | ~2,800 (Too High) |
| 35" | ~1,850 (Dangerous) | ~2,260 (Good) | ~2,440 (Optimal) | ~2,650 (Crawling) |
| 37" | ~1,750 (Unusable) | ~2,130 (Acceptable) | ~2,300 (Good) | ~2,500 (Optimal) |
For the vast majority of FJ Cruiser owners running 33-inch to 35-inch tires, a 4.88 gear ratio is the sweet spot. It restores the factory RPM range, keeps the engine in its peak torque band (around 2,400-2,600 RPM at highway speeds), and reduces strain on the front CV axles and transmission cooling system.
Regearing Step-by-Step: Third Member Removal and Teardown
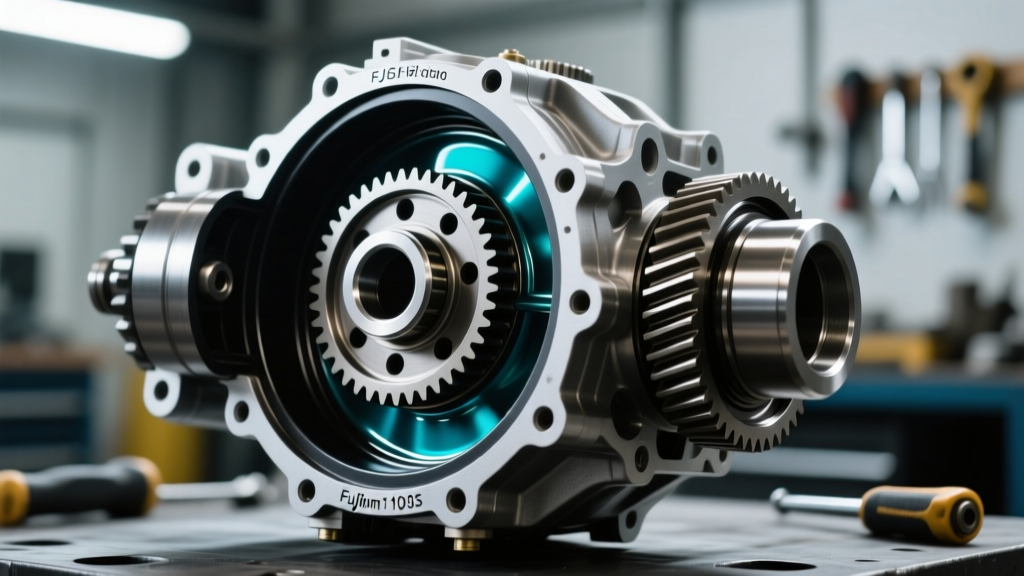
Unlike solid-axle vehicles where you can set up gears on a workbench using a bare housing, the FJ Cruiser utilizes a drop-out third member (often called a 'pumpkin'). This makes the physical removal easier, but the setup process demands precision machining tools.
1. Extraction and Teardown
- Drain and Fill: Remove the 24mm drain plug, followed by the fill plug. The rear differential capacity is approximately 3.2 liters (3.38 quarts).
- Driveshaft and Axles: Unbolt the rear driveshaft flange (14mm nuts, ~55 lb-ft). Remove the brake calipers and rotors, then unbolt the 12mm axle shaft retaining nuts. Slide the 30-spline axles out carefully to avoid damaging the inner axle seals.
- Third Member Removal: Unbolt the ten 12mm/14mm perimeter nuts securing the third member to the axle housing. Use a rubber mallet to break the RTV seal. Expect the assembly to weigh roughly 45 lbs.
2. Pinion Depth and Bearing Preload
The most critical measurement in any fj cruiser rear differential rebuild is pinion depth. The pinion gear must sit at an exact distance relative to the ring gear centerline. Toyota stamps a deviation code on the head of the OEM pinion gear (e.g., +2, -1). When installing an aftermarket gear set from manufacturers like Yukon Gear & Axle, you must measure the old pinion shim, account for the manufacturing variance of the new gear, and use a pinion depth setting tool to dial in the exact shim thickness (usually ranging between 0.060" and 0.090").
Pro-Tip: Ditch the factory crush sleeve. The OEM design requires over 200 lb-ft of torque to crush the sleeve and set pinion bearing preload, which risks overtightening and destroying new bearings. Install a solid pinion spacer kit with shims. It takes longer to set up, but it is infinitely reusable and vastly superior for heavy off-road use.
3. Backlash and Carrier Setup
Backlash is the rotational play between the ring and pinion teeth. For the Toyota 8.0-inch rear, the target backlash is 0.005" to 0.008". You achieve this by swapping shims on the carrier bearing adjusters. If the backlash is too tight, the gears will whine and overheat; if it is too loose, you will experience a clunking sensation during load reversal and premature tooth fatigue.
Essential Torque Specs and Clearances
Precision torque application is non-negotiable when reassembling the differential. Always use a calibrated inch-pound and foot-pound torque wrench.
- Ring Gear Bolts (11mm x 1.25): 75 lb-ft (Apply Red Loctite 272 to threads).
- Bearing Cap Bolts: 58 lb-ft (Ensure caps are installed in their original orientation; they are line-bored from the factory).
- Pinion Bearing Preload (New Bearings): 15 to 25 in-lbs (measured with an inch-pound dial indicator).
- Pinion Bearing Preload (Used Bearings): 8 to 14 in-lbs.
- Third Member to Housing Nuts: 65 lb-ft (Use Toyota FIPG or high-temp RTV for sealing).
Reading the Gear Pattern: The Key to Longevity
Before finalizing the build, you must paint the ring gear teeth with yellow gear marking compound. Rotate the pinion back and forth under moderate braking pressure to transfer the pattern. According to the engineering standards detailed by off-road drivetrain experts on IH8MUD, a proper pattern should be centered on the tooth face, slightly favoring the heel under drive, and moving toward the toe under coast.
- Pattern too high (Face): Pinion is too deep. Decrease pinion shim thickness.
- Pattern too low (Flank): Pinion is too shallow. Increase pinion shim thickness.
- Pattern too deep (Toe): Backlash is too tight. Move ring gear away from pinion.
- Pattern too shallow (Heel): Backlash is too loose. Move ring gear closer to pinion.
Locker Integration and Axle Upgrades
If you are tearing into the third member, it is the perfect time to upgrade the traction device. The factory rear e-locker, while useful, is known for fragile internal wiring and slow engagement. Many builders opt to replace it with an ARB Air Locker (Part# RD132 for 30-spline, 3.90 and numerically higher ratios). The ARB provides instant, 100% locking capability and eliminates the weak factory e-locker actuator. If you are running 35-inch tires or larger with sticky mud-terrain compounds, consider upgrading to chromoly 4340 rear axle shafts to prevent twisting the 30-spline axles under high-torque crawling scenarios.
Fluid Selection and Break-In Procedure
Once the differential is reassembled and sealed, fluid choice dictates the lifespan of your new ring and pinion. The factory fill is Toyota Genuine 75W-90 GL-5. However, for a regearing performed in 2026 with heavy aftermarket loads, a high-synthetic, extreme-pressure fluid is mandatory. Amsoil Severe Gear 75W-90 or Red Line 75W90 GL-5 provide superior film strength at the high temperatures generated during the break-in period.
The 500-Mile Break-In Protocol
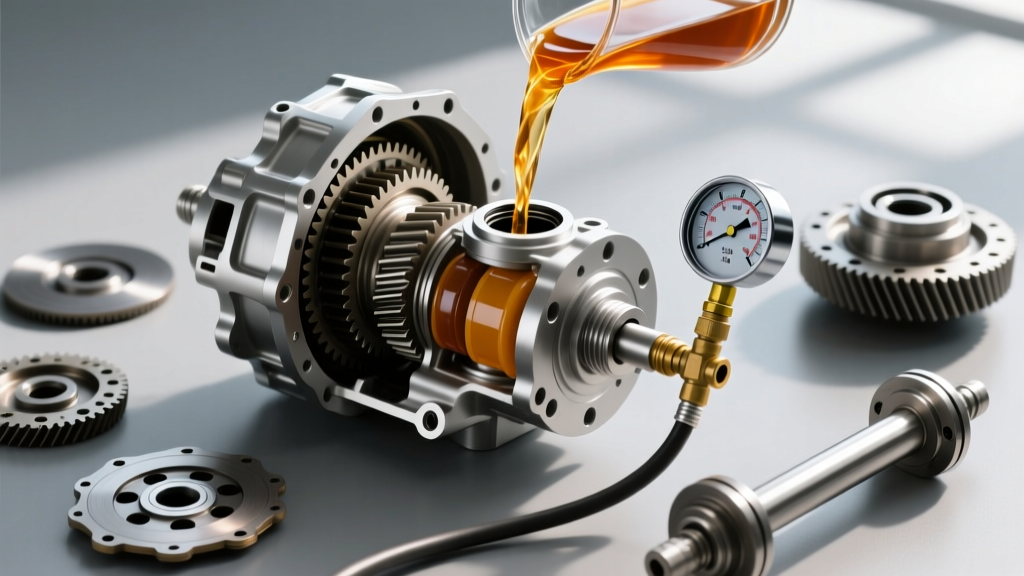
- Initial Fill: Pump exactly 3.2 liters of 75W-90 GL-5 until it weeps from the fill hole.
- First 20 Miles: Drive under 40 MPH. The gears will generate immense friction and heat as the microscopic machining marks wear into one another.
- Cool Down: Let the differential cool completely to ambient temperature.
- Highway Cycles: Drive 50 miles at highway speeds, then let it cool. Repeat this heat-cycle process three times.
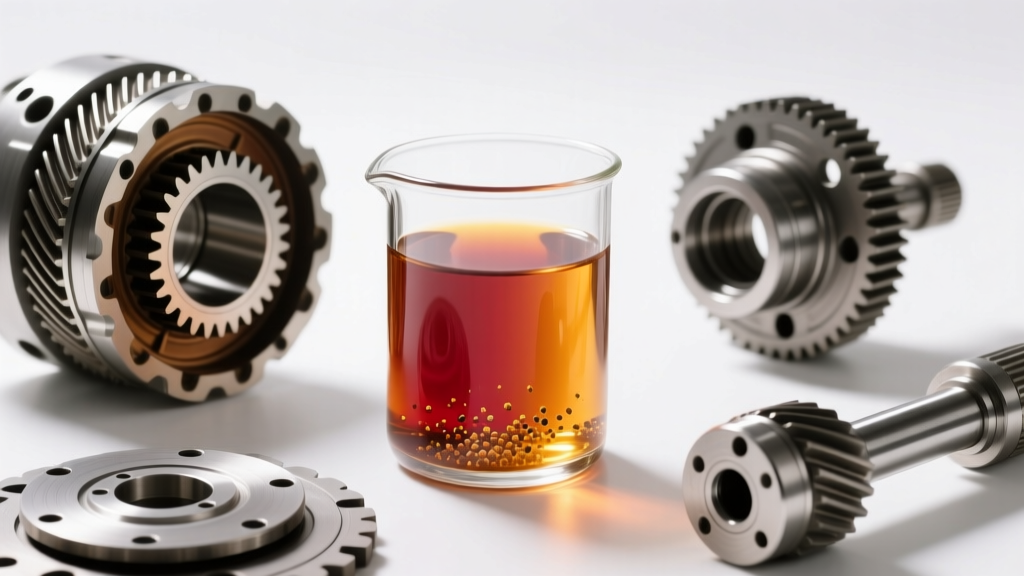
- First Service: At 500 miles, drain the fluid. You will notice a metallic sludge on the drain plug magnet; this is normal break-in material. Refill with fresh synthetic 75W-90.
Cost Breakdown: DIY vs. Professional Setup
Regearing a differential requires specialized tools, including a hydraulic press, dial indicators, and bearing pullers. A high-quality master install kit (Timken bearings, shims, seals) costs around $280. A premium 4.88 ring and pinion set runs $450 to $550. If you are adding an ARB Air Locker, add $1,150. For those without the tooling or the patience to map pinion depth shims, professional installation by a certified drivetrain shop typically ranges from $800 to $1,200 in labor per axle. Given the cost of ruined gears from an improper backlash setting, professional setup is highly recommended for daily-driven FJ Cruisers.