The Evolution of Drivetrain Maintenance in 2026
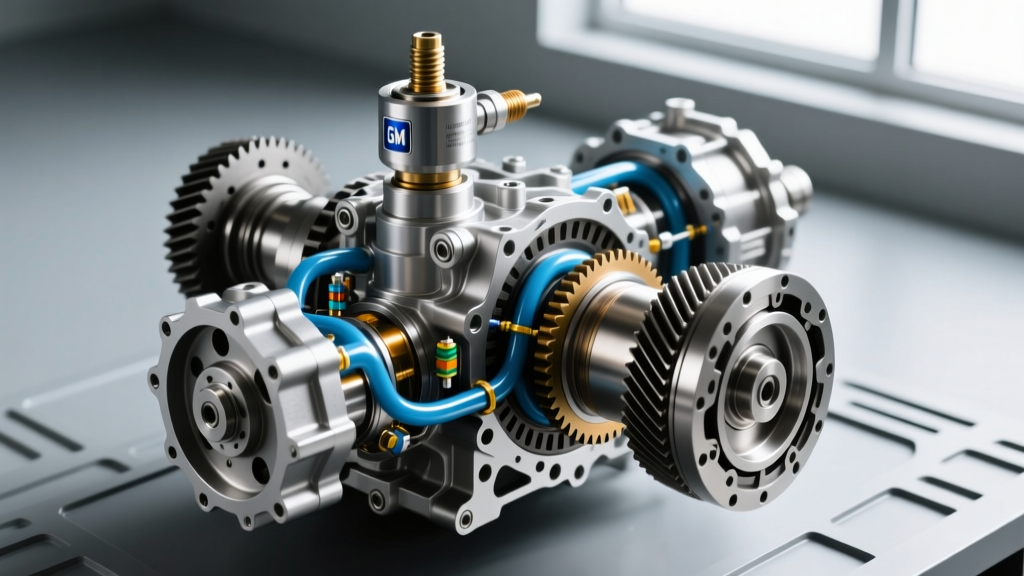
The landscape of automotive drivetrains has evolved dramatically over the last decade. While traditional open differentials and mechanical locking axles (like the classic GM G80 or Eaton E-Locker) remain prevalent in heavy-duty trucks, the modern performance and SUV market is dominated by active, torque-vectoring differentials. Systems such as the GKN Twinster and Haldex-based AWD couplings utilize complex hydraulic pumps and clutch packs to distribute power. Consequently, the standard differential fluid change procedure is no longer just about draining and refilling gear oil; it now requires advanced diagnostic verification to ensure the hydraulic circuits are operating within factory tolerances.
Why a Differential Pressure Gauge Matters Before Draining
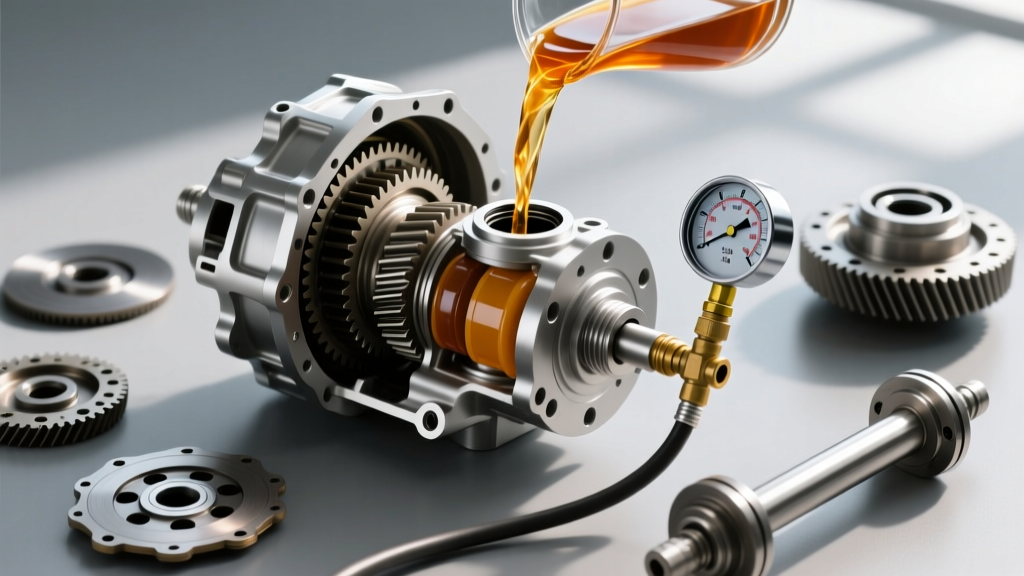
On active torque-vectoring differentials, the gear oil serves a dual purpose: it lubricates the ring and pinion gears while simultaneously acting as the hydraulic medium for the clutch-pack apply pistons. Over time, extreme shear forces break down the fluid's viscosity, leading to internal pump slip and clutch chatter. Before committing to a fluid drain, master technicians connect a differential pressure gauge to the hydraulic test port on the differential housing or pump assembly.
By monitoring the differential pressure gauge during a controlled wheel-slip test, you can establish a baseline of the hydraulic pump's health. A healthy GKN Twinster system, for example, should generate between 250 and 400 PSI of apply pressure. If your gauge reads significantly lower, it indicates severe fluid shearing or a clogged internal suction filter. Establishing this baseline ensures that the subsequent fluid change will actually resolve the issue, rather than masking a failing hydraulic pump.
Step-by-Step Differential Fluid Change Procedure
Whether you are servicing a solid rear axle on a 2026 Ford F-150 or an active rear differential on an Explorer ST, the fundamental mechanical steps require precision. Follow this exact sequence to prevent cross-contamination and hardware damage.
- Vehicle Preparation & Leveling: Raise the vehicle on a two-post lift or jack stands. The axle must be perfectly level side-to-side and front-to-back to ensure an accurate fluid fill level. Allow the differential to cool to below 100°F (38°C) to prevent burn hazards, but avoid letting it sit for days, as warm fluid suspends metallic particulates better during draining.
- Remove the Fill Plug FIRST: This is the golden rule of axle service. Always remove the top fill plug before the bottom drain plug. If the drain plug is stripped or the fill plug is seized, you do not want to discover this after the differential is entirely empty.
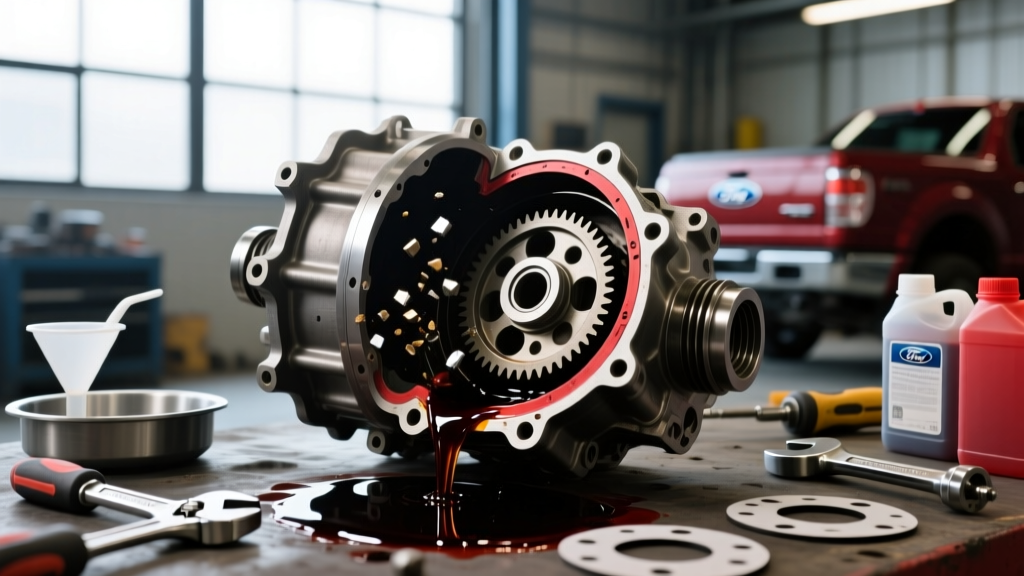
- Drain and Inspect: Place a calibrated catch pan beneath the axle. Remove the drain plug and allow the fluid to drain completely. Inspect the magnetic drain plug. A fine, metallic "fuzz" is normal wear from the ring and pinion. However, jagged chunks or brass-colored flakes indicate bearing cage failure or spider gear wear, necessitating a full teardown.
- Flush (If Applicable): For active differentials without a traditional drain plug (some require dropping a stamped steel pan), clean the mating surfaces with brake cleaner. Do not use RTV silicone on stamped pans that utilize reusable O-rings or specific gaskets.
- Refill to Specification: Using a pneumatic or manual fluid transfer pump, fill the differential until the fluid reaches the bottom edge of the fill hole. For active systems, you may need to cycle the ignition to the "ON" position (engine off) to allow the internal accumulator to prime and draw fluid into the hydraulic lines.
- Torque and Secure: Reinstall the fill and drain plugs using a calibrated torque wrench. Never rely on "feel" for axle plugs, as overtightening can crack the aluminum differential housing.
OEM Fluid Capacities, Specs, and Torque Data
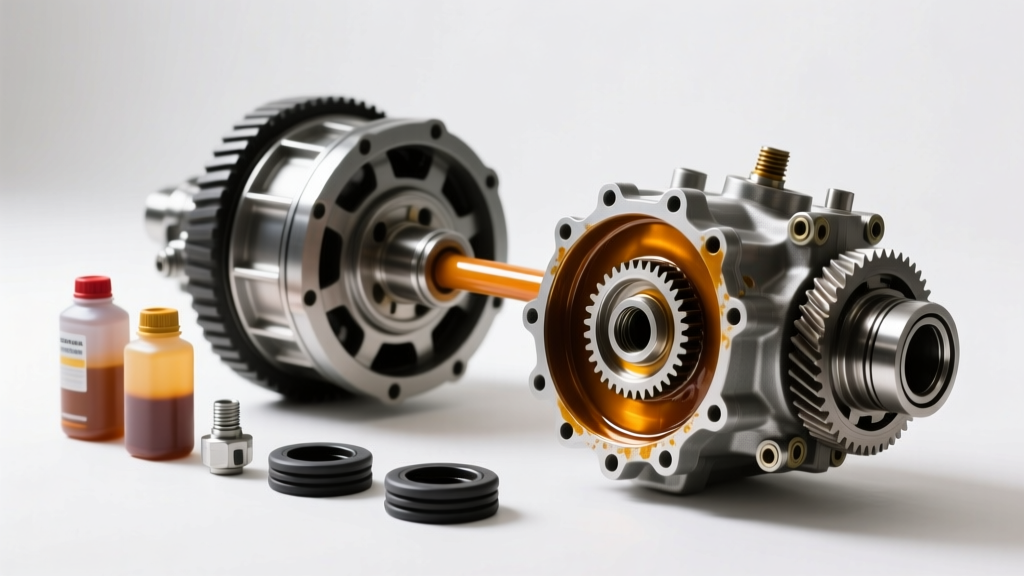
Using the correct fluid chemistry is non-negotiable. GL-5 gear oils contain high levels of sulfur-phosphorus additives for extreme pressure protection, but they can corrode yellow metals if not formulated correctly. Furthermore, limited-slip and active differentials require specific friction modifiers to prevent clutch chatter.
| Vehicle / Axle Type | OEM Fluid Specification | Capacity | Plug Torque Spec |
|---|---|---|---|
| Ford 9.75" Rear Axle (F-150) | Motorcraft 75W-140 Synthetic (XL-6) | 2.0 Liters | 35 Nm (26 lb-ft) |
| GM 9.5" 14-Bolt (Silverado) | ACDelco 75W-90 Synthetic (10-4017) | 2.6 Liters | 33 Nm (24 lb-ft) |
| Active Torque-Vectoring (Explorer ST) | Motorcraft 75W-85 (XL-19) | 1.2 Liters | 35 Nm (26 lb-ft) |
| Haldex Gen 5/6 AWD Coupling | GKN / VW G 060 175 A2 | 0.85 Liters | 15 Nm (11 lb-ft) |
Decoding Service Intervals: The "Lifetime Fluid" Myth
Many modern OEM maintenance schedules list differential fluid as a "lifetime" fill. From a tribology and engineering perspective, there is no such thing as a lifetime fluid when subjected to the extreme shear forces of hypoid gear sets. According to extensive field testing by AMSOIL's technical engineering team, gear oil begins to lose its shear stability and oxidation resistance long before the mechanical lifespan of the axle concludes.
For standard passenger vehicles and highway-driven trucks, a drain and fill interval of 60,000 to 80,000 miles is highly recommended. However, if your vehicle falls under the "severe duty" cycle—which includes frequent towing, off-road use, repeated cold-weather short trips, or track use—that interval must be halved to 30,000 miles. The Ford official maintenance schedules explicitly mandate rear axle fluid changes at 150,000 miles for normal use, but every 30,000 miles for vehicles frequently towing heavy loads.
Friction Modifiers and Post-Service Calibration
If your vehicle is equipped with a mechanical clutch-type limited-slip differential (LSD), the base gear oil alone is insufficient. You must add a friction modifier, such as the ACDelco Limited Slip Axle Lubricant Additive (Part # 88900333). The standard dosage is typically 4 ounces per 1.5 quarts of gear oil. Without this modifier, the carbon-fiber or paper clutch plates will bind and release abruptly during low-speed cornering, resulting in a violent shuddering sensation.
Finally, for active differentials requiring a differential pressure gauge check, the post-service procedure involves connecting the scan tool to command the hydraulic pump through a series of bleed cycles. This purges trapped air from the clutch apply lines. Re-attach your pressure gauge to verify that the system now holds steady hydraulic pressure without the cavitation spikes that were present prior to the fluid exchange. Proper documentation of these pressures is essential for long-term drivetrain health and warranty compliance.
For more advanced diagnostic procedures on modern drivetrains, refer to the GKN Automotive Twinster technical documentation, which outlines the exact hydraulic parameters required for optimal torque-vectoring performance.