Understanding Centrifugal Clutch Drag and Release Failures
When you are sitting at the starting line or idling in the pit, the last thing you want is your kart creeping forward. A properly functioning centrifugal clutch for go kart applications should remain fully disengaged at idle, locking up only when the engine reaches its designated stall speed (typically between 1,800 and 2,300 RPM). However, two distinct but related issues frequently plague kart racers and trail riders: clutch drag and release failure.
Clutch drag occurs when the clutch begins to engage at idle RPM, causing the rear wheels to turn while the kart is stationary. Release failure, on the other hand, happens when the clutch fails to disengage smoothly when you let off the throttle, resulting in engine braking that feels abrupt, or worse, the engine stalling as the shoes stick to the inner drum. Both issues compromise lap times, accelerate wear on the rear axle bearings, and pose a severe safety risk. In this step-by-step how-to guide, we will break down the exact mechanical causes of these symptoms and provide a professional-grade diagnostic and repair protocol.
Diagnostic Matrix: Identifying Your Exact Symptom
Before unbolting anything, you must accurately categorize the behavior of your drivetrain. Use the matrix below to pinpoint the root cause of your clutch system diagnostics.
| Symptom | Primary Root Cause | Secondary Root Cause | Immediate Action Required |
|---|---|---|---|
| Kart creeps forward at idle (Drag) | Engine idle RPM set too high | Weak or heat-fatigued return springs | Verify idle with digital tachometer |
| Clutch stays engaged when throttling down (Release Failure) | Inner bore galling / lack of lubrication | Debris or oil contamination inside drum | Remove clutch and inspect crankshaft |
| Chatter or grabbing during engagement | Glazed friction shoes | Warped drum from excessive heat | Scuff shoes and measure drum ID |
| Clutch spins freely but kart won't move | Broken drive chain or sprocket shear | Stripped crankshaft keyway | Inspect #35/#40 chain and 3/16-inch key |
Step-by-Step Troubleshooting and Repair Guide
Step 1: Calibrate Engine Idle RPM
The most common cause of centrifugal clutch drag is not a faulty clutch, but an improperly tuned carburetor. Most clone engines (like the Predator 212) and OEM engines (like the Honda GX160 or GX200) are designed to idle between 1,400 and 1,600 RPM. Standard go-kart clutches engage between 1,800 and 2,300 RPM. If your idle screw is turned in too far, pushing the idle to 1,900 RPM, the clutch shoes will begin to expand and drag against the drum.
- Tool Required: Digital laser tachometer or inductive timing light.
- Procedure: Start the engine, let it reach operating temperature, and adjust the idle set screw on the carburetor until the engine runs smoothly at 1,500 RPM without stalling.
- Pro Tip: If the engine cannot hold a 1,500 RPM idle without dying, do not raise the idle. Instead, clean the pilot jet and adjust the low-speed mixture screw.
Step 2: Safely Remove the Clutch Assembly
If RPM tuning does not solve the drag or release issue, the clutch must be removed for internal inspection. Never hammer on the end of the crankshaft to remove a stuck clutch, as this will mushroom the threads and ruin the engine block.
- Remove the 5/16-24 UNF crankshaft retaining bolt using a 1/2-inch socket and an impact wrench (or strap wrench to hold the clutch).
- Remove the hardened flat washer and lock washer.
- Thread a specialized 3/4-16 clutch puller into the center bore of the clutch.
- Tighten the puller bolt against the crankshaft end until the clutch pops free. If it is seized due to heat expansion, apply penetrating oil to the keyway and let it sit for 15 minutes before applying steady torque to the puller.
Step 3: Inspect and Clean the Drum and Shoes
Release problems are frequently caused by the friction shoes sticking to the inner wall of the drum. This happens when oil, chain lube, or fuel contaminates the friction material, creating a gummy residue that acts like an adhesive when heated.
- Cleaning: Spray the inner drum and the sintered iron or organic friction shoes with a dedicated chlorinated brake cleaner. Do not use WD-40 or carburetor cleaner, as they leave behind a lubricating film that will cause severe slipping and grabbing.
- Surface Prep: If the shoes appear shiny or glazed, lightly scuff them with 120-grit aluminum oxide sandpaper. Sand the inner drum lightly as well to remove embedded friction material.
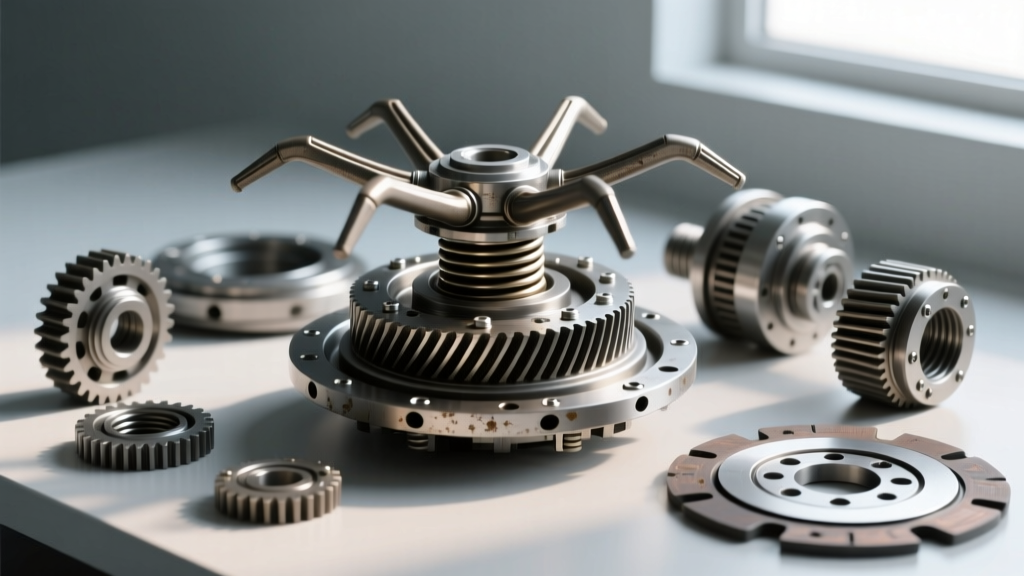
- Inspection: Check the return springs. If the metal shows a bluish-purple tint, the springs have lost their tensile strength due to heat cycling. Weak springs will fail to pull the shoes back to the hub quickly enough when you drop the throttle, causing a delayed release.
Step 4: Examine the Bushing, Bearing, and Keyway
The inner hub of the clutch rides on the crankshaft via either an oil-impregnated bronze bushing or a sealed needle roller bearing. If this interface lacks lubrication, the hub will gall (micro-weld) to the crankshaft. When this happens, the entire clutch assembly drags the engine down upon deceleration, or the shoes fail to retract properly due to mechanical binding.
- Lubrication: For bronze bushings (common in standard Hilliard Extreme Duty clutches), apply 3-4 drops of SAE 30 non-detergent motor oil or specific bushing oil to the inner bore before installation. Never use grease on a bronze bushing, as it attracts clutch dust and creates an abrasive paste.
- Keyway Check: Inspect the 3/16-inch square key or Woodruff key on the crankshaft. A sheared or deformed key will cause the clutch hub to bind and wobble, leading to erratic engagement and premature drum failure.
Step 5: Reinstallation and Precise Torque Specs
Proper mounting is critical to preventing axial play, which can cause the clutch to wobble and drag against the engine seal or side plate.
- Slide the clutch onto the shaft, ensuring it seats fully against the crankshaft shoulder.
- Install the hardened flat washer and the lock washer.
- Apply a single drop of Blue Loctite (242) to the threads of the 5/16-24 UNF bolt.
- Torque the bolt to 18 to 22 ft-lbs. Do not exceed 25 ft-lbs, as you risk stripping the threads in the cast-iron or aluminum crankshaft.
- Verify chain alignment. A misaligned #35 or #40 chain will put lateral stress on the clutch drum bearings, causing internal binding and release issues.
Rebuild vs. Replace: 2026 Cost and Parts Breakdown
When internal components are worn beyond service limits, you must decide between purchasing a rebuild kit or replacing the entire unit. Below is a comparative breakdown based on current market pricing for premium 3/4-inch bore clutches.
| Component / Kit | Part Number Example | Est. Cost (USD) | When to Use |
|---|---|---|---|
| Complete Clutch Assembly (10T #35) | Hilliard 2556 / Comet 218353A | $65.00 - $85.00 | Drum is warped, hub is galled, or multiple springs are broken. |
| Friction Shoe & Spring Rebuild Kit | Hilliard 2563 Rebuild Kit | $22.00 - $35.00 | Shoes are worn down to the rivets or springs show heat discoloration. |
| Replacement Bronze Bushing | Standard 3/4 ID Bushing | $8.00 - $12.00 | Inner bore shows scoring or excessive lateral play on the shaft. |
| Heavy-Duty Spring Kit (High Stall) | Red/Yellow Spring Assortment | $15.00 - $20.00 | Racing applications requiring delayed engagement for corner exit speed. |
Advanced Tuning: Spring Rates and Stall Speeds
For competitive racers, fixing drag and release issues is only half the battle; optimizing the engagement RPM is the other. By swapping the internal return springs, you can dictate exactly when the clutch locks up.
- Green Springs (Low Stall - 1,800 RPM): Best for trail riding, junior karts, or heavy vehicles that need immediate low-end torque to get moving without over-revving the engine.
- Yellow Springs (Medium Stall - 2,100 RPM): The standard for most adult sprint karts and modified Predator 212 engines with mild cam upgrades.
- Red Springs (High Stall - 2,400+ RPM): Reserved for highly modified, big-bore engines (e.g., 228cc or larger) with aggressive camshafts that produce peak torque high in the RPM band. Using red springs on a stock engine will cause severe clutch slipping, rapid heat generation, and eventual drum failure.
Final Diagnostics and Safety Checks
After reassembly, perform a static safety check before hitting the track. Place the kart on a sturdy stand so the rear wheels are off the ground. Start the engine and let it idle. The rear wheels should remain completely stationary. Slowly roll on the throttle; the wheels should begin to turn smoothly as the engine crosses the 1,800+ RPM threshold. When you snap the throttle shut, the wheels should decelerate and stop within 2 to 3 seconds. If the wheels continue to spin or the engine bogs down, re-verify your idle RPM and inspect the chain tension. A binding chain or warped rear axle bearing can mimic clutch release failure by placing mechanical drag on the drivetrain.
By following this systematic approach to clutch system diagnostics, you ensure that your centrifugal clutch for go kart setups remains reliable, safe, and optimized for maximum power transfer. Regular maintenance, including post-race drum cleaning and bushing lubrication, will easily extend the life of a premium clutch assembly through multiple racing seasons.