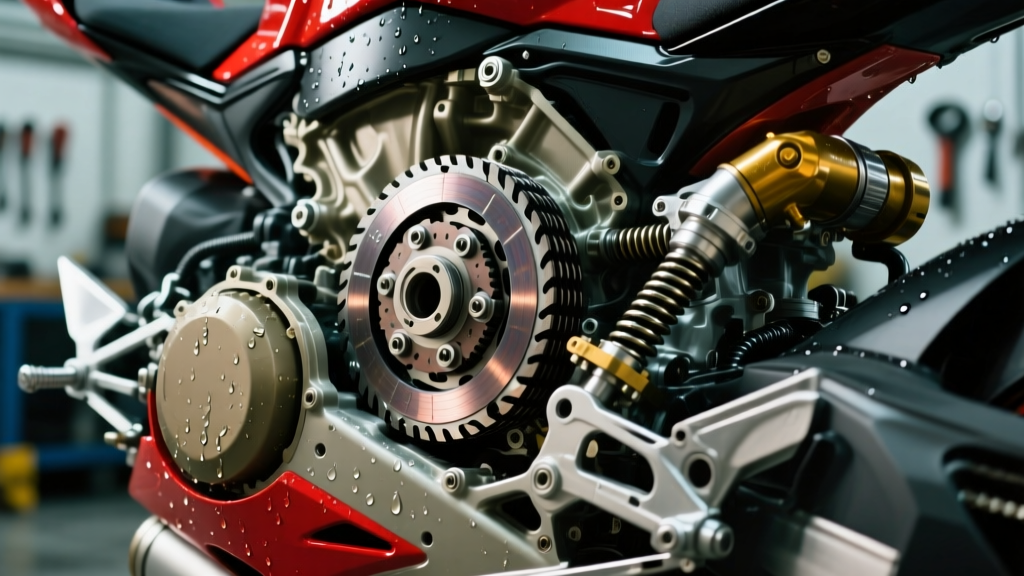
The 'Pedal vs. Lever' Confusion: What Are You Actually Riding?
If you are a beginner in the powersports world, you might find yourself searching for a fix to a creaky clutch pedal after a long weekend on the trails. But before we grab the grease gun, we need to address a common terminology mix-up in the motorcycle and ATV community. The vast majority of modern dirt bikes (like the Yamaha YZ250 or KTM 450 SX-F) and sport ATVs (like the Yamaha Raptor 700R) do not actually have a clutch pedal. They use a left-hand clutch lever mounted on the handlebars, paired with a foot-operated shifter and rear brake pedal.
However, the term 'creaky clutch pedal' is frequently used by beginners to describe that irritating, high-pitched squeak or metallic groan felt when engaging the clutch. Furthermore, certain Side-by-Sides (UTVs) like the manual-shift Yamaha YXZ1000R, vintage Harley-Davidson motorcycles, and custom choppers do feature actual left-foot clutch pedals. Whether your machine uses a hand lever or a foot pedal, the root cause of the creaking is almost always the same: friction at the pivot point, degraded bushings, or a binding hydraulic pushrod.
In this beginner-friendly guide, we will break down exactly how to diagnose and silence a creaky clutch mechanism on your ATV, dirt bike, or UTV, complete with real-world torque specs, OEM part references, and 2026 maintenance best practices.
Why Your Dirt Bike or ATV Clutch Lever is Creaking
When a beginner complains about a creaky clutch pedal on a Honda CRF450R or a Kawasaki KX450, they are usually feeling vibration and hearing a squeak transmitted through the handlebars from the left-hand lever assembly. Here are the two primary culprits:
1. Dry Pivot Bolts and Worn Polymer Bushings
The clutch lever pivots on a steel pin or bolt that passes through the lever bracket and a set of polymer or brass bushings. When mud, silt, and pressure-washing water invade this gap, the factory grease washes out. Metal-on-metal or metal-on-dry-polymer friction creates a distinct creaking sound every time you pull the lever.
- The Fix: Remove the pivot bolt. Inspect the polymer bushings for cracking or ovaling. If they are worn, replace them. For example, the OEM Honda clutch lever pin (Part #22881-KYJ-J00) and accompanying collars cost less than $10 on Partzilla.
- Torque Spec: Most Japanese and European dirt bike clutch pivot bolts require between 8 Nm and 10 Nm (70 to 88 lb-in). Do not overtighten, or you will crush the polymer bushings and cause the lever to bind.
2. The Hydraulic Master Cylinder Pushrod
Modern dirt bikes and ATVs use hydraulic clutches. The lever pushes a small steel pushrod into the master cylinder. If the clevis pin (on adjustable levers) or the rubber dust boot surrounding the pushrod is dry, it will creak loudly.
Pro Mechanic Tip: Never spray aerosol WD-40 or harsh solvents near the hydraulic master cylinder pushrod. These chemicals can degrade the internal rubber seals, leading to fluid bypass and total clutch failure. Use a silicone-based spray or PTFE dry lube instead.
Fixing a Creaky Clutch Pedal on UTVs and Side-by-Sides
If you drive a UTV with a manual transmission and a true foot-operated clutch pedal—such as the Yamaha YXZ1000R or specialized utility vehicles—the diagnostic process shifts to the footwell linkages. UTV clutch pedals endure massive amounts of abuse from water crossings, mud, and sand.
UTV Pedal Pivot Shafts and Return Springs
The foot clutch pedal in a UTV rides on a steel pivot shaft that spans the pedal box. Over time, the factory-applied lithium grease turns into a gritty paste. Furthermore, the heavy return spring that pulls the pedal back to the top of its stroke can creak as it stretches and rubs against its mounting perch.
- Disassembly: Remove the cotter pin and slide the pivot shaft out of the pedal box. You will likely find deep grooves worn into the shaft if the vehicle has over 2,000 trail miles.
- Lubrication: Clean the shaft with brake cleaner. Apply a high-quality marine-grade waterproof grease (such as Lucas Oil Marine Grease or Amsoil Synthetic Water Resistant Grease) to the shaft and the inside of the pedal bushings.
- Spring Maintenance: Coat the return spring in a heavy silicone paste to eliminate the metallic 'boing' and creaking noise during pedal travel.
Clutch Pivot Maintenance Data Chart
Use the table below as a quick reference for torque specifications and lubrication types across common powersports platforms. Always verify with your specific 2026 owner's manual, as manufacturers occasionally update hardware.
| Vehicle Type | Component | OEM Part Example | Torque Spec | Recommended Lube |
|---|---|---|---|---|
| Dirt Bike (KTM/Husqvarna) | Hand Lever Pivot Bolt | 50312011000 | 10 Nm (88 lb-in) | PTFE Dry Lube |
| ATV (Honda TRX / Suzuki) | Lever Pin & Collars | 22881-KYJ-J00 | 9 Nm (80 lb-in) | White Lithium Grease |
| UTV (Yamaha YXZ1000R) | Foot Pedal Shaft | 2S7-2745A-10-00 | 22 Nm (16 lb-ft) | Marine Waterproof Grease |
| Vintage Harley-Davidson | Foot Clutch Pivot Shaft | Custom / Aftermarket | 35 lb-ft | Molybdenum Disulfide Paste |
Vintage and Custom Motorcycle Foot Clutches
For those riding vintage Harley-Davidsons, Indian Scouts, or custom-built choppers, the left-foot clutch pedal is a legendary piece of mechanical history. These 'suicide clutches' or standard foot-clutch setups rely on a heavy-duty pivot shaft that passes directly through the primary chaincase or transmission mainshaft.
A creaky clutch pedal on a vintage motorcycle is usually a warning sign of inadequate primary chaincase lubrication or a dry felt seal on the clutch pedal shaft. If the pivot shaft lacks a dedicated grease zerk, you must pull the shaft during your annual primary fluid change, clean it with a Scotch-Brite pad, and coat it in Molybdenum Disulfide (Moly) assembly paste. Moly paste is critical here because it handles the extreme shearing forces and high temperatures generated near the primary chain and clutch basket.
Step-by-Step Beginner Diagnostic Checklist
Not sure where the creak is coming from? Follow this simple isolation test next time you are in the garage:
Step 1: The Static Squeeze Test
With the engine off, slowly squeeze the clutch lever (or press the UTV pedal). Listen closely to the handlebar master cylinder and the pedal box. If the creak happens immediately, the issue is at the lever pivot or pedal shaft.
Step 2: The Engine Bay Isolation
If the lever feels smooth and silent at the handlebars, but you still hear a creak, the noise is likely coming from the engine case. Have a friend squeeze the clutch while you listen near the clutch slave cylinder (on dirt bikes) or the clutch release arm on the engine block (on ATVs/UTVs). A creaking release arm pivot ball or a worn slave-cylinder pushrod seal requires opening the clutch cover.
Step 3: Check the Cable (If Applicable)
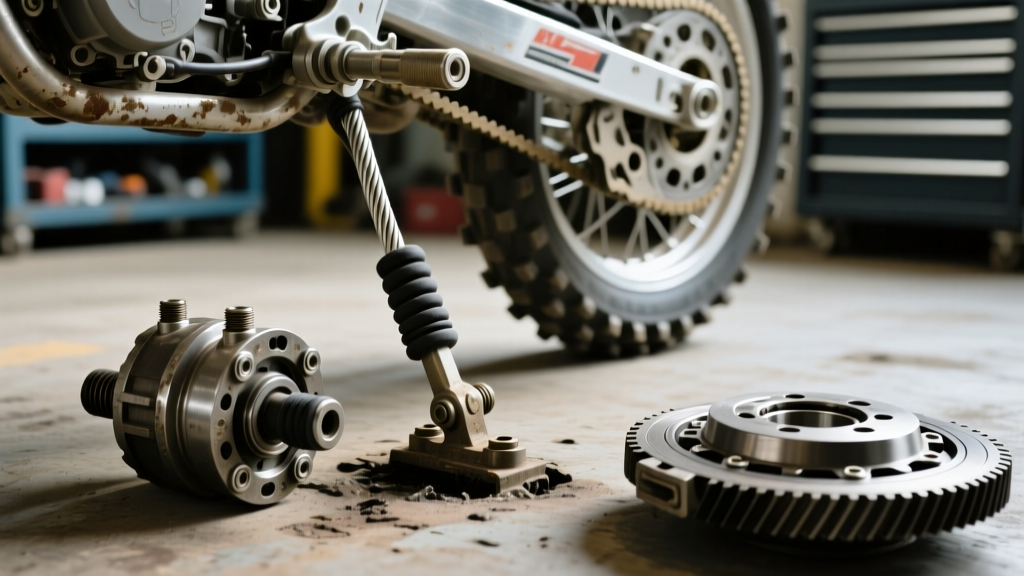
Older ATVs and dual-sport motorcycles use a steel-braided clutch cable. A creaking sound that syncs with your lever pull often means the cable is fraying inside the housing or lacks internal lubrication. Use a cable luber tool attached to a can of aerosol cable lube to force oil through the housing until it drips cleanly out the bottom.
When to Replace Parts vs. Just Lubricating
As a beginner, it is tempting to just drown the creaky clutch pedal or lever in spray grease and call it a day. However, knowing when to replace parts is vital for safety. If you remove the pivot bolt and notice a 'step' or ridge worn into the steel shaft, lubrication will only mask the problem for a few rides. A worn pivot shaft will eventually wallow out the lever hole, leading to a sloppy clutch feel and, in extreme cases, the lever snapping off during a critical trail obstacle.
Replacing a pivot shaft and bushing kit typically costs between $15 and $35 via OEM suppliers like Rocky Mountain ATV/MC or local dealerships. It is a small price to pay for precise clutch modulation and a silent ride. For hydraulic systems, if your creak is accompanied by a spongy lever feel, you likely have air in the lines or degraded DOT 4/5.1 fluid. Consult Cycle World's hydraulic maintenance guides for proper bleeding procedures to restore that crisp, factory-new engagement.
By understanding the mechanical differences between hand levers, UTV foot pedals, and vintage setups, you can accurately diagnose that annoying creak and get back to enjoying the trails with confidence.