The Anatomy of a Bike Hydraulic Clutch: A Beginner's Overview
If you have transitioned from older cable-actuated motorcycles to modern machines, you have likely experienced the buttery-smooth lever feel of a bike hydraulic clutch system. But when that system fails, it can leave you stranded in traffic or struggling to find neutral at a stoplight. Unlike a simple steel cable that stretches or snaps, a hydraulic system relies on fluid dynamics,精密 seals, and precise clearances to operate.
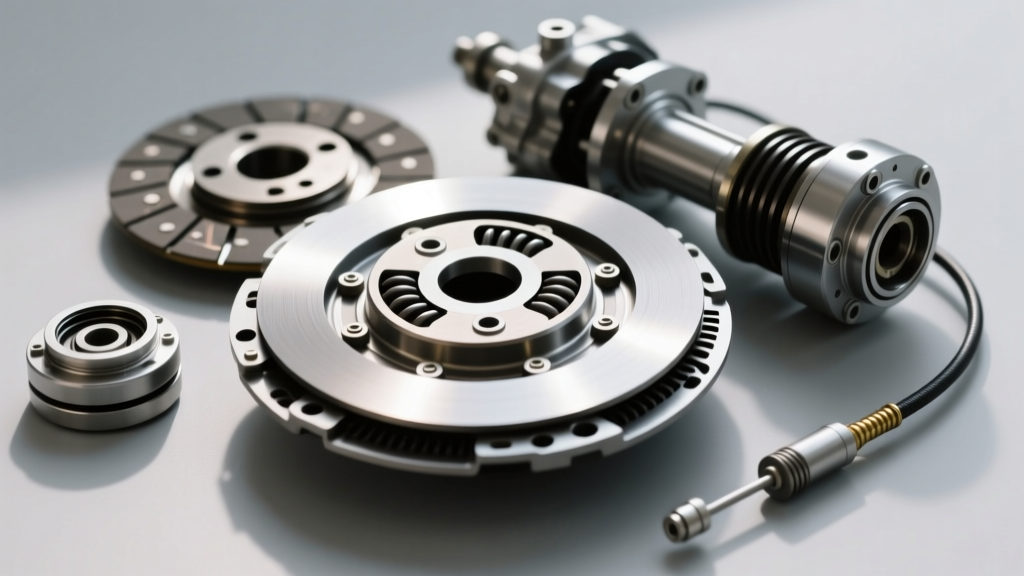
Think of the system as a closed-loop syringe. When you pull the lever, you push a piston inside the master cylinder (mounted on your handlebars). This displaces hydraulic fluid through a reinforced line down to the slave cylinder (mounted on or inside the engine case). The slave cylinder piston then pushes a rod or actuator arm, which compresses the clutch pack to disengage the transmission. When engagement and disengagement issues arise, the fault almost always lies in a loss of hydraulic pressure, a blocked fluid pathway, or mechanical wear at the actuator point.
The Symptom Triad: Drag, Slip, and Sponginess
To effectively troubleshoot, you must first categorize your bike's behavior into one of three primary failure modes. Understanding the 'why' behind the symptom is the first step toward a permanent fix.
1. Clutch Drag (Fails to Disengage)
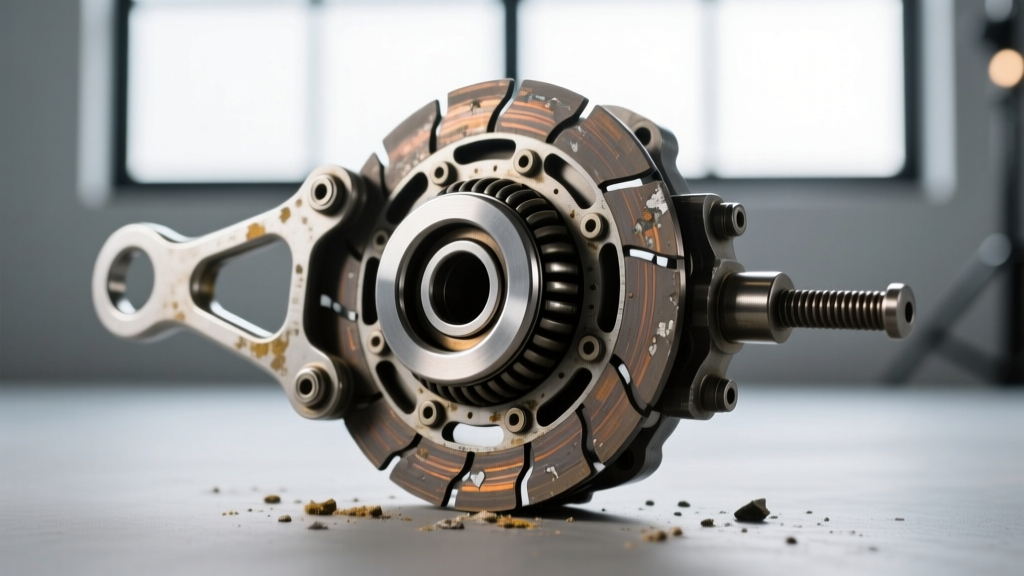
The Symptom: With the lever pulled entirely to the grip, the motorcycle still creeps forward. Finding neutral at a standstill is nearly impossible, and first-gear shifts are accompanied by a violent 'clunk' or stalled engine.
The Cause: The slave cylinder is not traveling far enough to fully compress the clutch pack. This is typically caused by air trapped in the hydraulic line (air compresses, fluid does not), a worn master cylinder piston cup that allows fluid to bypass internally, or a blocked compensation port (the tiny return hole in the master cylinder reservoir) preventing the system from building full stroke volume.
2. Clutch Slip (Fails to Engage)
The Symptom: You release the lever and roll on the throttle, but the engine RPMs flare without a proportional increase in road speed. The lever may feel unusually stiff or fail to return to its resting position smoothly.
The Cause: Hydraulic pressure is being applied to the clutch pack even when the lever is released. This happens when DOT fluid expands due to extreme engine heat and cannot return to the reservoir because the master cylinder's compensation port is clogged with debris or degraded rubber. It can also occur if the pushrod clearance is set too tight, keeping the clutch slightly compressed at all times.
3. Spongy or Notchy Lever Feel
The Symptom: The lever feels inconsistent, 'squishy', or requires a double-pump to achieve disengagement.
The Cause: Micro-bubbles in the fluid, a scored slave cylinder bore, or a failing banjo bolt seal allowing moisture ingress. Moisture lowers the boiling point of glycol-based fluids, creating vapor lock under heavy use.
Fluid Dynamics: DOT vs. Mineral Oil
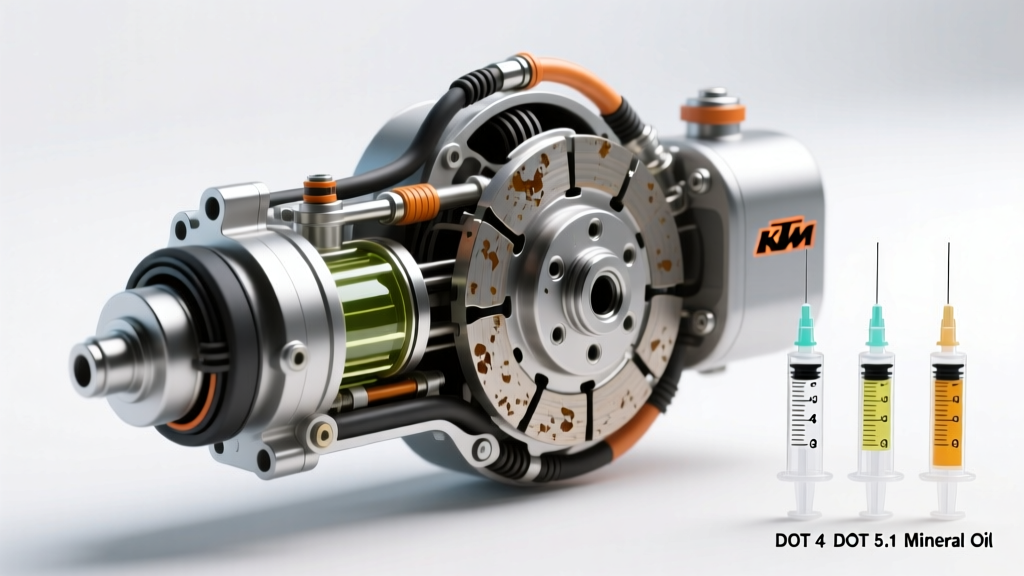
One of the most catastrophic mistakes a beginner can make is mixing hydraulic fluid types. Using DOT fluid in a system designed for Mineral Oil will destroy the internal EPDM rubber seals within hours, causing massive swelling and total system lockup. Always check your master cylinder cap.
| Fluid Type | Chemical Base | Dry Boiling Point | Common Applications | Maintenance Interval |
|---|---|---|---|---|
| DOT 4 | Glycol Ether | 230°C (446°F) | Most Japanese/European bikes (Honda, Yamaha, KTM) | Every 2 years |
| DOT 5.1 | Glycol Ether | 270°C (518°F) | High-performance track bikes, heavy-duty touring | Every 1-2 years |
| Mineral Oil | Petroleum | Varies by Brand | Magura systems, select BMW and Beta models | Every 3-4 years |
| DOT 5 | Silicone | 260°C (500°F) | Classic Harley-Davidson (pre-1984), rarely used today | Does not absorb water |
For authoritative guidance on fluid compatibility and seal materials, always consult the Magura Tech Center or your OEM service manual. Never use automotive brake fluid in a dedicated mineral oil clutch system.
Step-by-Step Diagnostic and Repair Workflow
Before tearing into your engine cases, follow this systematic diagnostic path to isolate the engagement failure.
Step 1: Inspect the Master Cylinder Compensation Port
Remove the reservoir cap and diaphragm. Locate the tiny pinhole at the bottom of the reservoir. If you see black sludge or debris, use a soft bristle brush and fresh fluid to clean it. A blocked port is the number one cause of 'clutch slip after the bike gets hot' on modern sportbikes. When the fluid heats up and expands, it needs this port to relieve pressure; otherwise, it acts like you are constantly pulling the lever in.
Step 2: Check Pushrod and Actuator Clearances
Hydraulic systems require a slight amount of 'free play' at the master cylinder lever (usually 2-3mm) to ensure the piston fully retracts and uncovers the compensation port.
- Harley-Davidson Pushrod Systems: On models like the Softail or Touring lineup, the slave cylinder pushes a rod through the primary cover. You must adjust the pushrod screw until you feel light resistance against the clutch release bearing, then back it off exactly 1/4 to 1/2 turn before locking the nut. Zero clearance guarantees clutch slip and burnt friction plates.
- KTM/Husqvarna Concentric Slaves: These sit inside the engine case. If engagement is poor despite a fresh bleed, the internal O-ring on the slave piston is likely bypassing fluid, or the clutch pushrod has worn a divot into the actuator arm, reducing total stroke length.
Step 3: The Reverse-Bleed Technique
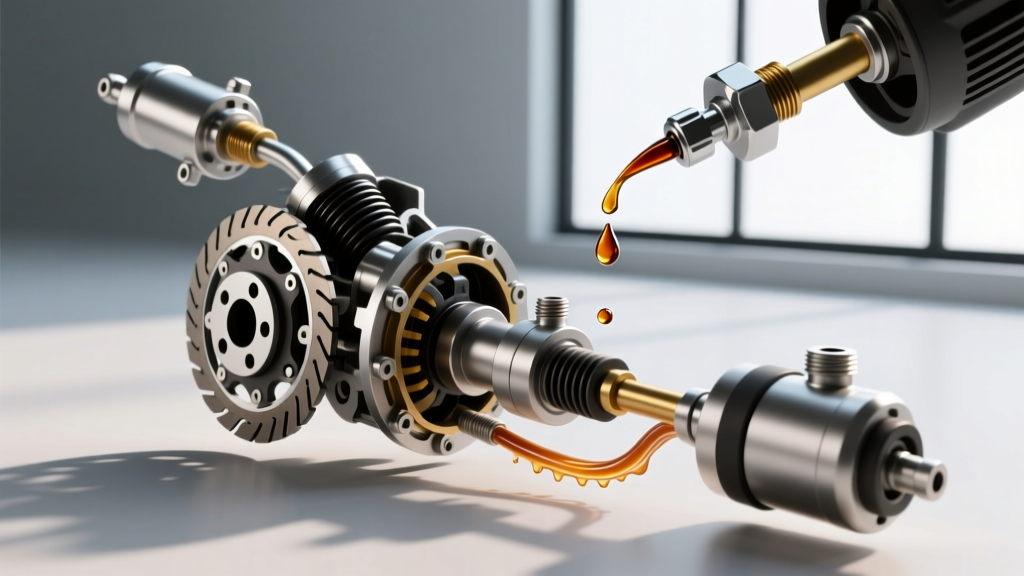
Traditional top-down bleeding often traps air in the high points of the slave cylinder or banjo bolts. For bike hydraulic clutch systems, reverse bleeding is vastly superior. Using a large syringe and a length of clear tubing, attach to the slave cylinder bleed nipple and push fresh, degassed fluid UP into the master cylinder reservoir. This forces air bubbles to rise naturally with gravity.
Torque Spec Warning: When tightening the slave cylinder bleed nipple, use a light torque of 6-8 Nm. Banjo bolts at the master cylinder should be torqued to 18-20 Nm using new crush washers to prevent weeping.
Real-World Pricing, Part Numbers, and Upgrades
If diagnostics reveal internal scoring or blown seals, you will need to replace or rebuild components. Here is what you can expect to spend in 2026:
- OEM Master/Slave Rebuild Kits ($25 - $55): Brands like All Balls Racing or OEM KTM/Honda kits include new pistons, springs, and EPDM seals. This is the most cost-effective fix for spongy levers caused by internal bypassing.
- Brembo RCS Radial Master Cylinders ($320 - $450): Upgrading to a Brembo RCS system (e.g., 11mm or 15mm bore) drastically improves lever feel and modulation. The radial design aligns the piston pivot with your finger pull, reducing hand fatigue and providing a more linear engagement zone.
- Aftermarket Slave Cylinders ($250 - $380): For off-road and supermoto riders, companies like Rekluse offer billet slave cylinders that eliminate the notorious OEM plastic pistons and fragile O-rings found on many European dirt bikes, providing a bulletproof mechanical advantage and consistent engagement point.
Final Thoughts on Preventative Maintenance
A bike hydraulic clutch is a low-maintenance but high-consequence system. Flushing your DOT 4 or 5.1 fluid every 24 months prevents moisture buildup, which not only causes vapor lock (sponginess) but also corrodes the internal aluminum bores of your slave cylinder, leading to catastrophic fluid leaks onto your rear tire. Keep your fluid clean, respect your torque specs, and always verify your pushrod clearances after a clutch pack replacement to ensure flawless engagement for thousands of miles.