Why Symptom Diagnosis Dictates Your 200 4r Transmission Rebuild
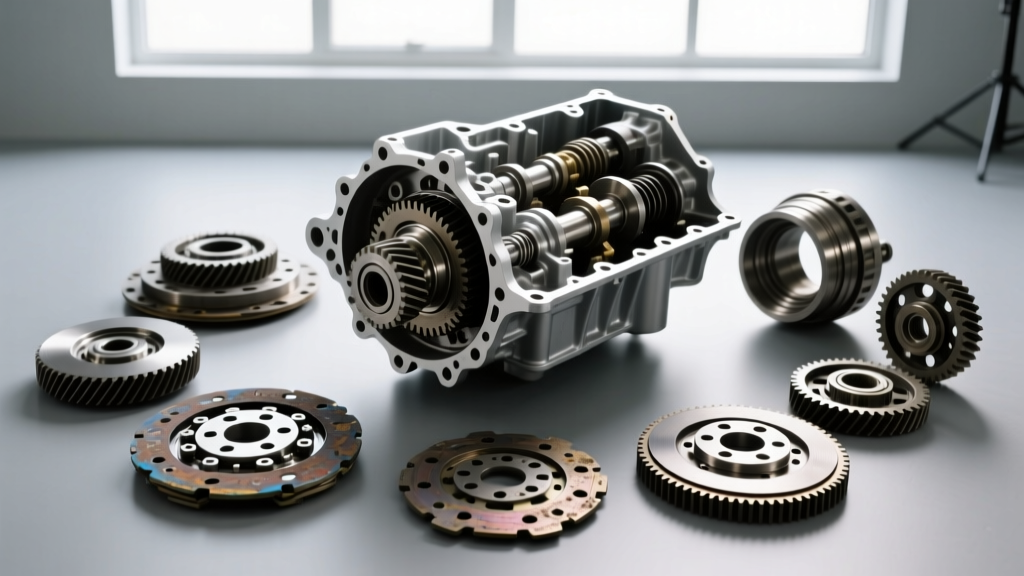
The GM 200-4R is a legendary overdrive automatic transmission, famously propelling the Buick Grand National, Monte Carlo SS, and countless G-body classics. However, as we navigate the classic car restoration landscape in 2026, finding a competent technician for a 200 4r transmission rebuild is increasingly difficult. Many modern shops specialize exclusively in computer-controlled 6L80s or ZF 8HPs and lack the hydraulic intuition required for a mechanical Throttle Valve (TV) cable system.
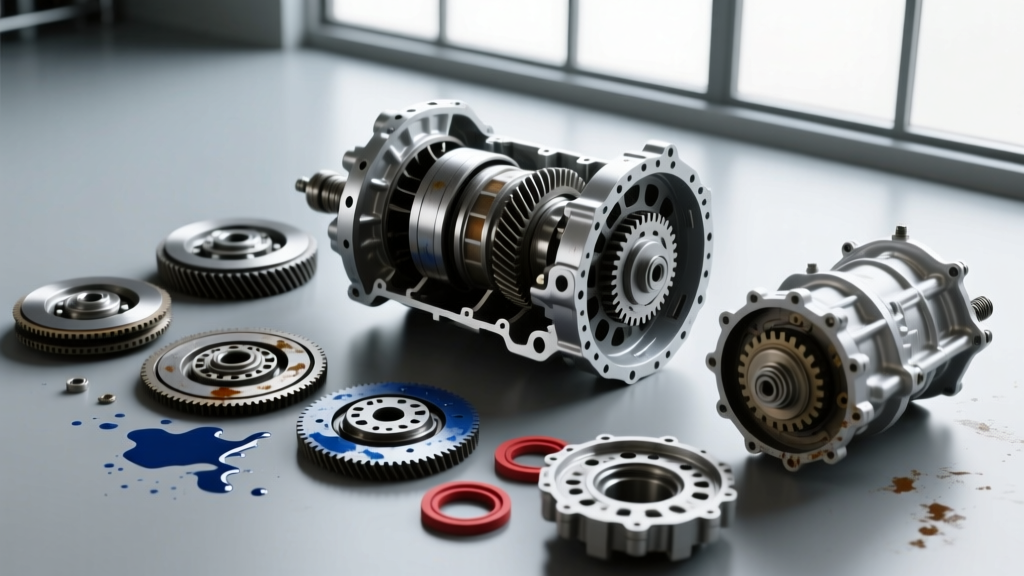
If you hand a shop a 200-4R without knowing exactly why it failed, you are at the mercy of parts-changers who will swap frictions, ignore the root cause, and hand you back a transmission destined to burn up on its first test drive. By performing precise symptom diagnosis first, you can use your findings to interrogate potential rebuilders, separate the true craftsmen from the amateurs, and ensure your investment survives.
The 200-4R Symptom-to-Failure Matrix
Before calling local transmission shops, document your vehicle's exact failure mode. The 200-4R has highly specific, well-documented failure points. Use the matrix below to identify your likely internal casualties.
| Observed Symptom | Primary Suspect | Secondary / Root Cause |
|---|---|---|
| Flare or slip on the 3-4 shift, then catches hard | Worn 4th gear servo pin or leaking servo O-rings | Worn accumulator bore in the case; weak 3-4 clutch pack |
| Immediate burn-up (smell of burnt fluid) after install | TV cable misadjusted or geometry incorrect | Missing geometry correction bracket; broken plastic tang on carburetor |
| No 4th gear, but 1-3 shifts are firm and normal | Cracked 4th gear accumulator piston | Stuck 3-4 shift valve in the valve body; failed governor |
| Harsh 1-2 shift, accompanied by slipping 3-4 | TV cable binding or stretched | Incorrect return spring tension at the throttle linkage |
| Loud whining noise that increases with RPM in Park/Neutral | Front pump cavitation or gear wear | Clogged pickup filter; warped pump halves due to overtightening |
The Infamous 3-4 Clutch Pack Weakness
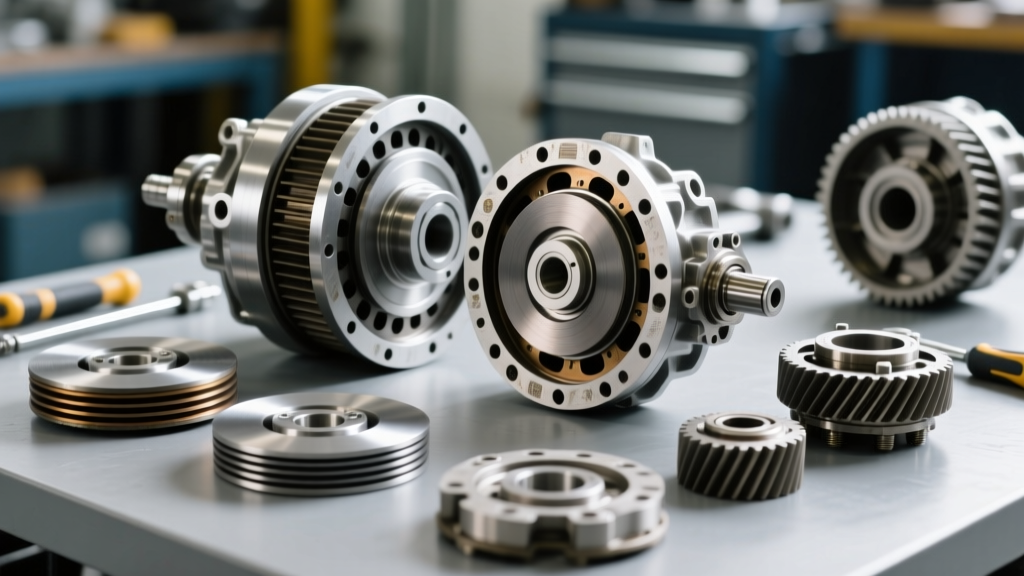
If your diagnosis points to 3-4 clutch failure (slipping in 4th gear or a burnt overdrive band), you have uncovered the 200-4R's most notorious Achilles heel. The direct clutch drum simply does not have enough physical space to hold an adequate number of friction plates, and the apply area is marginal. When interviewing a rebuilder, this specific failure mode is your ultimate litmus test.
How to Vet a Rebuilder Using Technical Interrogation
Once you have your symptom data, call prospective shops. Do not ask, 'Can you rebuild a 200-4R?' Instead, ask targeted technical questions based on your diagnosis. A qualified ATRA-certified technician who understands vintage GM hydraulics will answer these confidently.
Question 1: 'How do you address the 3-4 clutch pack weakness?'
The Wrong Answer: 'We just put in new standard frictions and a shift kit.' (Hang up immediately).
The Right Answer: A true expert will mention installing a 3-4 clutch relay valve (such as the Sonnax 76948-05K) to prevent torque converter drain and apply the clutch faster. They may also mention machining the direct clutch drum to fit an extra friction plate, or utilizing high-energy Raybestos GPZ frictions to handle the thermal load.
Question 2: 'What servo are you using for the 4th gear apply?'
The factory 200-4R servos are prone to pin wear and O-ring blowouts, leading to 3-4 shift flares. Your rebuilder should be upgrading to a billet 4th servo assembly, such as the Sonnax 76964-01K or a CK Performance billet servo. At the bare minimum, they should be sourcing a late-model '553' or 'K' coded Corvette servo to increase apply pressure and stabilize the pin.
Question 3: 'How do you handle the TV cable geometry for my specific intake?'
Expert Pro-Tip: The 200-4R requires the distance from the throttle shaft pivot centerline to the TV cable attachment point to be exactly 1.090 to 1.125 inches. If a shop tells you they will 'just adjust it at the carburetor by ear,' they are guaranteeing a transmission failure. Line pressure will not scale correctly with throttle opening, resulting in catastrophic clutch slippage under load.
If the rebuilder does not offer or recommend a specific geometry correction bracket (like those from Bowtie Overdrives or TCI) tailored to your exact intake manifold and carburetor/throttle body setup, they do not understand the 200-4R.
2026 Cost Breakdown: What to Expect
The cost of a proper 200 4r transmission rebuild has shifted significantly. High-quality hard parts and new old stock (NOS) castings are becoming scarce, driving up core charges and component costs. Below is a realistic cost framework for a professional, upgraded bench build and installation.
- Tear Down, Inspection, and R&R Labor: $700 - $1,100 (Removing the unit, cleaning, and diagnosing the exact hard-part casualties).
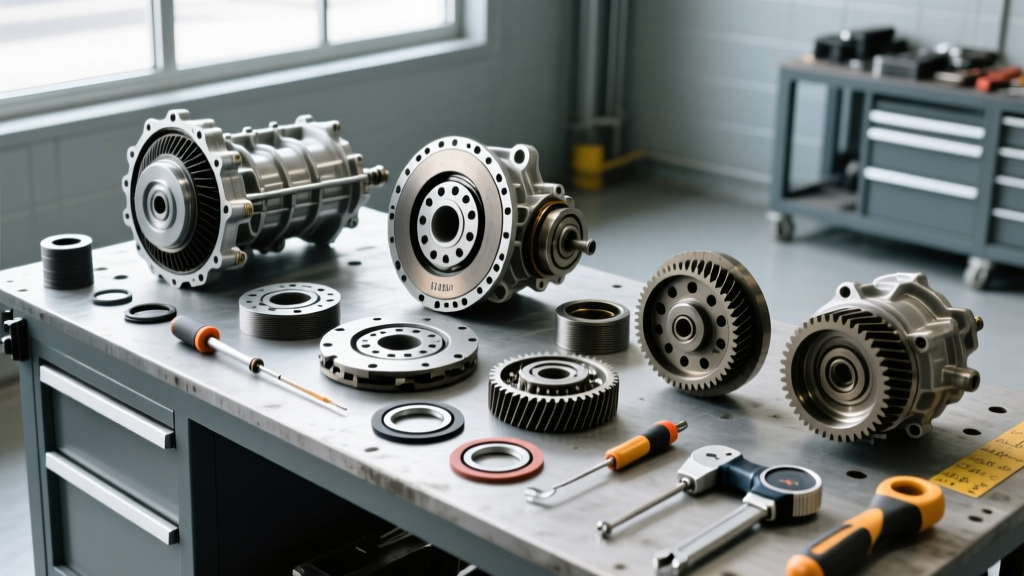
- Master Rebuild Kit (Frictions, Steels, Seals, Gaskets): $180 - $280 (Expect premium brands like TransTec or Oregon Performance).
- Hard Parts & Upgrades: $350 - $600. This includes a hardened sun shell (to prevent stripping), a billet 4th servo, a 3-4 clutch relay valve, and a heavy-duty front pump boost valve.
- Torque Converter: $250 - $450. A custom-stall, furnace-brazed torque converter is mandatory if you are producing over 350 horsepower.
- Assembly & Bench Labor: $800 - $1,200.
- Core Charge: $150 - $350. (Note: Finding a clean, un-cracked 1986-1990 'KZF' or 'OZ' case is difficult in 2026. If your core is damaged, expect to pay the premium).
Total Estimated Investment: $2,430 to $3,980, depending on vehicle accessibility (e.g., crossmember modifications) and the extent of hard-part damage caused by the initial failure.
Critical Installation Torque Specs & Fluids
When your rebuilder installs the unit, or if you are picking it up for a DIY installation, strict adherence to torque specifications is non-negotiable. The 200-4R case is aluminum and easily warped or stripped.
- Transmission to Engine Block (Bellhousing Bolts): 35 lb-ft (Use Grade 8 or OEM metric equivalent; do not overtighten).
- Front Pump to Case Bolts: 10 - 12 lb-ft. (Overtightening these will warp the pump halves, causing immediate cavitation and whining).
- Transmission Pan Bolts: 10 - 15 lb-ft. (Use a steel stamped pan rather than the flimsy OEM aluminum pan to prevent gasket leaks and filter starvation).
- Torque Converter to Flexplate: 25 - 30 lb-ft (Ensure the converter is fully seated into the front pump gear before bolting to the flexplate to avoid destroying the pump upon startup).
For fluid, abandon outdated Dexron-III formulations. Modern synthetic blends like AMSOIL Signature Series or Valvoline MaxLife Multi-Vehicle ATF provide the necessary shear stability and friction modifiers required to keep the 3-4 clutches alive during aggressive wide-open-throttle (WOT) shifts.
Final Thoughts on Sourcing Your Expert
Embarking on a 200 4r transmission rebuild is an exercise in preserving automotive history. By leveraging symptom diagnosis, you transform yourself from a passive consumer into an informed project manager. Utilize resources like Sonnax Technical Resources and Transmission Digest to brush up on hydraulic schematics before making your calls. The right rebuilder will welcome your technical questions, validate your diagnostic matrix, and deliver a 200-4R capable of handling modern horsepower with vintage charm.