The F-150 Cooling Dilemma: Radiator-Integrated vs. External Coolers
As we navigate the 2026 automotive landscape, the Ford F-150 remains the undisputed king of the worksite and the tow rig. However, the thermal management systems in the widely used 6R80 (2011-2017) and 10R80 (2017-present) 10-speed transmissions are notorious weak points under heavy load. When owners begin experiencing thermal derating or notice corroded fittings, a Ford F-150 transmission cooler line replacement becomes an urgent necessity. But this repair presents a critical fork in the road: do you replace the lines and retain the OEM radiator-integrated cooler, or do you bypass the radiator entirely in favor of an external auxiliary cooler?
Understanding the engineering divide between these two cooling methods is essential before you wrench on your truck. The decision impacts not just your transmission's lifespan, but its shift quality, torque converter lockup behavior, and overall towing capability.
The OEM Radiator Cooler: Warm-Up vs. Heat Soak
Ford engineers designed the factory transmission cooler to be integrated into the radiator's bottom coolant tank. The logic is rooted in cold-weather drivability. Engine coolant warms up much faster than transmission fluid. By routing the ATF through the radiator, the coolant acts as a heat exchanger, rapidly bringing the Mercon LV or Mercon ULV fluid up to optimal operating temperature (around 180°F to 195°F). This reduces parasitic drag, improves fuel economy, and allows the torque converter clutch (TCC) to lock up sooner.
However, this design has a fatal flaw when towing. If you are pulling an 8,000-lb travel trailer up a 6% grade, engine coolant temperatures can easily exceed 220°F. At this point, the radiator is no longer cooling the transmission fluid; it is actively heating it. This heat soak accelerates fluid degradation and triggers the ECU's limp-mode thermal protection.
Why OEM Cooler Lines Fail
The factory cooler lines on the F-150 are constructed from a mix of aluminum tubing and rubber hose segments, connected via quick-connect fittings. Over time, road salt, galvanic corrosion between dissimilar metals, and constant thermal cycling cause the aluminum to pit and the rubber to dry rot. The most common failure point is the lower quick-connect fitting at the radiator tank, where a slow weep turns into a catastrophic fluid loss, starving the 10R80's high-pressure pump and burning out the clutch packs in a matter of miles.
Step-by-Step Ford F-150 Transmission Cooler Line Replacement
Whether you are sticking with the OEM setup or upgrading to an external cooler, the physical removal of the degraded lines requires precision. The 10R80 transmission operates at line pressures exceeding 250 PSI; a poorly seated quick-connect will blow out under load.
Tools and OEM Part Numbers
- OEM Upper Line (10R80): Ford ML3Z-7A095-A (Approx. $85)
- OEM Lower Line (10R80): Ford ML3Z-7A095-B (Approx. $92)
- Quick-Connect Disconnect Tool Set: Lisle 39400 (5/8' and 1/2' sizes)
- Drain Pan & Jack Stands
- Torque Wrench (Inch-Pounds)
Removal Procedure
1. Secure and Drain: Safely lift the front of the F-150 on jack stands. Remove the aerodynamic skid plate (typically 10mm and 13mm fasteners). Note that the 10R80 transmission pan does not have a traditional drain plug. You must either drop the pan (replacing the reusable gasket and filter if necessary) or use a fluid extractor through the dipstick tube to remove approximately 6-8 quarts of fluid to prevent a massive spill when the lines are disconnected.
2. Disconnect at the Radiator: Locate the upper and lower line connections at the passenger side of the radiator tank. Wipe away debris. Insert the appropriate Lisle quick-connect tool into the fitting collar until you feel the internal retaining tangs compress. Push the tool in, then pull the line straight out. Warning: Never pry on the aluminum radiator tank nipple, as it will crack the plastic tank.
3. Disconnect at the Transmission: Follow the lines back to the transmission case. The 10R80 uses threaded adapter fittings where the lines meet the case. Use a line wrench (flare nut wrench) to prevent rounding the soft aluminum fittings. Torque spec for reinstallation of these threaded adapters is 18 lb-ft (24 Nm).
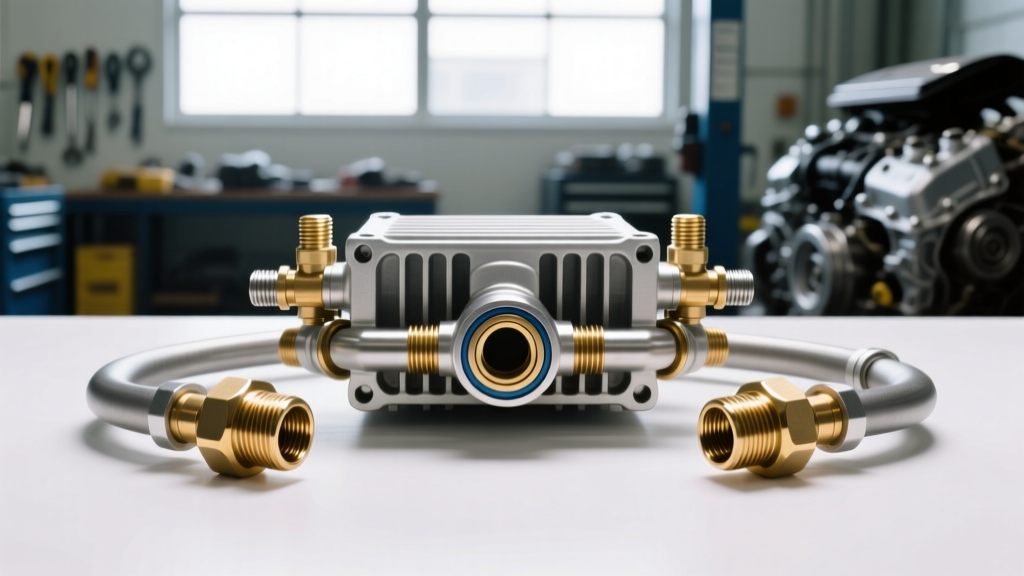
4. Reroute or Replace: If installing new OEM lines, lubricate the new O-rings with a dab of clean ATF before clicking them into the radiator. If bypassing the radiator, you will use the old OEM lines (cut and flared, or adapted via AN fittings) to route the fluid directly to a front-mounted external cooler.
Comparative Analysis: OEM Radiator Cooler vs. Auxiliary External Cooler
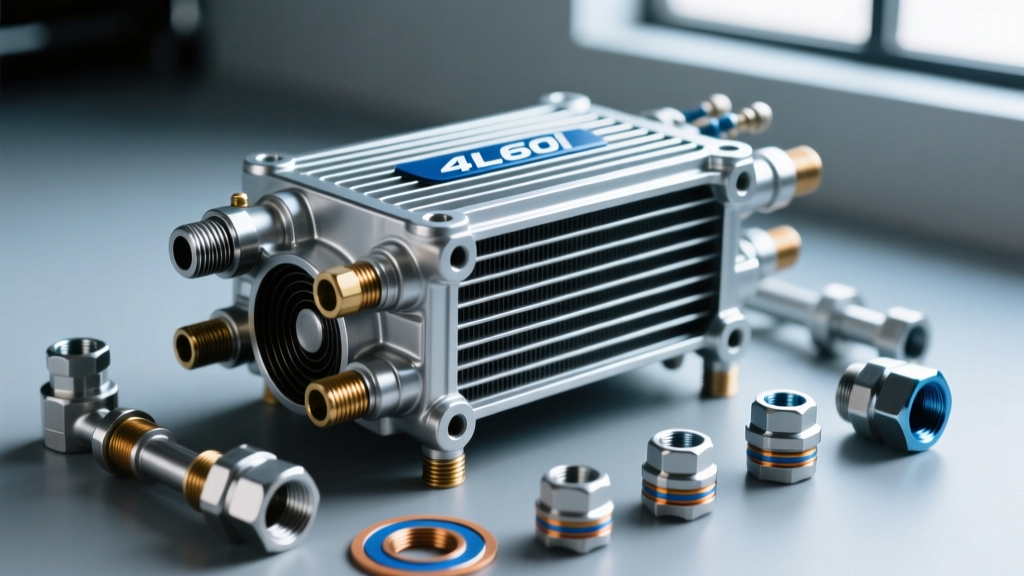
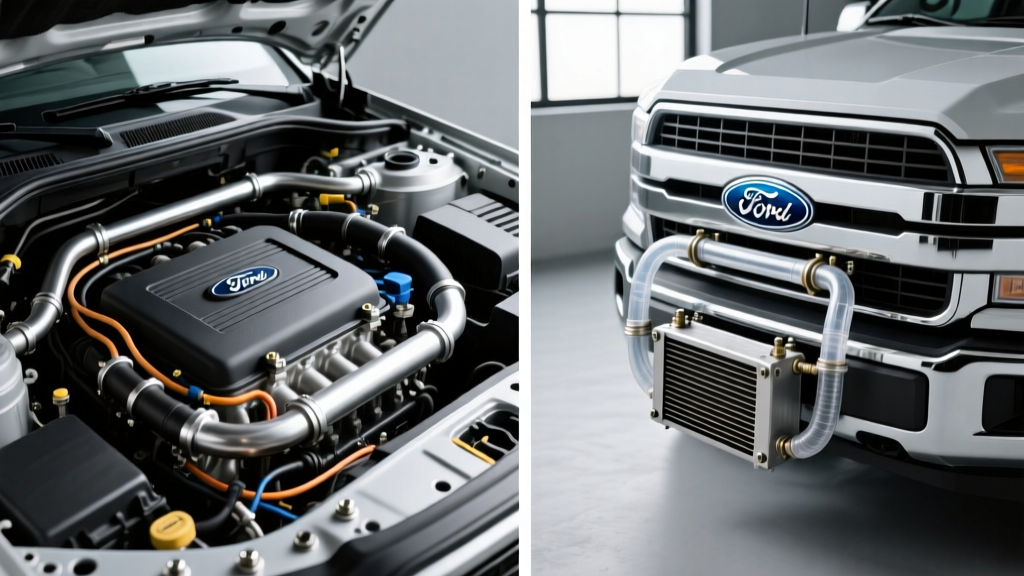
When executing a Ford F-150 transmission cooler line replacement, many owners opt for the 'Radiator Bypass' method. This involves capping the radiator cooler ports and routing the transmission lines exclusively to a dedicated, air-to-fluid auxiliary cooler mounted in front of the A/C condenser.
| Feature | OEM Radiator-Integrated Cooler | External Auxiliary Cooler (e.g., Hayden 678) |
|---|---|---|
| Primary Function | Fluid warm-up & light load cooling | Maximum heat rejection under heavy load |
| Cross-Contamination Risk | High (Coolant mixes with ATF if tank breaches) | Zero (Completely isolated from engine coolant) |
| Towing Efficiency (8000+ lbs) | Poor (Suffers from engine heat soak) | Excellent (Relies on ambient airflow) |
| Cold Weather Performance | Excellent (Rapid ATF warm-up) | Poor (Prolonged cold-fluid lockup delay) |
| Estimated Parts Cost | $175 (OEM Lines) | $250 - $350 (Cooler, Hoses, Bypass Caps) |
According to technical discussions on the F150Forum Technical Archives, the 'Strawberry Milkshake of Death' (SMOD)—where the internal radiator barrier fails and pumps pink coolant into the transmission—is a known failure point on older F-150 radiators. This single event destroys the transmission's friction materials and requires a complete rebuild. Bypassing the radiator during your line replacement eliminates this risk entirely.
The 10R80 Thermal Bypass Valve: A Crucial Consideration
If you choose to bypass the radiator and install an external cooler on a 2017+ F-150 with the 10R80 transmission, you must understand the internal thermal bypass valve. Located inside the transmission case or the cooler adapter block, this wax-element valve blocks fluid flow to the cooler entirely until the ATF reaches approximately 180°F.
Because the 10R80 relies on ultra-low viscosity Mercon ULV fluid to manage the complex shift timing of its 10 gears, running cold, thick fluid causes harsh shifts and delays TCC lockup. If you install a massive external cooler without a standalone inline thermostat, the transmission may never reach optimal operating temperature in winter, leading to excessive wear and poor fuel economy. Therefore, the ultimate setup for a heavy-duty F-150 is a series configuration: route the transmission output to the OEM radiator (for warm-up), then out to the external cooler (for heat rejection), and back to the transmission. If the radiator is already compromised, install an external cooler equipped with an inline 180°F thermal bypass valve, such as the Hayden Rapid-Cool series with integrated thermostat.
Fluid Refill and Thermal Verification
After completing the Ford F-150 transmission cooler line replacement and securing all fittings, the refill process must be exact. The 6R80 requires Mercon LV, while the 10R80 strictly requires Mercon ULV. Mixing these fluids will cause severe shift degradation due to their differing friction modifiers and kinematic viscosities.
- Add 6 quarts of the correct specification fluid through the dipstick tube or fill plug.
- Start the engine, cycle through all gears (P-R-N-D), and let it idle.
- With the engine running and the transmission at operating temperature (verified via an OBD2 scanner reading the TFT sensor, ideally between 185°F and 200°F), check the dipstick or fill plug level.
- Add fluid in half-quart increments until it reaches the crosshatch mark.
Finally, torque all line bracket bolts to the chassis to 89 in-lbs (10 Nm) to prevent vibration-induced fatigue. By carefully selecting your cooling architecture and executing a precise line replacement, your F-150's drivetrain will be equipped to handle the most grueling towing demands without thermal derating.