Diagnosing the F150 Torque Converter: Beyond the Shudder
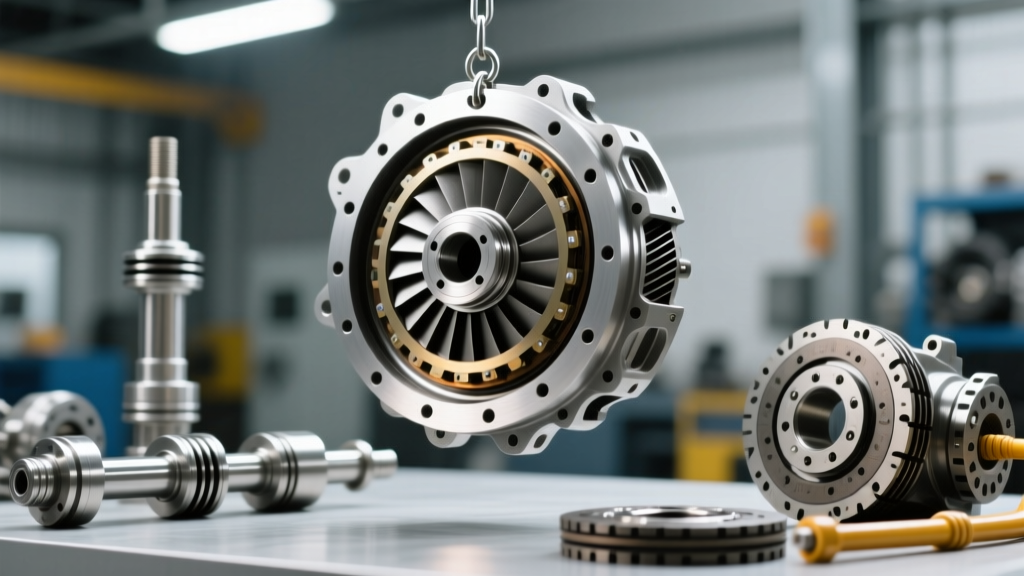
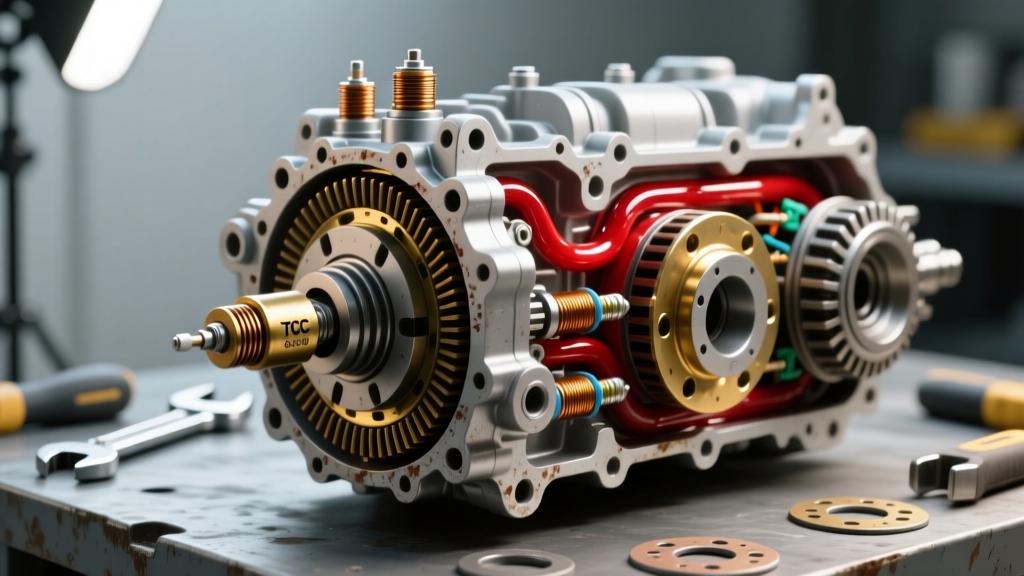
As of 2026, the Ford F-150 remains the best-selling truck in America, but its automatic transmissions are not immune to drivetrain wear. The torque converter is the critical fluid coupling between the engine and the transmission, and when it fails, it can manifest as a violent shudder at highway speeds, harsh shifting, or complete loss of forward movement. While early 6R80 models were notorious for torque converter clutch (TCC) shudder due to degrading friction material, the newer 10R80 10-speed units present their own unique failure modes, including solenoid body contamination and pump hub wear.
Before ordering parts and dropping the transmission, proper diagnosis is mandatory. Connect an OBD2 scanner capable of reading Ford-specific CPID (Converter Pressure Integral Derivative) data. Tools like FORScan are invaluable here. If you observe P0741 (TCC Stuck Off) or P0743 (TCC Electrical) codes, monitor the TCC slip RPM. A healthy F150 torque converter should show near-zero slip when locked up in higher gears. Consistent slip exceeding 50-100 RPM under steady throttle confirms internal clutch failure or severe hydraulic leakage inside the converter hub.
Identifying Your Transmission: 6R80 vs. 10R80
Ford utilized two primary rear-wheel-drive automatic transmissions in the F-150 over the last decade and a half. Identifying which unit is bolted to your engine dictates the exact replacement procedure, fluid requirements, and OEM part numbers.
- 6R80 (6-Speed): Found in 2011-2017 F-150s (and some 2018 models with the 5.0L Coyote V8). This unit uses a traditional dipstick or side-leveling plug and requires Mercon LV fluid.
- 10R80 (10-Speed): Introduced in 2017 and standard on most EcoBoost and V8 models through the current generation. This unit lacks a traditional dipstick, relies on a complex thermal expansion fluid check procedure, and requires the ultra-low viscosity Mercon ULV fluid.
OEM Part Numbers and Fluid Specifications
| Transmission | Motorcraft TC Part Number | Required Fluid Type | Fluid Capacity (Dry Fill) |
|---|---|---|---|
| 6R80 | AL3Z-7902-B | Mercon LV (XT-10-QLVC) | ~13.1 Quarts |
| 10R80 | JL3Z-7902-A | Mercon ULV (XT-12-ULVC) | ~13.5 Quarts |
Note: Always verify part numbers using your specific VIN on the official Motorcraft website, as engineering revisions occur frequently.
Preparation and Safe Removal Procedures
Replacing the torque converter requires dropping the transmission. This is a heavy, involved job that requires a vehicle lift or high-quality jack stands, a transmission jack, and an engine support bar. Never rely solely on the transmission jack to hold the engine's weight once the bellhousing is separated.
Step-by-Step Removal
- Support the Engine: Place an engine support bar across the top of the engine bay. The F-150's engine will tilt backward aggressively once the transmission crossmember is removed, which can crush coolant lines against the firewall or damage the fan shroud.
- Drain the Fluid: The 6R80 pan has a drain plug. The 10R80 often requires dropping the transmission pan or using a fluid extractor, as many 10-speed pans lack a dedicated drain plug to prevent improper fluid level checks by owners.
- Remove Driveline Components: Unbolt the rear driveshaft from the rear axle flange (mark it for balance alignment during reinstallation) and remove the transfer case if equipped with 4WD.
- Disconnect Electrical and Cooling Lines: Unplug the main transmission harness connector, remove the shift linkage cable, and carefully disconnect the transmission cooler lines using a quick-disconnect tool.
- Unbolt the Torque Converter: Remove the inspection cover on the bottom of the bellhousing. Rotate the engine clockwise (using a socket on the crankshaft pulley bolt) to access all six torque converter-to-flexplate nuts. Remove these M8 nuts and discard them; they are one-time-use stretch fasteners.
- Separate and Lower: Remove the bellhousing-to-engine block bolts. Support the transmission with your jack, remove the crossmember-to-frame bolts, and carefully slide the transmission straight back. Ensure the torque converter stays seated in the transmission pump during lowering.
The Critical Step: Pump Hub Seating Depth
The single most common mistake made during an F150 torque converter replacement is failing to fully seat the converter into the transmission oil pump. The 10R80, in particular, features a delicate inner pump gear. If the torque converter hub is not fully engaged, the hub will shave the pump gear teeth upon initial startup, resulting in immediate metal contamination and a 'no-move' condition.
According to technical service bulletins and industry experts at Sonnax Transmission Tech Resources, you must measure the seating depth. Place a straight edge across the bellhousing mating surface. Use digital calipers to measure from the straight edge down to the torque converter mounting pad (the pad that contacts the flexplate). This measurement must be between 7/16-inch and 1/2-inch (11mm - 13mm). If the measurement is less than this, the converter is not fully seated. You must wiggle and push the converter inward until you feel three distinct 'clunks' as it passes through the stator support, the turbine hub, and finally into the pump gear.
Installation and Torque Specifications
Once the converter is verified as fully seated, apply a small amount of Mercon fluid to the converter hub O-rings to prevent dry-start scoring. Carefully mate the transmission to the engine block, ensuring the alignment dowels engage perfectly. Never use the bellhousing bolts to 'pull' the transmission to the engine; this will crack the aluminum case.
Factory Torque Specs Table
| Component | Fastener Size / Type | Torque Specification |
|---|---|---|
| TC to Flexplate Nuts (Replace New) | M8 x 1.25 Flange Nut | 35 lb-ft (47 Nm) |
| Bellhousing to Engine Block | M12 / M10 Bolts | 35 - 50 lb-ft (Verify by bolt size) |
| Transmission Crossmember to Frame | M12 Bolts | 66 lb-ft (90 Nm) |
| Transmission to Crossmember | M10 Bolts | 22 lb-ft (30 Nm) |
| Driveshaft to Axle Flange | M12 Nuts | 76 lb-ft (103 Nm) |
Pro-Tip: Install one TC-to-flexplate nut hand-tight, then rotate the engine to install the rest. This prevents the converter from pulling away from the pump while you work.
Fluid Fill, Thermal Expansion, and TCC Relearn
Filling the 10R80 is where many DIYers and general repair shops fail. The 10-speed transmission utilizes a thermal expansion valve and requires the fluid to be at a very specific temperature to achieve the correct level. Overfilling the 10R80 by even half a quart will cause the fluid to aerate, leading to immediate TCC slip codes and harsh shifts.
The 10R80 Fluid Level Check Procedure
- Pump in approximately 10 quarts of Mercon ULV through the fill plug until it begins to weep out.
- Start the engine, hold the brake, and shift slowly through every gear, pausing for 3 seconds in each.
- Connect your OBD2 scanner and monitor the Transmission Fluid Temperature (TFT) PID.
- Allow the truck to idle or drive it on a lift until the TFT reaches exactly 185°F to 200°F (85°C to 93°C).
- With the engine still running and the vehicle perfectly level, remove the fluid leveling plug on the side of the pan/case. Fluid should drip out in a slow, steady stream. If it pours out, let it drain. If nothing comes out, pump in more fluid until it drips.
- Reinstall the leveling plug and the fill plug.
TCC Relearn and Adaptation
After replacing the F150 torque converter and installing fresh fluid, the transmission control module (TCM) must relearn the clutch volumes. Using FORScan or the Ford Integrated Diagnostic System (IDS), navigate to the Powertrain Control Module (PCM) and perform a 'Keep Alive Memory (KAM) Reset'. Following the reset, perform the TCC Adaptation drive cycle. This typically involves driving the truck at a steady 45-55 mph with light throttle (around 10-15% TPS) to allow the TCM to map the new apply and release pressures of the torque converter clutch. For more community-driven adaptation strategies, the F-150 Forum 10R80 Technical Subforum is an excellent resource for real-world tuning feedback.
Cost Breakdown: DIY vs. Professional Replacement
Understanding the financial commitment is vital when deciding how to tackle this repair. Prices below reflect average market rates as of early 2026.
- Dealership Replacement: $2,800 - $3,800. This includes OEM Motorcraft parts, factory Mercon ULV fluid, and proprietary IDS software for TCM reflashing and adaptations.
- Independent Transmission Shop: $1,800 - $2,400. A reputable shop will often replace the transmission fluid filter and pan gasket simultaneously, which is highly recommended since the pan is already off.
- DIY Home Mechanic: $650 - $950. This assumes you already own a transmission jack, engine support bar, and an advanced OBD2 scanner capable of reading Ford TFT data and performing KAM resets. The bulk of this cost is the OEM torque converter ($500-$650) and the 13+ quarts of Mercon ULV fluid.
Replacing an F150 torque converter is a demanding but entirely achievable task for an advanced DIYer. The keys to success are strict adherence to the pump hub seating depth measurement, utilizing the correct one-time-use flexplate fasteners, and respecting the strict thermal requirements of the 10R80 fluid level check. By following these procedures, you can restore your truck's drivetrain to factory-smooth operation.