As of 2026, the groundbreaking aluminum-body 2015 Ford F-150 is crossing the decade mark. While the lightweight body panels have held up remarkably well, the drivetrain components—specifically the rear axles—are showing their age, especially on trucks used for towing and off-roading. Whether you are hearing the tell-tale whine of failing pinion bearings or you are simply trying to verify the 2015 f150 rear differential fluid type for a high-mileage service, understanding the intricacies of the Ford 8.8-inch and 9.75-inch rear axles is critical for any drivetrain technician or advanced DIYer.
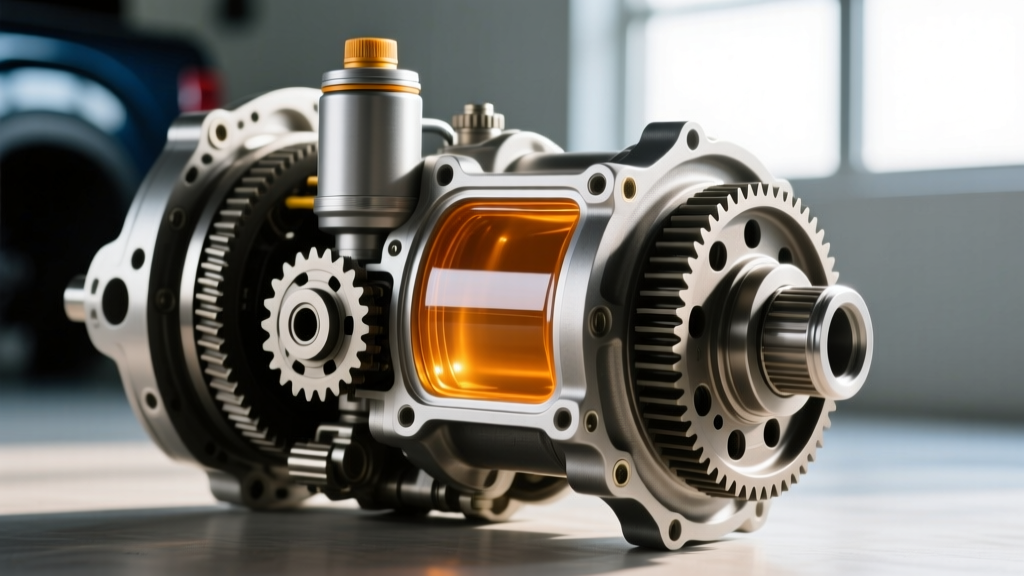
In this comprehensive guide, we will first clarify the exact fluid specifications required for these axles before diving deep into a professional-grade differential rebuild procedure. Rebuilding a Ford 9.75-inch (often referred to as the Super 8.8) or standard 8.8-inch axle requires precision measuring tools, an understanding of gear contact patterns, and strict adherence to torque specifications.
Decoding the 2015 F150 Rear Differential Fluid Type
Before tearing into the axle, you must know what goes back inside. When researching the 2015 f150 rear differential fluid type, the answer depends on your specific axle ratio, ring gear size, and whether the truck is equipped with the Heavy-Duty Payload Package or an electronic locking differential.
Ford shifted away from traditional 75W-140 fluids for standard-duty applications to improve cold-weather fuel economy, specifying a lighter 75W-85 synthetic gear oil. Below is the definitive fluid chart for the 2015 F-150 rear axles:
| Axle Model | Fluid Capacity | OEM Viscosity Spec | Motorcraft Part Number |
|---|---|---|---|
| 8.8-inch (Standard) | 4.75 Pints (2.24 L) | SAE 75W-85 Synthetic | XY-75W85-QL |
| 9.75-inch (Super 8.8) | 5.5 Pints (2.60 L) | SAE 75W-85 Synthetic | XY-75W85-QL |
| HD Payload / Max Tow | 5.5 - 6.9 Pints | SAE 75W-140 Synthetic | XY-75W140-QL |
Expert Note: If your 2015 F-150 is equipped with a Torsen-style limited-slip differential or a mechanical clutch-type LSD, you must add 4 oz of Motorcraft XL-3 Friction Modifier Additive (Part# XL-3) to prevent clutch chatter during low-speed cornering. Electronic locking differentials (E-Lockers) do not require friction modifier.
Diagnosing the Need for a Differential Rebuild
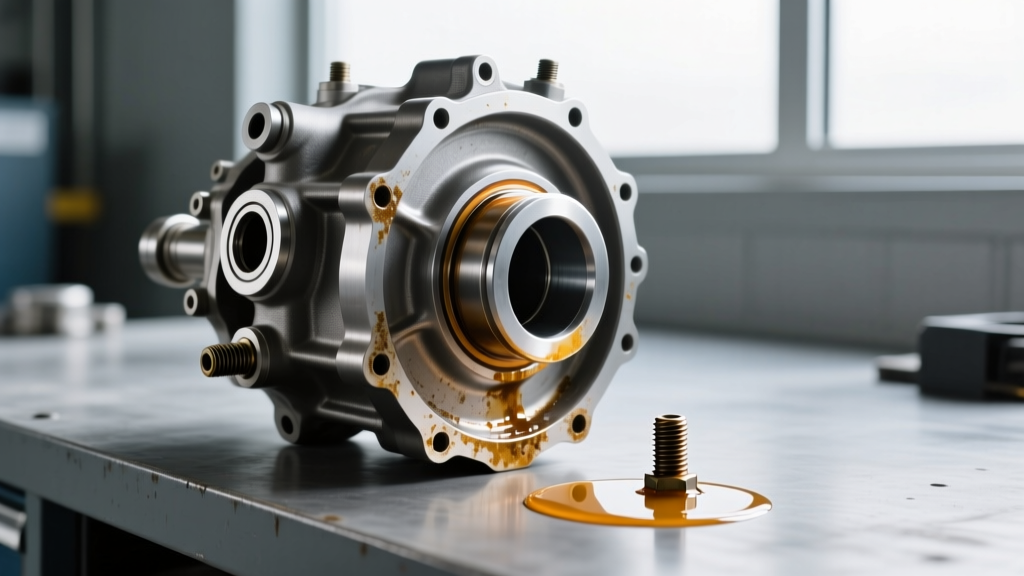
Changing the fluid will not fix mechanical wear. A full rebuild is required if you observe the following failure modes:
- Pinion Bearing Whine: A high-pitched howl that changes pitch precisely with vehicle speed (not engine RPM), indicating pitting on the pinion head bearing race.
- Ring Gear Runout: A rhythmic 'clunk' or vibration felt through the chassis during light acceleration, often caused by a warped ring gear or worn carrier bearings.
- Excessive Backlash: A sharp metallic knock when shifting from Reverse to Drive, meaning the clearance between the ring and pinion gears exceeds the 0.012-inch maximum threshold.
- Contaminated Fluid: Finding brass-colored shavings (thrust washer wear) or chunky steel flakes on the magnetic drain plug.
Essential Tools and Rebuild Components
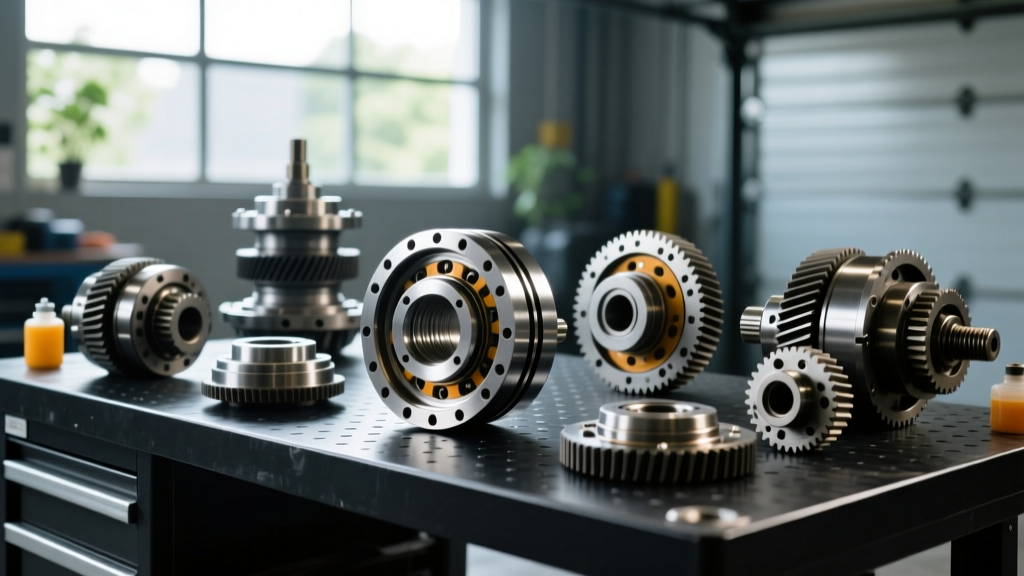
Do not attempt a Ford 9.75-inch rebuild with standard hand tools. You will need a master rebuild kit (Timken or Motormaster), which includes carrier shims, pinion shims, a new crush sleeve, and a pinion nut. For a complete overhaul, you will also need:
- Dial indicator with magnetic base (0.0001-inch resolution)
- Inch-pound beam-type torque wrench (for measuring rotational preload)
- Foot-pound torque wrench (capable of 250 lb-ft)
- Pinion depth setting tool (specific to Ford 8.8/9.75 axles)
- Yellow gear marking compound
- Bearing puller and hydraulic press
Step-by-Step 2015 F-150 Rear Differential Rebuild Procedure
The following procedure outlines the rebuild process for the ubiquitous Ford 9.75-inch rear axle. The 8.8-inch follows the exact same logic, though torque specs and shim thicknesses vary slightly.
Phase 1: Teardown and Case Inspection
Drain the differential fluid and remove the rear cover. Before removing the differential carrier, use a paint pen to mark the bearing caps and the axle housing. Critical Rule: Bearing caps are line-bored at the factory with the housing. They cannot be swapped side-to-side or end-to-end. If you mix up the caps, the carrier bore will be out of round, destroying your new bearings instantly.
Remove the cap bolts (typically 18mm), pry the carrier out using a specialized spreader tool or brass pry bars, and remove the pinion shaft. Press the old bearings off the carrier and pinion gear using a hydraulic press.
Phase 2: Pinion Depth and Bearing Preload Setup
Pinion depth is the most critical measurement in a differential rebuild. It dictates how deeply the pinion gear meshes into the ring gear.
- Look at the head of your new pinion gear. You will see a number etched into the steel (e.g., '+2' or '-1'). This represents thousandths of an inch deviation from the nominal factory depth.
- Use your pinion depth tool and micrometer to set the inner pinion shim. If the nominal depth is 3.000 inches and your gear reads '+2', your target depth is 3.002 inches.
- Press the inner pinion bearing onto the gear and install it into the housing.
- Install the outer pinion bearing, a new crush sleeve, the yoke/flange, and a new pinion nut.
- Tighten the pinion nut while measuring rotational torque with your inch-pound beam wrench. For the Ford 9.75-inch, new bearing preload must be between 14 and 19 in-lbs. Used bearings should be 8-12 in-lbs.
Warning: Never loosen the pinion nut to adjust preload. If you over-crush the sleeve, you must replace it and start over. Final pinion nut torque often exceeds 220 lb-ft to achieve the correct crush.
Phase 3: Ring Gear Mounting and Backlash Adjustment
Clean the carrier case mating surface with brake cleaner. Bolt the new ring gear to the case using new ring gear bolts. Apply red Loctite 271 to the threads and torque them to 85-95 lb-ft in a crisscross pattern.
Press the new carrier bearings onto the case. Now, you must set the backlash (the clearance between the ring and pinion teeth). Install the carrier into the housing with your selected side shims.
- Mount the dial indicator perpendicular to the ring gear teeth.
- Hold the pinion yoke completely still and rock the ring gear back and forth.
- The target backlash for Ford 9.75 axles is 0.008 to 0.012 inches.
- To adjust, move shim thickness from one side to the other. Moving shims to the ring gear side decreases backlash; moving them away increases it. Total shim pack thickness must remain identical to maintain carrier bearing preload.
Phase 4: Verifying the Contact Pattern
Numbers on a dial indicator mean nothing if the gear contact pattern is flawed. Apply yellow marking compound to 4-5 teeth on the ring gear. Apply moderate rotational resistance to the ring gear while turning the pinion yoke to 'roll' the gears.
Inspect the Drive side and Coast side of the teeth:
- Ideal Pattern: The contact patch should be centered vertically on the tooth face, slightly biased toward the heel (the inner, thicker end of the tooth).
- Toe Contact: If the pattern is too close to the toe (outer edge), the pinion is too deep. Add thickness to the pinion depth shim.
- Heel Contact: If the pattern runs off the heel, the pinion is too shallow. Reduce pinion depth shim thickness.
- High/Low Contact: Adjusted via side shims (backlash adjustment).
For visual references on complex gear patterns, consult the Yukon Gear & Axle installation guides, which provide industry-standard visual matrices for hypoid gear setups.
Reassembly and the Critical Fluid Fill
Once the pattern is verified and the crush sleeve preload is locked in, reinstall the axle shafts, ensuring the splines do not damage the new carrier side seals. Torque the bearing cap bolts to 90 lb-ft and install a new silicone gasket on the differential cover. Torque the cover bolts to 25-30 lb-ft.
This brings us back to the 2015 f150 rear differential fluid type. Because you have just installed a brand-new ring and pinion set, the break-in fluid choice is heavily debated among drivetrain specialists. While Ford specifies the 75W-85 Motorcraft Synthetic (XY-75W85-QL) for daily driving, many axle builders recommend using a high-quality conventional (non-synthetic) 80W-90 GL-5 gear oil for the first 500 miles. Conventional oil allows for slightly higher friction, which aids in the initial mating and lapping of the new hypoid gears. After the 500-mile break-in, drain the conventional oil, flush out the metallic break-in paste, and fill with the OEM 75W-85 synthetic to ensure long-term longevity and fuel efficiency.
For comprehensive OEM torque specifications and fluid capacities, technicians should always cross-reference the Ford Motorcraft official vehicle care documentation or the Spicer/Dana axle installation manuals for the specific axle tag ratio code.
Break-In Procedure for New Ring and Pinion Gears
A rebuilt differential will overheat and destroy itself if driven aggressively immediately after assembly. The new gears must undergo a thermal cycling break-in process:
- Drive the truck at varying speeds between 30 and 50 mph for the first 100 miles. Avoid towing or heavy loads.
- Stop and let the axle cool completely every 15-20 miles. The differential housing will become hot to the touch—this is normal as the gears lap together.
- After 500 miles, perform your first fluid change to remove the microscopic metal particulates suspended in the oil.
- Resume normal driving and towing operations.
By meticulously following these teardown, setup, and fluid fill procedures, your 2015 F-150's rear axle will be equipped to handle another decade of heavy-duty service without skipping a beat.