The Accessory Drive Dilemma: Clutch Repair vs. Full Compressor Replacement
While AutoGearNexus is globally recognized for our exhaustive teardowns of 10R80 transmission clutch packs and heavy-duty drivetrain torque specs, the accessory drive system demands an equal level of mechanical precision. For owners of the 2015–2020 Ford F-150 (3.5L EcoBoost and 5.0L V8), a failing air conditioning system often triggers a frantic search for a Ford F150 AC compressor clutch replacement. However, blindly swapping the magnetic clutch without diagnosing the root cause is a classic DIY trap.
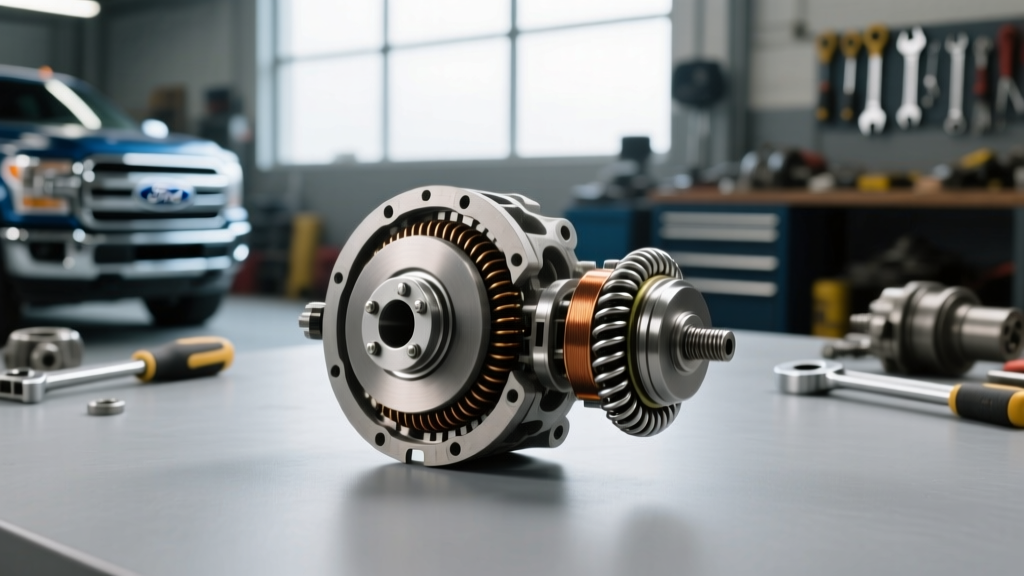
The magnetic clutch on your F-150's Denso or Motorcraft compressor is a friction-based engagement device. Just like the torque converter clutch in your automatic transmission, it relies on precise air gaps, electromagnetic force, and bearing integrity. When the AC stops blowing cold, or you hear a violent squeal from the serpentine belt, you face a critical decision: Do you replace just the clutch assembly (pulley, coil, and friction hub), or do you replace the entire compressor?
Making the wrong choice will result in immediate secondary failures, contaminated refrigerant lines, and hundreds of dollars in wasted parts. Below, we break down the exact diagnostic framework, followed by a comprehensive step-by-step guide to executing the repair.
Diagnostic Decision Matrix: When to Repair vs. Replace
Before unbolting a single component, you must determine why the clutch failed. According to HVAC diagnostic standards and technical discussions on Ford Truck Enthusiasts, the clutch is rarely the primary culprit if internal compressor damage has occurred.
| Symptom / Finding | Root Cause Analysis | Required Action |
|---|---|---|
| Clutch won't engage; coil reads infinite resistance (Open Circuit). | Electromagnetic coil burned out due to age or voltage spike. | Replace Clutch Kit Only. Compressor is mechanically sound. |
| Clutch engages when cold, but slips/stops when engine bay is hot. | Friction surface wear has widened the air gap beyond magnetic pull capacity. | Replace Clutch Kit & Reshim. Compressor is mechanically sound. |
| Loud metallic grinding from pulley; black dust around the snout. | Pulley bearing failed and scored the compressor front housing (snout). | Replace Full Compressor. New clutch pulley will wobble and fail. |
| Clutch friction plate is melted/blued; serpentine belt is shredded. | Compressor internal seizure ('Black Death'). Clutch slipped until it burned. | Replace Full Compressor & Flush System. Do not reuse lines. |
| Clicking sound from relay, 12V at pigtail, but clutch won't pull in. | Excessive air gap or failing clutch coil (weak magnetic field). | Replace Clutch Kit. Check wiring pigtail for corrosion/melting. |
Expert Note: If your F-150 has suffered a catastrophic compressor lockup (often called 'Black Death' in the HVAC industry), metallic shavings will have migrated past the orifice tube and into the condenser. Replacing just the clutch or even the compressor without a full system flush and condenser replacement will destroy the new unit within weeks. Always inspect the orifice tube for metal flakes before proceeding with a clutch-only repair.
Tools and OEM Parts Required
For a successful Ford F150 AC compressor clutch replacement, OEM or high-tier aftermarket parts are non-negotiable. Sourcing components via reputable catalogs like RockAuto or directly from Motorcraft ensures proper fitment and coil resistance specifications.
- Clutch Kit: Motorcraft YCC-300 (or equivalent Denso kit for your specific build month).
- Full Compressor (If needed): Motorcraft YC-1265 (Verify with your VIN).
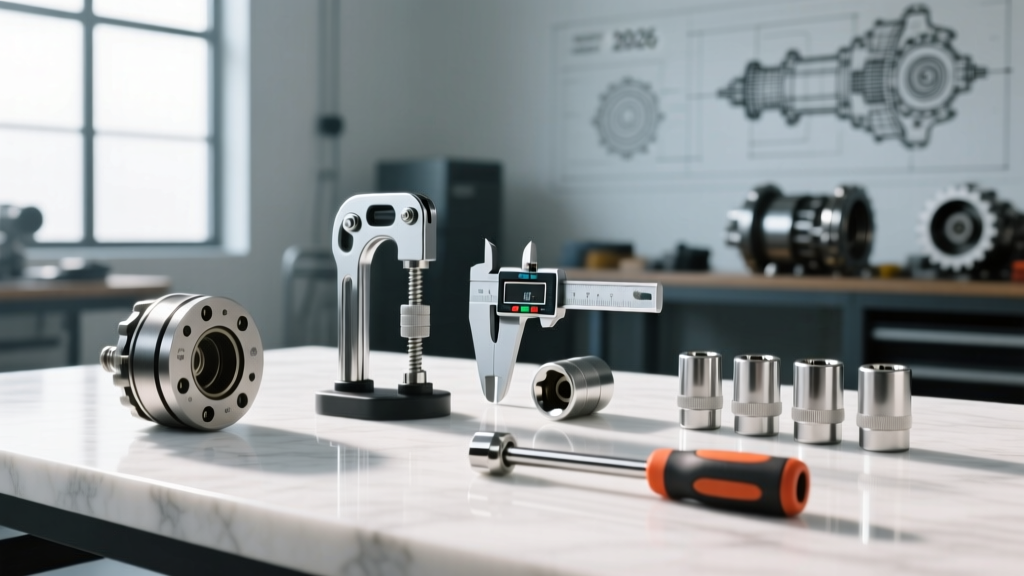
- Tools: Serpentine belt tool (15mm wrench), snap ring pliers (internal/external), feeler gauge set, digital multimeter, torque wrench (inch-pounds), and a clutch hub puller/installer tool (or a standard 3-jaw puller).
- Consumables: PAG-46 oil (for O-ring lubrication), threadlocker (blue), and replacement AC manifold O-rings.
Step-by-Step: Ford F150 AC Compressor Clutch Replacement
One of the major advantages of a clutch-only replacement on the 2015–2020 F-150 generation is that you do not need to evacuate the R-134a refrigerant system if the compressor body remains mounted to the engine block and the manifold lines are left undisturbed.
Step 1: Safety, Power, and Belt Removal
- Disconnect the negative battery terminal to prevent accidental engagement or short circuits while testing the coil.
- Locate the serpentine belt tensioner. Use a 15mm wrench or dedicated belt tool to rotate the tensioner clockwise and slip the belt off the AC compressor pulley.
- Disconnect the electrical pigtail from the compressor clutch coil. Inspect the connector for melted plastic or green corrosion—a common issue on F-150s driven in salt-belt states.
Step 2: Removing the Old Clutch Assembly
- The Friction Hub: Remove the center hub bolt (typically a 10mm or 6mm Allen, depending on the exact Denso variant). Use a universal clutch puller to extract the friction hub from the compressor shaft. Do not pry with a screwdriver, as you will damage the front seal.
- The Pulley/Rotor: Using snap ring pliers, remove the large external snap ring securing the pulley assembly. Slide the pulley off the front snout. If the bearing is pressed into the pulley, it is replaced as a single unit with the new kit.
- The Electromagnetic Coil: Remove the internal snap ring holding the coil. Carefully slide the coil off the compressor housing. Note the routing of the coil wiring pigtail to avoid interference with the mounting brackets during reassembly.
Step 3: Installation and Precision Shimming
- Clean the compressor snout and shaft with brake cleaner. Ensure no rust or debris remains, which could cause the new pulley to bind.
- Slide the new electromagnetic coil onto the housing, aligning the anti-rotation tab with the slot in the compressor body. Secure with the snap ring.
- Press the new pulley/bearing assembly onto the snout until fully seated. Secure with the external snap ring.
- Shimming the Air Gap (CRITICAL): Before installing the friction hub, you must set the air gap. Place the provided shim washers onto the compressor shaft. Slide the friction hub on and press it down. Measure the gap between the friction hub and the pulley face using a feeler gauge.
- The target specification is 0.020' to 0.030' (0.50mm - 0.75mm). If the gap is too wide, the clutch will not engage when the coil gets hot. If it is too tight, the clutch will drag, causing premature wear and burning out the coil. Add or remove shims as necessary.
- Once shimmed correctly, install the center hub bolt. Apply a drop of blue threadlocker and torque to 11–15 lb-ft (15–20 Nm).
Cost Comparison: Dealership vs. Independent vs. DIY
Understanding the financial landscape helps contextualize why the repair-vs-replace decision is so vital. Below is an estimated cost breakdown for a 2018 F-150 3.5L EcoBoost in the current 2026 market.
| Service Type | Parts Cost | Labor Cost | Total Estimate |
|---|---|---|---|
| DIY Clutch Kit Replacement | $90 - $160 | $0 | $90 - $160 |
| Independent Shop (Clutch Only) | $150 - $220 | $150 - $250 | $300 - $470 |
| Dealership (Full Compressor Swap) | $450 - $700 | $400 - $600 | $850 - $1,300+ |
*Note: Full compressor swaps require refrigerant recovery, vacuuming, and R-134a recharge, which adds significant labor and material costs.
Expert Troubleshooting: Why is the New Clutch Not Engaging?
You installed the new Motorcraft clutch kit, set the air gap perfectly, but the center hub still isn't pulling in. Before returning the part, perform these three drivetrain-level electrical tests:
1. The Voltage Drop Test
The PCM controls the AC clutch via a relay. Over time, the power wire running through the F-150's engine harness can develop internal corrosion. Set your multimeter to DC Volts. Connect the positive lead to the clutch pigtail power wire and the negative lead to the battery positive terminal (backprobing). With the AC commanded ON, you should see less than a 0.5V drop. If you read 2V or more, you have a bad wire or relay, and the clutch isn't receiving the amperage required to generate a magnetic field.
2. Coil Resistance Verification
Even brand-new parts can be defective. Unplug the coil and measure resistance across the two pins. At 68°F (20°C), a healthy Ford/Denso clutch coil should read between 3.5 and 4.5 ohms. If it reads near zero (short) or infinite (open), the coil is defective.
3. High-Pressure Switch Lockout
The F-150's HVAC module will intentionally disable the clutch if it detects abnormal system pressures. If your system is severely low on R-134a (due to a Schrader valve leak or condenser puncture), the low-pressure switch will keep the clutch relay open. Conversely, if the condenser fans are dead, head pressure will spike, triggering the high-pressure cutout. Always verify manifold gauges read 35-40 PSI on the low side and 150-175 PSI on the high side (at 75°F ambient) before condemning the electrical circuit.
Final Drivetrain Integration Thoughts
Treating your F-150's AC compressor clutch with the same diagnostic rigor as a transmission friction element is the hallmark of a true technician. By verifying the mechanical integrity of the compressor snout, precisely shimming the air gap to 0.025 inches, and validating the electrical supply, you ensure that your repair survives the brutal heat of summer towing and idling. Whether you are maintaining a daily driver or prepping a truck for heavy PTO-driven accessory loads, precision is the only metric that matters.