The Real 2017 WRX Clutch Replacement Cost in 2026
If you are researching the 2017 WRX clutch replacement cost, you have likely noticed a massive variance in quotes from dealerships, independent shops, and online forums. The Subaru WRX, equipped with the FA20DIT turbocharged boxer engine and the robust TY85 6-speed manual transmission, requires specific procedures that directly impact labor times and parts pricing. As we navigate the current automotive repair landscape in 2026, understanding where your money goes is the first step toward deciding whether to hand over the keys or pick up a wrench.
Below is a realistic breakdown of what you can expect to pay for a clutch replacement on the VA-chassis WRX.
| Service Provider | Parts Cost | Labor Cost | Estimated Total |
|---|---|---|---|
| Subaru Dealership | $800 - $1,200 | $1,000 - $1,400 | $1,800 - $2,600 |
| Independent Subaru Specialist | $450 - $700 | $700 - $900 | $1,150 - $1,600 |
| DIY (At-Home Mechanic) | $400 - $900 | $0 | $400 - $900 |
Expert Insight: The wide gap in parts cost usually comes down to the flywheel. The 2017 WRX 6MT uses a Dual-Mass Flywheel (DMF) from the factory. Replacing it with an OEM Exedy DMF adds roughly $650 to your parts bill. Many enthusiasts opt for a Single-Mass Flywheel (SMF) conversion kit to save money and improve throttle response, though this introduces noticeable gear rattle at idle.
Why the FA20DIT 6-Speed Clutch Job is Unique
Before diving into the procedure, beginners must understand that the 2017 WRX is not like a standard front-wheel-drive economy car. You cannot simply drop a subframe and pull the transmission out the bottom. The WRX utilizes a symmetrical all-wheel-drive layout, meaning the transmission is bolted directly to the back of the engine, transferring power to a center differential and a rear driveshaft. Furthermore, the aluminum oil pan on the FA20DIT is structural but fragile; you cannot support the engine weight directly on the oil pan without risking catastrophic cracking. An overhead engine support bar is mandatory for this job.
Beginner-Friendly Procedure: Removing the 6MT Transmission
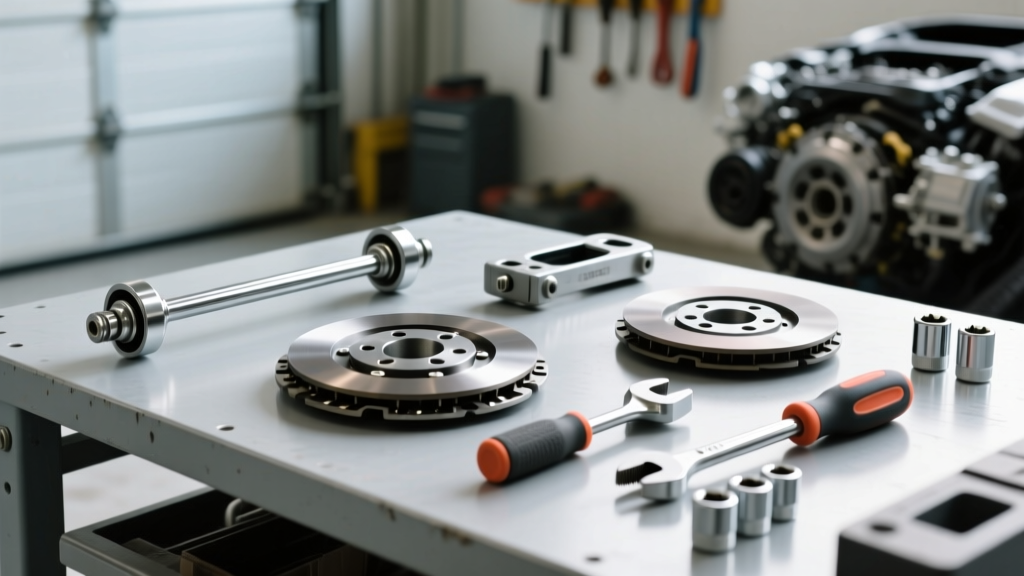
This guide assumes you have basic mechanical aptitude, a set of metric sockets (10mm, 12mm, 14mm, 17mm, 19mm), a torque wrench, and a safe workspace. For parts sourcing, platforms like RockAuto's 2017 WRX Catalog offer excellent OEM Exedy replacements, while dealer diagrams can be verified via Subaru TechInfo.
Step 1: Undercarriage Prep & Fluid Drain
Start by disconnecting the negative battery terminal. Safely lift the vehicle using a hydraulic lift or four high-quality jack stands on the designated chassis pinch welds. Place a drain pan beneath the transmission and remove the 14mm drain plug. The TY85 6-speed holds approximately 3.8 liters of fluid. Drain it now; if you wait until the transmission is tilted at an extreme angle to remove it, fluid will spill past the output shaft seals and into your undercarriage.
Step 2: Axles, Driveshaft, and Linkage Disconnect
- Driveshaft: Mark the rear driveshaft flange and the rear differential flange with a paint pen to maintain factory balance. Remove the four 12mm nuts and slide the driveshaft back. Tape up the U-joints to prevent the bearing caps from falling off.
- Axles: You do not need to fully remove the front axles. Simply unbolt the lower ball joint (17mm castle nut) and swing the steering knuckle outward to pop the axle stub out of the transmission. Secure the axles to the suspension with bungee cords to prevent stress on the CV boots.
- Shift Linkage & Pitch Stopper: Inside the engine bay, remove the top-mount intercooler (TMIC) to gain access. Unbolt the pitch stopper mount that connects the engine to the firewall. Underneath, unbolt the shift rod coupler and the rear transmission support bracket.
Step 3: Bellhousing Separation
Install an overhead engine support bar across the engine bay, securing it to the strut towers, and use a chain or ratchet strap to gently lift the engine from the factory lifting eyelet. Position a transmission jack (or a standard floor jack secured with a heavy-duty ratchet strap) under the 6MT. Remove the transmission crossmember bolts (14mm). Slowly lower the jack, tilting the rear of the transmission down to clear the firewall. Unbolt the bellhousing bolts (various lengths of 12mm and 14mm—map their locations on a piece of cardboard). Slide the transmission straight back and lower it out of the vehicle.
The Clutch & Flywheel Swap: Alignment and Torque Specs
With the transmission on the floor, you are staring at the clutch assembly. If you are replacing the DMF with a new OEM unit or an SMF conversion, remove the six flywheel bolts (19mm) using a flywheel holding tool or by wedging a screwdriver into the ring gear teeth. Clean the mating surface on the crankshaft with brake cleaner.
When installing the new clutch disc and pressure plate, you must use a clutch alignment tool specific to the FA20 6MT pilot bearing. If the disc is off-center by even a millimeter, the transmission input shaft will not slide through the splines during reassembly, forcing you to drop the 105-pound transmission and try again.
| Component | Fastener Size | Torque Specification |
|---|---|---|
| Flywheel to Crankshaft | M10 x 1.25 | 69 ft-lbs (94 Nm) |
| Pressure Plate to Flywheel | M8 x 1.0 | 18 ft-lbs (25 Nm) in a star pattern |
| Bellhousing to Engine Block | M10 / M12 | 37 ft-lbs (50 Nm) |
| Transmission Crossmember | M12 | 50 ft-lbs (68 Nm) |
| Rear Driveshaft Flange | M10 | 23 ft-lbs (31 Nm) |
Pro Tip: Before reinstalling the transmission, inspect the clutch release bearing (throwout bearing) and the clutch fork pivot ball. The 2017 WRX uses an external hydraulic slave cylinder actuating a traditional fork. If the fork pivot ball shows wear, replace it (Subaru Part # 30537KA020). A worn pivot ball causes a ticking noise at idle that mimics a failing transmission bearing.
Reassembly & Bleeding the Hydraulic System
Reversing the removal process is straightforward, but patience is required when mating the engine and transmission. Do not use the bellhousing bolts to pull the transmission flush to the engine block. If there is resistance, the clutch disc is misaligned or the input shaft is binding. Support the transmission perfectly level, wiggle it slightly, and it will slide home flush under its own weight.
Once the drivetrain is reassembled and the vehicle is back on the ground, you must address the hydraulic clutch system. The 2017 WRX uses DOT 4 brake fluid, sharing the reservoir with the braking system. Because you tilted the transmission, air likely entered the clutch slave cylinder line.
- Top off the master cylinder reservoir with fresh DOT 4 fluid.
- Attach a clear tube to the bleeder valve on the clutch slave cylinder (located on top of the bellhousing) and route it into a catch bottle.
- Have a helper press the clutch pedal to the floor and hold it.
- Open the bleeder valve (8mm wrench), allow fluid and air to escape, then close the valve before the helper releases the pedal.
- Repeat until no air bubbles are visible in the clear tube and the pedal exhibits a firm, predictable engagement point.
Final Break-In and Sourcing Advice
According to maintenance data tracked by RepairPal for the Subaru WRX, premature clutch wear is often caused by improper break-in procedures. For the first 500 miles, avoid aggressive launches, heavy towing, or riding the clutch pedal in stop-and-go traffic. Allow the friction material to bed evenly to the flywheel surface through normal, moderate city driving.
Whether you ultimately decide to tackle this procedure in your garage or take the quoted estimates to a trusted local specialist, understanding the mechanical realities of the FA20DIT and the TY85 6-speed ensures you won't be taken advantage of. The 2017 WRX remains one of the most rewarding analog driving experiences on the market, and maintaining its drivetrain is a rite of passage for every Subaru enthusiast.