Understanding the EZGO CVT System
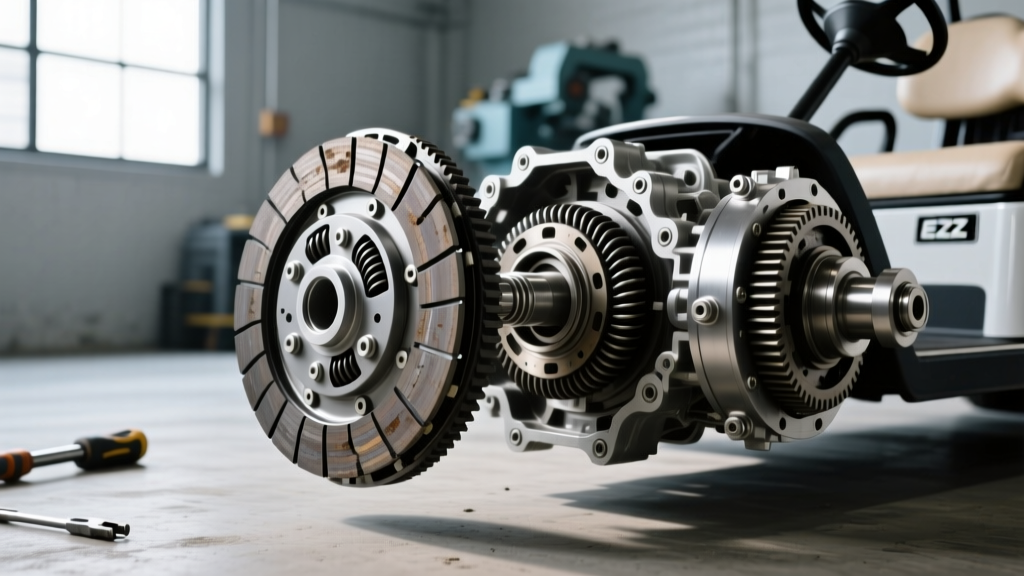
When discussing an ezgo golf cart clutch replacement, it is critical to first understand that golf carts do not use traditional manual friction disc clutches. Instead, EZGO TXT and RXV models utilize a Continuously Variable Transmission (CVT) system. This system relies on two primary components: the Primary (Drive) Clutch mounted to the engine crankshaft, and the Secondary (Driven) Clutch mounted to the transmission input shaft. A heavy-duty drive belt connects the two, transferring power through variable pulley diameters.
As we navigate the 2026 maintenance landscape, parts costs and aftermarket support for EZGO carts have evolved. Deciding whether to completely replace the clutch assemblies or simply rebuild them with a service kit can save you hundreds of dollars. This step-by-step guide will walk you through the diagnostic, teardown, and decision-making process to get your cart back on the course or trail.
Step 1: Initial Symptom Diagnosis
Before unbolting anything, you must isolate which half of the CVT system is failing. The symptoms of a failing primary clutch differ vastly from a failing secondary clutch.
Primary (Drive) Clutch Failure Symptoms
- Sluggish Takeoff: The engine revs high, but the cart does not move proportionally. This indicates the movable sheave is binding on the spider, preventing the belt from being pushed outward.
- Erratic Engagement: The cart jerks forward violently instead of engaging smoothly between 1,500 and 1,800 RPM.
- Excessive Belt Dust: Black dust around the primary cover usually means the clutch is not fully releasing at idle, causing the belt to slip against the spinning sheave.
Secondary (Driven) Clutch Failure Symptoms
- Failure to Downshift: When climbing a hill or decelerating, the cart feels like it is stuck in a 'high gear' and bogs down. This points to a fatigued secondary torsion spring or binding slider buttons.
- Rattling at Idle: A worn secondary clutch bearing or broken spring retainer will cause a distinct metallic rattle from the transaxle side when the cart is parked.
Step 2: Safe Removal and Teardown
To make an accurate repair vs. replace decision, you must physically inspect the internal components. Never attempt to diagnose internal CVT wear by simply looking at the outside of the clutch.
- Preparation: Disconnect the main battery negative terminal. Remove the CVT cover and slide the drive belt off the clutches.
- Primary Clutch Removal: Remove the center crankshaft bolt (typically 1/2'-20 UNF). Do not pry the clutch off with a screwdriver. You must use a dedicated primary clutch puller tool threaded into the spider (EZGO TXT pullers generally use a 3/4'-16 thread). Tighten the puller bolt to press the clutch off the crankshaft safely.
- Secondary Clutch Removal: Remove the center bolt (also usually 1/2'-20). The secondary clutch should slide off the transmission shaft. If it is seized, apply penetrating oil and use a secondary puller; never hammer the shaft, as you will destroy the transaxle input bearings.
- Teardown: Secure the primary clutch in a vise with soft jaws. Mark the alignment of the sheave and spider with a paint pen before unthreading the spider. Warning: The secondary clutch contains a high-tension torsion spring. Use a clutch compression tool when removing the secondary retaining ring to prevent severe injury.
Step 3: The Repair vs. Replacement Decision Matrix
Once the clutches are on your workbench, clean them with compressed air and brake cleaner. Inspect the components against the decision matrix below to determine your next move.
| Component / Condition | Inspection Method | Action Required | Est. Cost (2026) |
|---|---|---|---|
| Slider Buttons (Both) Worn flat or cracked | Visual inspection; check for side-to-side sheave play | REPAIR: Install rebuild kit | $35 - $65 |
| Sheave Faces (Both) Deep gouges, pitting, or uneven wear | Visual and tactile inspection; run a fingernail across the surface | REPLACE: Complete assembly (machining is rarely cost-effective) | $250 - $450 |
| Primary Spider Threads Stripped or cross-threaded | Check spider removal resistance; inspect threads with a pick | REPLACE: Complete primary assembly | $280 - $400 |
| Secondary Torsion Spring Sagged, broken, or lost tension | Measure free length; compare to OEM spec (usually ~10.5') | REPAIR: Install rebuild kit or standalone spring | $25 - $50 |
| Clutch Shaft/Bore Worn oval or rust-pitted | Inspect crankshaft and transaxle input shaft | REPLACE: Clutch assembly (if bore is wallowed out) | $250 - $450 |
Expert Note: If your cart is used for heavy towing or lifted with 23-inch tires, the added rotational mass accelerates sheave wear. In these modified scenarios, leaning toward a full high-performance replacement is often more reliable than a standard rebuild.
Step 4: Sourcing the Right Components
If your inspection dictates a full ezgo golf cart clutch replacement, you must choose between OEM and aftermarket assemblies. According to parts specialists at Golf Cart Garage, the OEM Textron/EZGO drive clutch (Part #72530-G01 or #73054-G01 for TXT 4-cycle models) remains the gold standard for smooth engagement and longevity, typically retailing between $320 and $380.
Aftermarket 'high-speed' or 'performance' clutches (from brands like Sniper or High Speed) alter the flyweight profiles and spring rates. While they can increase top speed on paved surfaces, they often sacrifice low-end torque, making them a poor choice for hilly terrain or utility work. For 90% of owners, sticking to the OEM replacement or a premium OEM-equivalent rebuild kit sourced from the official EZGO parts store is the most prudent decision.
Step 5: Reinstallation, Alignment, and Torque Specs
Whether you are reinstalling a rebuilt clutch or bolting on a brand-new assembly, precision during reassembly is non-negotiable.
Cleaning and Prep
Use 400-grit emery cloth to polish the engine crankshaft and transmission input shaft. The clutch must slide on by hand with minimal resistance. Apply a thin layer of high-temperature anti-seize compound to the shafts, but never apply oil or anti-seize to the center bolt threads, as this will lead to over-torquing and bolt failure.
Torque Specifications
- Primary Clutch Center Bolt: 55 - 65 ft-lbs. (Use a clutch holding strap or a pneumatic impact wrench on a low setting to seat the bolt, then verify with a torque wrench).
- Secondary Clutch Center Bolt: 55 - 65 ft-lbs.
Belt Alignment and Deflection
After installing the clutches and routing a new OEM-spec drive belt, check the alignment. Place a straight edge across the face of the primary sheave and the secondary sheave. They should be perfectly parallel. Misalignment by even 1/16th of an inch will destroy a $60 drive belt in a matter of weeks. Finally, check belt deflection. Press down on the belt midway between the clutches; you should have exactly 1.25 inches to 1.5 inches of free play. Adjust the secondary clutch shims if necessary to achieve this spec.
Final 2026 Maintenance Recommendations
To maximize the lifespan of your newly repaired or replaced EZGO CVT clutches, implement a bi-annual maintenance routine. Blow out the CVT housing with compressed air every 50 hours of operation to remove corrosive belt dust and moisture. Furthermore, inspect the engine and transmission mounts; a worn motor mount will cause the engine to torque-tilt under acceleration, throwing the CVT out of alignment and causing premature, catastrophic clutch wear. By following this diagnostic and decision-making framework, you ensure your EZGO cart delivers smooth, reliable power for years to come.