Mastering the Evo Harley Clutch Assembly Diagram: A 2026 Diagnostic Guide
As we move through 2026, the 1984-1999 Harley-Davidson Evolution (Evo) Big Twin remains one of the most iconic and heavily modified powertrains on the road. However, the Evo 5-speed transmission’s wet, multi-plate diaphragm spring clutch is notorious for developing severe drag and release issues as it ages. If your motorcycle clunks violently into first gear, creeps forward with the lever fully pulled, or refuses to find neutral at a stoplight, you are experiencing classic clutch drag.
To properly diagnose and resolve these issues, you need more than just a service manual; you need a mental map of the internal components. By utilizing a comprehensive evo harley clutch assembly diagram approach, we can break down the teardown, inspection, and precise adjustment procedures required to restore crisp, drag-free shifting.
Anatomy of the Evo 5-Speed Clutch System
Before unbolting the primary cover, it is critical to understand how the left-side clutch pack interfaces with the right-side release mechanism. The Evo Big Twin utilizes a unique push-rod system that spans the entire width of the transmission mainshaft.
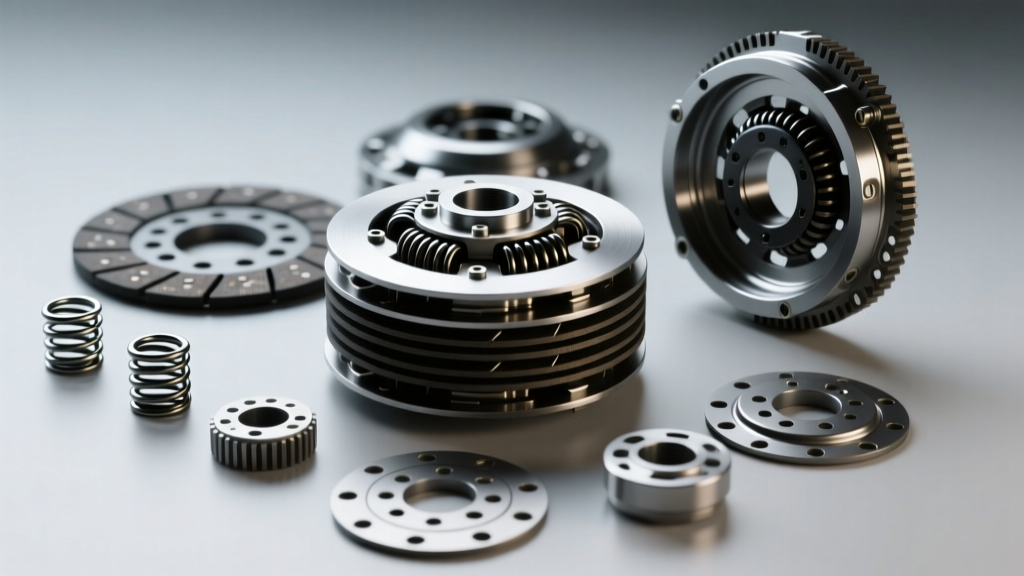
- Clutch Shell (Basket): Driven by the primary chain, houses the friction plates.
- Clutch Hub: Splined to the transmission mainshaft, houses the steel separator plates.
- Diaphragm Spring: Applies clamping force to the pressure plate.
- Release Bearing & Push Rod: A long rod passes through the hollow mainshaft from the right-side transmission cover to the left-side primary, pushing against the release bearing to deflect the diaphragm spring.
Step 1: Primary Teardown and Fluid Evacuation
Clutch drag is often exacerbated by incorrect primary fluid viscosity. Heavy automotive gear oils cause excessive fluid drag between the tightly packed friction and steel plates. Always use a dedicated primary chaincase lubricant like Harley-Davidson Formula+ or a high-quality 20W-50 synthetic motorcycle oil.
- Drain the primary chaincase fluid via the bottom drain plug.
- Remove the derby cover and the outer primary cover (10 bolts, typically 5/16-inch hex).
- Block the primary chain and remove the compensator nut (1-1/8 inch, left-hand thread). Torque spec for reassembly is 150-165 ft-lbs.
- Slide off the engine sprocket and primary chain as an assembly.
- Remove the clutch hub nut (1-1/16 inch, right-hand thread). Use a clutch holding tool to prevent the basket from spinning.
Step 2: Inspecting the Shell and Hub for Notching
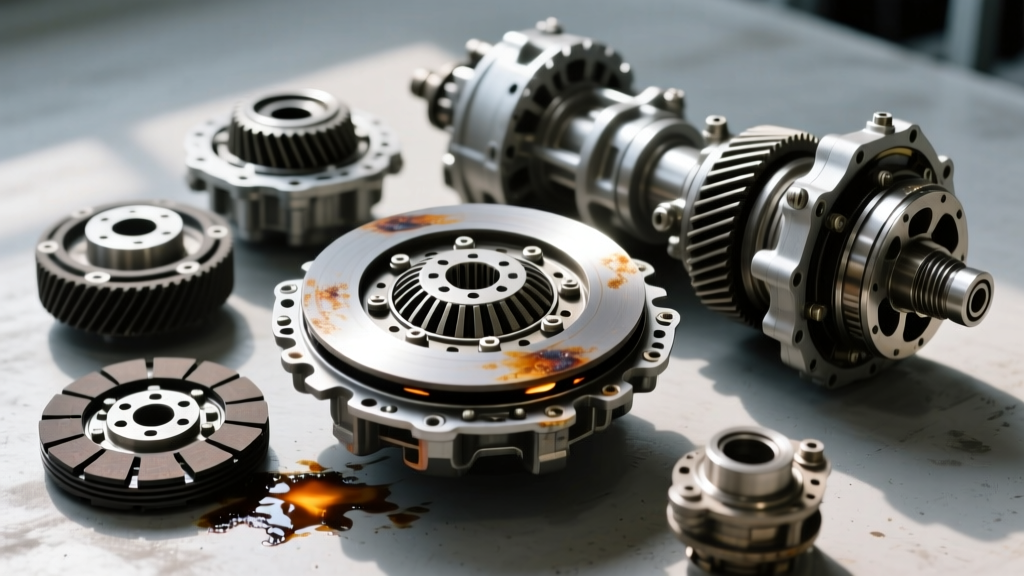
The most common mechanical cause of clutch drag on the Evo platform is notching. The steel separator plates bite into the soft cast-aluminum fingers of the clutch shell. When you pull the clutch lever, the plates fail to separate because they are wedged into these grooves, keeping the clutch partially engaged.
Run your fingernail along the inner splines of the clutch shell (Part #37965-90) and the outer tabs of the hub (Part #37966-90). If you feel deep gouges or ridges, the plates are hanging up. While light notching can sometimes be filed smooth with a flat mill file, severe notching requires replacing the shell and hub. For a permanent 2026 upgrade, consider switching to an aftermarket billet aluminum shell or a steel-insert hub from manufacturers like Barnett or River Primo.
Step 3: Evaluating the Clutch Pack and Diaphragm Spring
Remove the pressure plate bolts (Torx T40) in a crisscross pattern. Note the order of the friction plates (Part #37948-90) and steel plates (Part #37950-90). The Evo typically uses 9 friction and 9 steel plates, with the narrow friction plate installed first against the hub.
Expert Diagnostic Tip: Inspect the diaphragm spring (Part #37991-84A) for heat bluing or physical distortion. A fatigued diaphragm spring will not apply enough clamping force, leading to slipping under load, but paradoxically, a warped spring can also cause uneven release and drag. If the spring shows any blue discoloration, replace it immediately.
Critical Evo Clutch Specifications & Clearances
Precision is paramount when rebuilding the Evo clutch. Refer to the table below for exact OEM specifications to ensure proper clamping and release travel.
| Component / Measurement | OEM Specification | Notes |
|---|---|---|
| Clutch Hub Nut Torque | 70 - 90 ft-lbs | Apply Red Loctite (271) to threads |
| Compensator Nut Torque | 150 - 165 ft-lbs | Left-hand thread, use Red Loctite |
| Clutch Pack Freeplay | 0.040' - 0.060' | Measured between pressure plate and snap ring |
| Friction Plate Thickness | 0.138' (New) / 0.105' (Wear Limit) | Measure with calipers excluding tangs |
| Steel Plate Flatness | Less than 0.008' runout | Check on a known flat glass surface |
| Primary Chain Deflection | 5/8' - 7/8' (Cold) | Measure at the tightest spot on the lower run |
Step 4: The Right-Side Release Mechanism Adjustment
Even with a flawless clutch pack, improper adjustment of the right-side release mechanism will result in severe drag or a slipping clutch. The Evo 5-speed uses a screw-type adjuster on the right-side transmission cover that pushes the internal rod against the throwout bearing.
The 'Zero-Lash' Adjustment Procedure:
- Remove the clutch release cover on the right side of the transmission.
- Loosen the locknut on the adjuster screw.
- Turn the adjuster screw inward (clockwise) until you feel firm resistance. This is the point where the push rod makes contact with the release bearing and begins to compress the diaphragm spring.
- Back the adjuster screw out (counter-clockwise) exactly 1/2 to 5/8 of a turn. This creates the vital air gap that allows the diaphragm spring to fully clamp the plates when the lever is released.
- Hold the screw in place and tighten the locknut to 84-108 in-lbs.
Step 5: Cable Freeplay and Final Verification
The final piece of the drag puzzle is the handlebar cable freeplay. If the cable is too tight, it constantly pulls the release mechanism, preventing the clutch from fully engaging. If it is too loose, you will not achieve enough throw to release the plates, causing drag and hard shifting.
- Adjust the cable barrel adjuster at the lever to achieve 1/16' to 1/8' of freeplay measured at the lever pivot point.
- With the bike on the lift and rear wheel off the ground, start the engine in neutral.
- Pull the clutch lever and shift into first gear. The rear wheel should spin briefly due to fluid drag, but you should be able to stop it easily with the rear brake pedal.
- If the wheel continues to spin aggressively and the bike wants to lurch forward, you have residual drag. Re-verify your push rod adjustment and inspect the primary fluid viscosity.
Preventative Maintenance for the Evo Drivetrain
To keep your Evolution Big Twin shifting smoothly for the next decade, adopt a strict maintenance schedule. Change the primary fluid every 5,000 miles using high-shear-stability lubricants available through reputable distributors like J&P Cycles. Additionally, periodically inspect the clutch cable for internal fraying, which can cause erratic release travel and mimic the symptoms of internal clutch failure.
By treating the evo harley clutch assembly diagram as a systematic diagnostic roadmap rather than just an exploded parts view, you eliminate the guesswork. Proper clearances, meticulous notching inspections, and precise zero-lash adjustments are the hallmarks of a professional Evo drivetrain rebuild. For further technical schematics and OEM part cross-references, consult the Harley-Davidson official archives or your local dealership's parts microfiche.