Understanding the Setup: What Is a Dry Clutch on a Motorcycle?
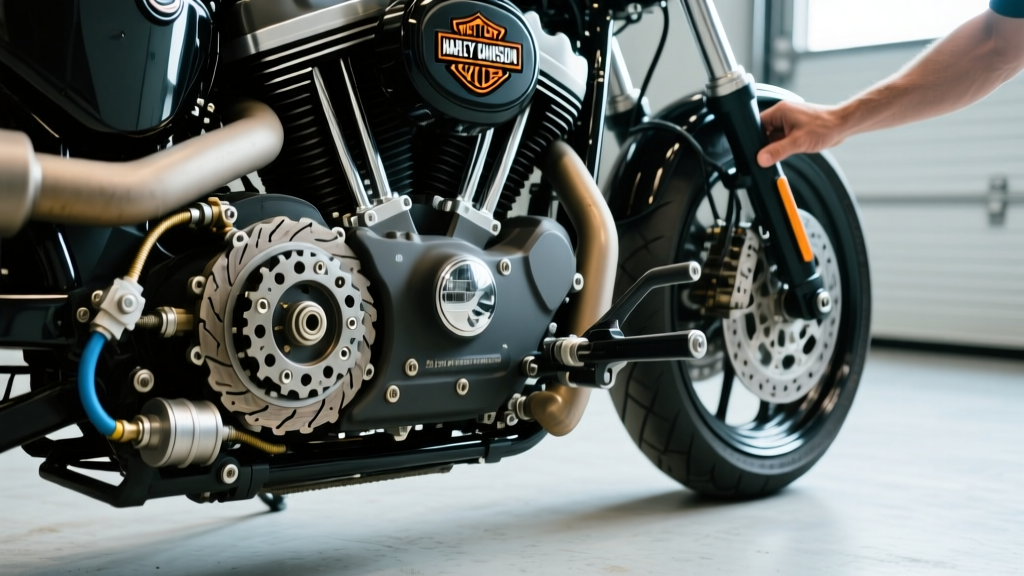
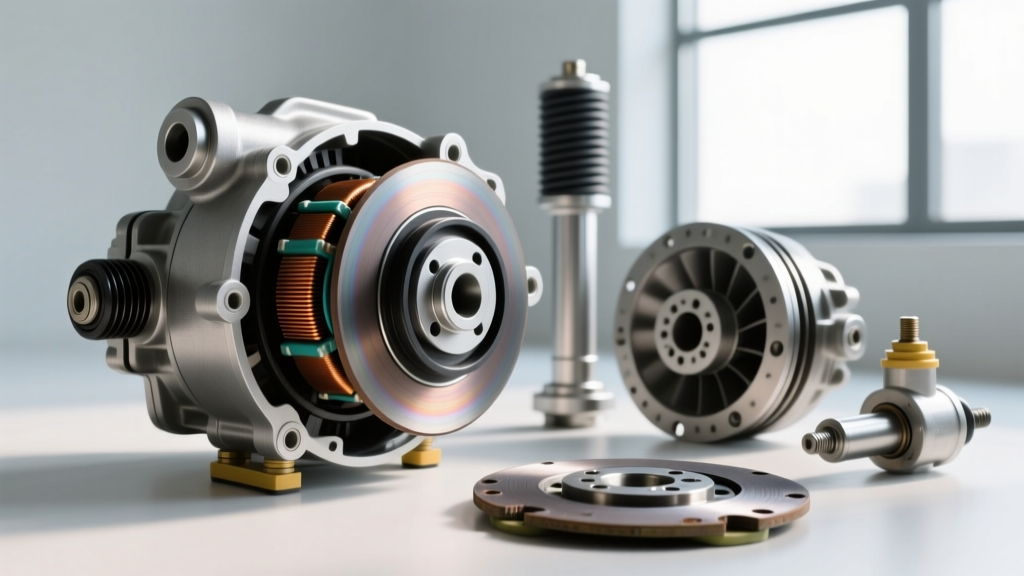
When enthusiasts and new riders alike ask what is a dry clutch on a motorcycle, the simplest answer lies in its cooling and lubrication method. Unlike standard wet clutches that operate submerged in a shared engine oil bath, a dry clutch operates entirely outside the engine oil system. It relies on ambient airflow and the rotation of the clutch basket to dissipate heat. This design eliminates oil drag, resulting in faster engine response, freer-revving characteristics, and a distinct, mechanical rattling sound at idle that has become the iconic auditory signature of brands like Ducati.
However, running dry introduces unique mechanical stresses. Without oil to cushion components and carry away microscopic debris, the throw-out bearing (also known as the release bearing) is subjected to extreme friction, heat, and dust. In this model-specific repair guide, we will focus on the notorious dry clutch assemblies found on the Ducati 1198 S and 1299 Panigale R, diagnosing throw-out bearing failure, and executing a precision replacement.
Diagnosing Throw-Out Bearing Failure: The 'Rattle' Test
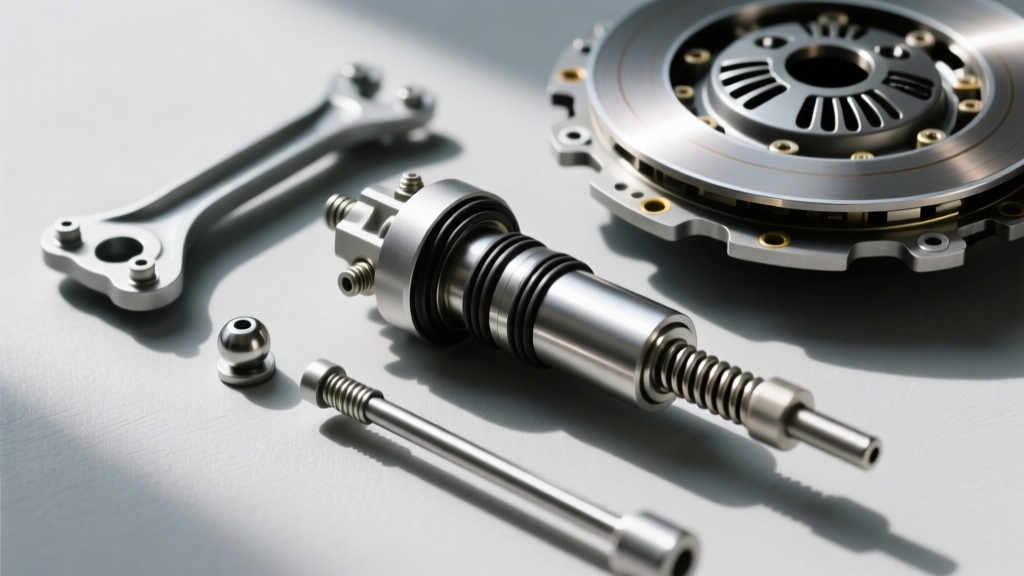
The throw-out bearing sits on the clutch pushrod, actuated by the hydraulic slave cylinder. When you pull the lever, the bearing presses against the pressure plate fingers, compressing the clutch pack. Because it operates in a dry, dusty environment, the bearing's internal races and ball bearings are highly susceptible to pitting and catastrophic failure.
Many riders mistake a failing throw-out bearing for a worn clutch basket or loose friction plates. Use the diagnostic matrix below to isolate the exact source of the noise before ordering parts.
| Symptom / Noise Profile | When It Occurs | Likely Root Cause |
|---|---|---|
| High-pitched metallic squeal or grinding | Only when pulling the clutch lever | Failing Throw-Out Bearing (Dry internal races) |
| Loud, marbles-in-a-can rattle | At idle, lever released; disappears when lever is pulled | Worn clutch basket tangs or loose friction plates |
| Gritty, notchy feeling in the lever | Throughout the entire lever pull range | Pitted pushrod tip or seized bearing collar |
| Hydraulic fluid weeping from the bell housing | Continuous, regardless of lever position | Failed slave cylinder seal (contaminating the dry clutch) |
The Lever Pull Isolation Test
Start the motorcycle and let it idle in neutral. Listen to the characteristic dry clutch rattle. Slowly pull the clutch lever to the bar. If the general mechanical rattle quiets down, but a new, high-pitched grinding or squealing noise emerges exactly as the bearing takes load against the pressure plate, your throw-out bearing is compromised. According to Ducati's official maintenance guidelines, any rotational grinding noise originating from the slave cylinder area mandates immediate bearing extraction to prevent the bearing from seizing onto the steel pushrod, which can destroy the primary drive gear.
Required Parts, Tools, and Consumables
Working on a Ducati dry clutch requires specific tooling and OEM-grade replacements. Do not attempt to clean and re-grease a sealed dry clutch bearing; the heat generated by the adjacent friction plates will melt standard greases, leading to rapid failure.
- OEM Release Bearing: Part # 19140111A (Approx. $55 - $75). Alternatively, the STM Billet Release Bearing (Part # N09-001, Approx. $140) offers superior heat dissipation via an integrated finned aluminum collar.
- Clutch Cover Gasket: Part # 25610021A ($12).
- Clutch Pushrod: Part # 19140091A ($28) - Inspect and replace if the tip is mushroomed.
- Hydraulic Fluid: Motul RBF 600 or Castrol SRF (DOT 4 / DOT 5.1 high boiling point).
- Threadlocker: Loctite 243 (Medium strength, blue).
- Tools: Internal snap-ring pliers, Mityvac vacuum bleeder, torque wrench (inch-pounds capable), 6mm and 8mm hex sockets.
Step-by-Step Replacement Guide: 1198 / 1299 Panigale R
Step 1: Fluid Management and Cover Removal
Unlike wet clutches, you do not need to drain the engine oil. However, you must manage the hydraulic fluid. Use a line clamp on the rubber hose feeding the slave cylinder to prevent the master cylinder reservoir from draining while the system is open. Remove the M6x16 clutch cover bolts. Note that two bolts are slightly longer; map their exact locations. Remove the cover and peel away the old gasket.
Step 2: Extracting the Bearing and Inspecting the Pushrod
Using internal snap-ring pliers, carefully remove the retaining circlip that holds the throw-out bearing in the slave cylinder housing. Slide the bearing out. Critical Inspection Point: Look at the steel clutch pushrod protruding from the engine case. The end that contacts the bearing must be perfectly smooth and rounded. If the bearing seized previously, it will have ground a flat spot or 'mushroom' the steel rod. A mushroomed pushrod will destroy a new bearing in under 500 miles. If pitted, extract the rod using a magnet or needle-nose pliers and replace it.
Step 3: Installation and Clearances
Do not pack the new dry clutch bearing with heavy grease. Apply a microscopic film of high-temperature molybdenum disulfide (moly) paste only to the outer collar where it slides into the slave cylinder housing. Slide the new bearing into place and seat the snap ring, ensuring it is fully engaged in its groove.
Torque Specifications & Reassembly
Reinstall the clutch cover with a new gasket. Follow the factory cross-pattern torque sequence to prevent warping the aluminum cover.
| Component | Fastener Size | Torque Specification | Notes |
|---|---|---|---|
| Clutch Cover Bolts | M6 x 16 | 10 Nm (88 in-lbs) | Apply light anti-seize to threads |
| Slave Cylinder Bleed Nipple | M8 | 8 Nm (70 in-lbs) | Do not overtighten; brass strips easily |
| Pressure Plate Bolts (If removed) | M6 | 10 Nm (88 in-lbs) | Must use Loctite 243 |
Bleeding the Hydraulic Circuit
Because air was introduced when the bearing was removed, the hydraulic circuit must be bled. Dry clutches are notoriously sensitive to hydraulic drag; even a 2mm air bubble in the line can prevent the clutch from fully disengaging, causing the bike to creep in gear and prematurely wear the friction plates.
Connect a Mityvac vacuum bleeder to the slave cylinder bleed nipple. Open the nipple one-quarter turn. Draw a vacuum of 15 in-Hg. Slowly open the master cylinder reservoir and feed fresh DOT 4 fluid until the line is completely free of micro-bubbles. As detailed in Motorcyclist's hydraulic maintenance archives, tapping the slave cylinder body with a rubber mallet while under vacuum helps dislodge trapped air pockets in the banjo bolt fitting.
Expert Insight: OEM vs. Aftermarket STM Bearings
Technician's Note: If you frequently ride in stop-and-go traffic or track days, the OEM plastic-collared bearing (19140111A) can suffer from heat soak. Upgrading to an STM billet aluminum release bearing not only provides a more precise lever feel but acts as a heat sink, pulling thermal energy away from the internal ball bearings. For track-focused 1299 Panigale R builds, the STM unit is considered mandatory by most Ducati racing syndicates.
Final Bedding and Clutch Pack Stack Height
Before your first ride, verify your clutch pack stack height. A worn clutch pack forces the throw-out bearing to travel further outward, altering the geometry and placing lateral stress on the bearing collar. For the Ducati 1198/1299 dry clutch, the minimum acceptable stack height (friction and steel plates combined) is 38.0mm. If your pack measures below this, replace the friction plates immediately to save your newly installed throw-out bearing.
Once reassembled, start the bike and allow the clutch to slip gently for the first 10-15 miles. This 'beds' the friction plates and ensures the throw-out bearing seats properly against the pressure plate fingers under controlled thermal loads. By understanding the unique demands of a dry clutch system and adhering to strict torque and clearance specifications, you can eliminate drivetrain noise and restore the razor-sharp engagement that defines the Ducati riding experience.