Decoding the Drivetrain Malfunction Warning
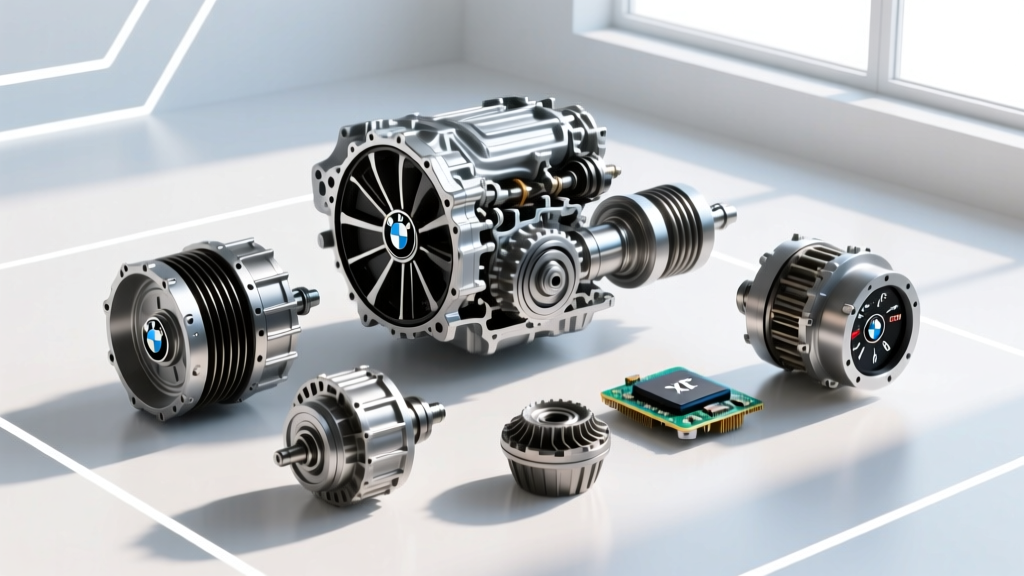
When your instrument cluster illuminates a drivetrain malfunction warning—most infamously in BMW's iDrive system, but increasingly prevalent in modern AWD platforms from Audi, Ford, and GM—it triggers immediate anxiety. Unlike a standard check engine light that typically points to emissions or fueling anomalies, a drivetrain malfunction warning indicates the vehicle's ECU has detected a critical discrepancy in torque delivery, wheel slip, or mechanical resistance.
As automotive engineers design tighter tolerances into AWD and RWD systems, the ECU monitors wheel speed sensors, steering angle, and yaw rate thousands of times per second. If the actual torque reaching the wheels deviates from the requested torque due to mechanical slip, binding, or excessive harmonic vibration, the ECU triggers the warning and often defaults the vehicle into a reduced-power limp mode.
Successfully troubleshooting this warning requires moving beyond generic OBD2 scanners and performing targeted physical component identification. Below, we break down the exact symptoms, failure modes, and diagnostic protocols for the core mechanical components responsible for these faults.
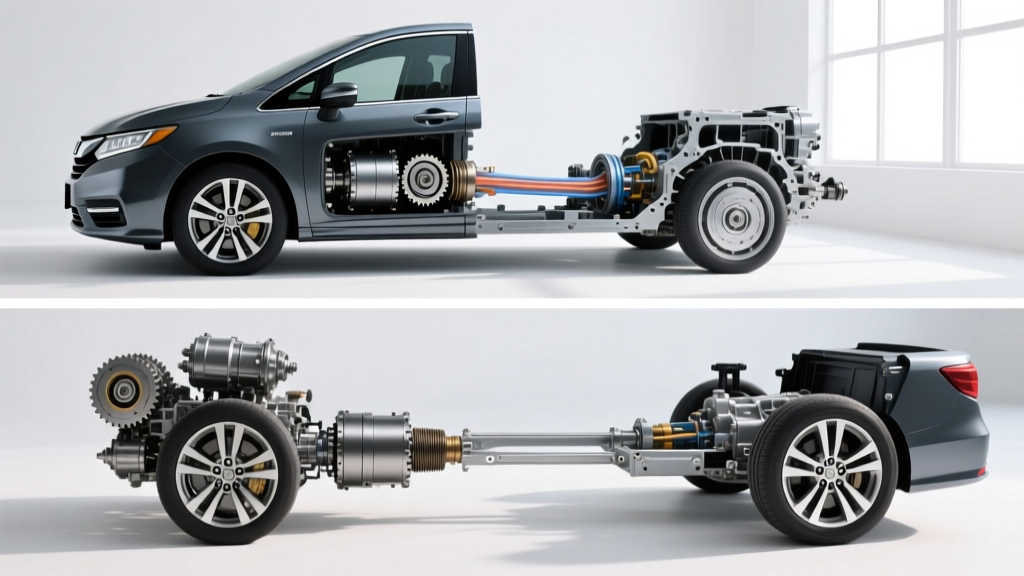
Expert Note: The term 'drivetrain' strictly refers to the components that transfer power from the transmission output shaft to the wheels (driveshafts, U-joints, CV axles, transfer cases, and differentials). While the ECU may use the term broadly, mechanical diagnosis requires isolating the post-transmission rotating assembly.Component Identification & Symptom Matrix
Before tearing into the undercarriage, use this matrix to correlate your road-test symptoms with the most likely failing component. Repair costs reflect 2026 market averages for European and domestic AWD applications.
| Component | Primary Symptom | Diagnostic Test | Avg. Repair Cost (2026) | Critical Torque Spec |
|---|---|---|---|---|
| Flex Disc (Guibo) | 40-60Hz vibration at 65-75 mph; clunk on engagement | Visual crack inspection & pry-bar deflection test | $150 - $350 | M10 Bolts: 56 Nm + 90° |
| Transfer Case Actuator | Binding on tight turns; dash warnings; jerky AWD engagement | Stepper motor gear inspection & calibration reset | $120 - $650 | Output Flange Nut: 210 Nm |
| Inner CV Joint | Severe vibration under heavy acceleration only | Load-reversal test on a lift with chassis stethoscope | $300 - $750 | Axle Nut: 210 - 290 Nm |
| Differential Pinion Bearing | Whining or howling strictly on deceleration (coast-down) | Electronic stethoscope on diff housing during coast | $800 - $1,500 | Crush Sleeve Preload Specific |
Deep Dive: Symptom-to-Component Mapping
1. The Flex Disc (Guibo) and Driveshaft U-Joints
In RWD and AWD platforms utilizing a two-piece driveshaft, the flex disc (often called a Guibo in European applications) acts as the primary harmonic dampener between the transmission output flange and the driveshaft. When the vulcanized rubber degrades, it introduces a severe 40-60Hz vibration that mimics a wheel balance issue but is actually a drivetrain malfunction at its core.
Identification & Failure Mode: Inspect the rubber for radial cracking or missing chunks. A common failure point is the centering bearing sleeve tearing through the rubber. For BMW F-Series (F30/F31) xDrive models, the OEM Lemforder 28036 flex disc is the standard replacement. If the U-joints on the subsequent driveshaft section show rust dust (brinelling) at the bearing caps, the entire driveshaft assembly may require replacement, as many modern OEM U-joints are non-serviceable and staked into the tube.
2. The Transfer Case Actuator & Internal Gears
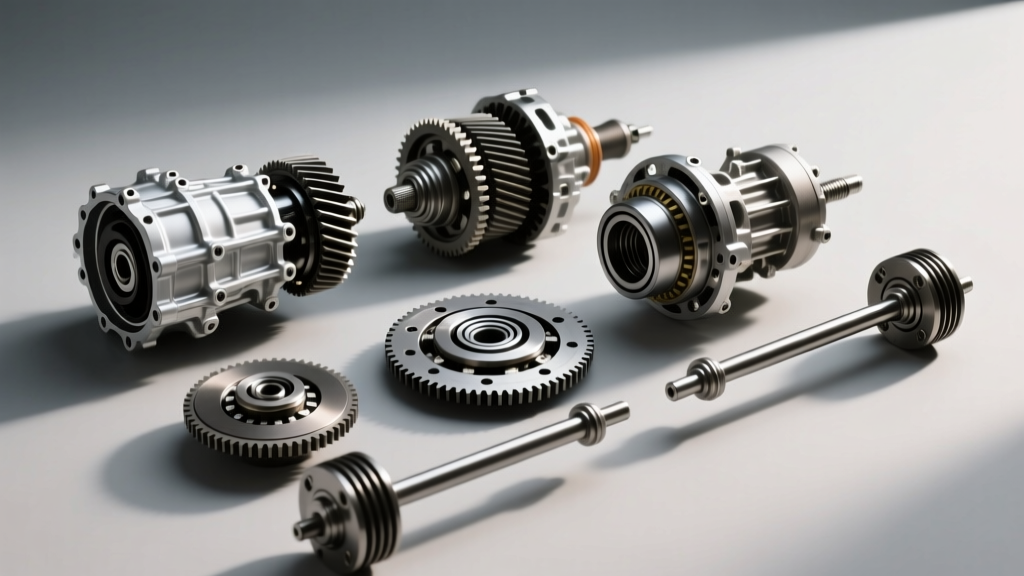
Modern active transfer cases, such as the ZF/BorgWarner ATC35L and ATC45L units found in millions of AWD vehicles, use an electric stepper motor to actuate a ball-ramp mechanism that clutches the front and rear outputs together.
The Infamous Plastic Gear: The stepper motor drives a small plastic internal gear. Over time, heat and mechanical shock cause the teeth to strip. When the ECU commands a torque split but the stripped gear prevents the actuator from reaching the target position, the system times out and throws a drivetrain malfunction warning.
- OEM Part: BorgWarner 27107597173 (Plastic, ~$45)
- Upgraded Solution: Billet Aluminum Actuator Gear (~$120). Machined from 6061-T6 aluminum, this eliminates the failure point entirely.
3. CV Axles and Differential Bearings
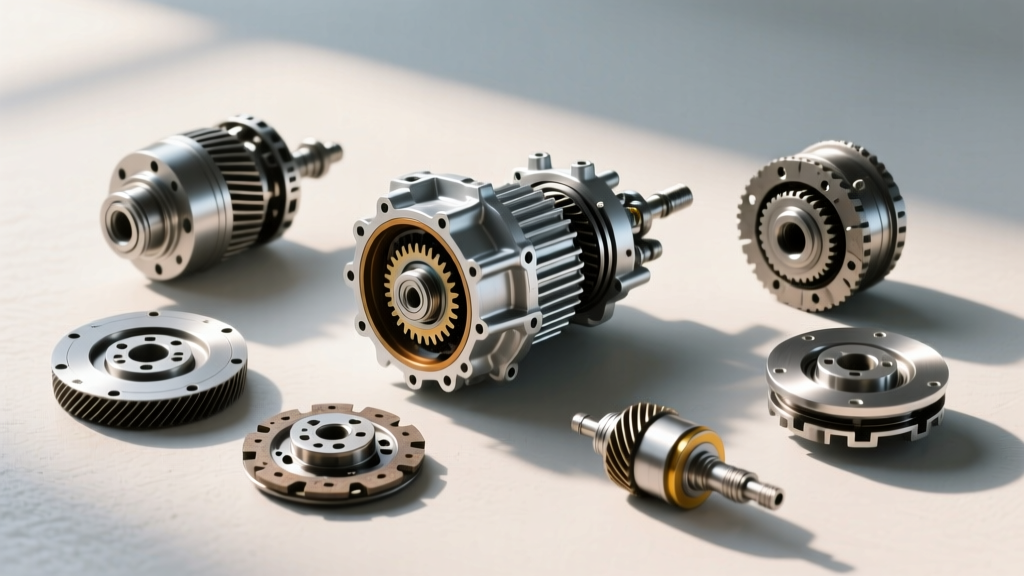
While outer CV joints are famous for 'clicking' during tight turns, it is the inner CV joint (the tripod or ball-type joint housed in the differential or intermediate shaft) that causes drivetrain malfunction warnings related to vibration. Inner joints fail by developing pitting in the bearing races. This vibration is uniquely load-dependent: it will vanish the moment you lift off the throttle.
Conversely, if you hear a distinct whine that changes pitch with vehicle speed and gets louder when you lift off the accelerator (coast-down), you are identifying a failing differential pinion bearing. The pinion bearing supports the driveshaft input flange; when its preload degrades, the gear mesh pattern shifts, causing noise and eventual catastrophic gear failure.
Step-by-Step Physical Diagnosis Protocol
When faced with a drivetrain malfunction warning, follow this systematic protocol to isolate the rotating fault without throwing unnecessary parts at the vehicle.
- Extract Chassis-Specific Codes: Generic OBD2 P-codes are useless here. You need a manufacturer-specific scanner (like ISTA+ for BMW, FORScan for Ford, or XENTRY for Mercedes) to read chassis hex codes. Look for codes indicating 'Transfer Case Internal Fault', 'Clutch Position Sensor', or 'Torque Distribution Plausibility'.
- The NVH Road Test: Use an NVH (Noise, Vibration, Harshness) meter or a smartphone accelerometer app. Drive to the speed where the symptom occurs.
- Vibration persists when coasting in neutral? The fault is downstream of the transmission (driveshaft, wheels, or pinion flange).
- Vibration disappears when coasting, returns under load? The fault is load-bearing (Inner CV joints, transmission output shaft, or engine mounts).
- Lift & Run-On Test: Place the vehicle on a four-post lift or use jack stands under the suspension control arms to maintain CV joint geometry. Run the vehicle up to 60 mph in gear. Use an electronic chassis stethoscope to probe the transfer case output flanges, the center support bearing, and the differential pinion snout. Warning: Keep clear of all rotating assemblies.
- Check Runout: If vibration is isolated to the driveshaft, use a dial indicator to check flange runout. Maximum allowable runout at the pinion flange is typically 0.05mm (0.002 inches). Anything exceeding this indicates a bent flange or damaged output shaft seal surface.
Fluid Diagnostics: The Overlooked Clue
Before condemning a differential or transfer case, pull the drain plug and inspect the fluid.
- Transfer Case: Fluid should be clear or slightly amber. If it smells burnt and contains fine bronze glitter, the internal clutch pack friction material has failed, requiring a full unit rebuild ($1,200 - $1,800).
- Differential: Hypoid gear oil (e.g., SAF-XO 75W-90) will naturally contain a slight metallic shimmer due to the hypoid gear sliding action. However, if you find chunky steel flakes or brass synchro material on the magnetic drain plug, the internal spider gears or limited-slip clutch packs are physically disintegrating.
Authoritative Reference Sources
For further technical documentation, OEM torque specifications, and advanced teardown procedures, consult the following industry resources:
- FCP Euro Technical Blog: BMW xDrive Transfer Case Actuator Gear Replacement Guide - Detailed photographic breakdown of the ATC actuator motor and billet gear upgrade procedures.
- AA1Car Automotive Library: Drivetrain Vibration Diagnosis - Comprehensive engineering data on harmonic frequencies, NVH isolation, and U-joint phase alignment.
- SAE International J1100: Motor Vehicle Dimensions and Component Definitions - The definitive standard for differentiating powertrain vs. drivetrain component boundaries in modern AWD architectures.