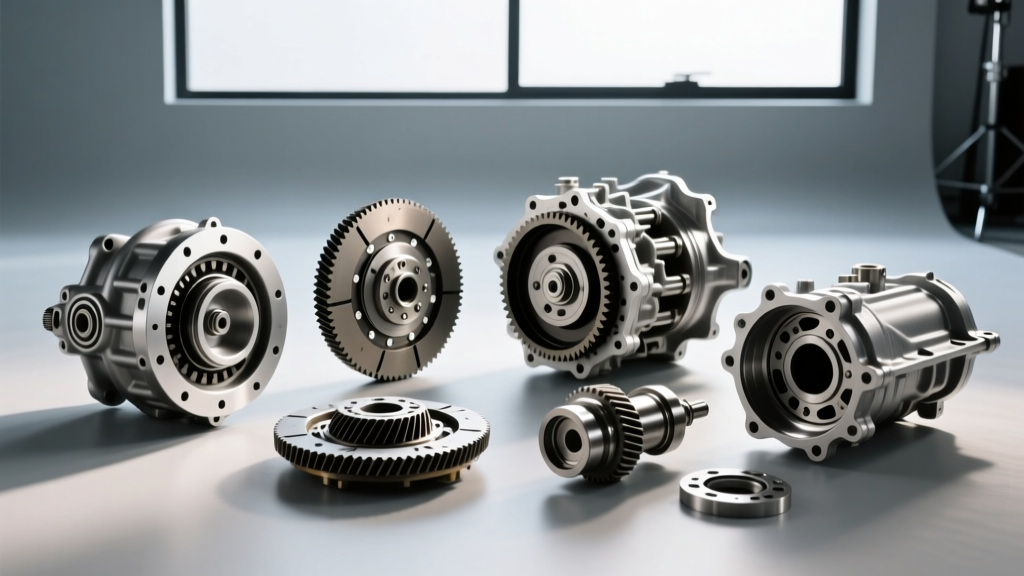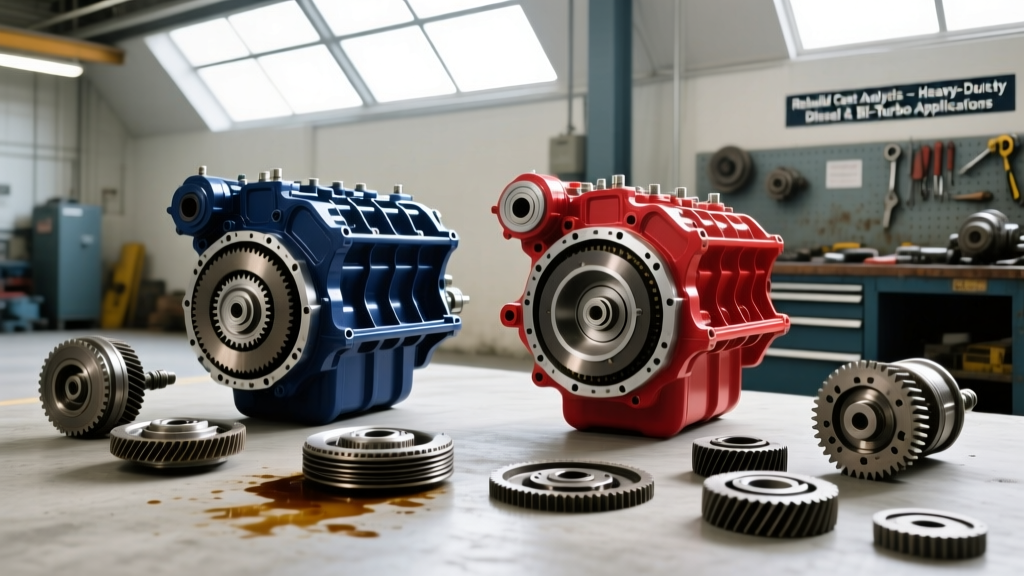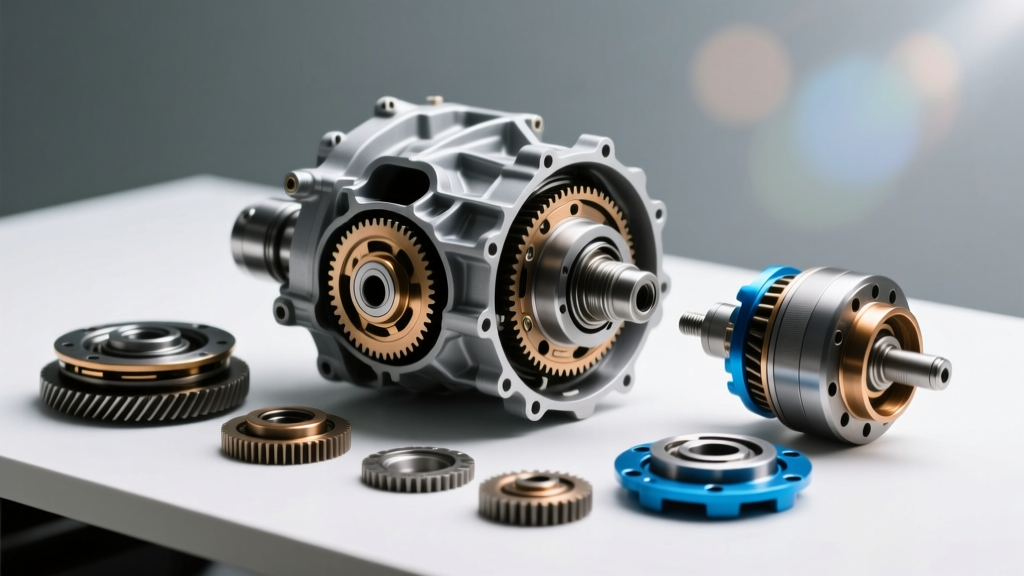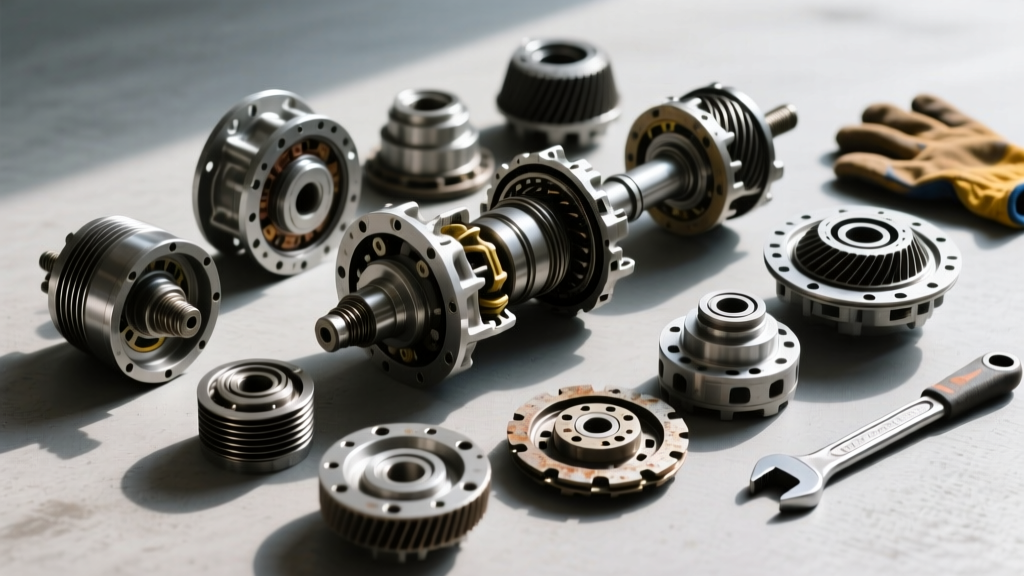
When novice mechanics and frustrated vehicle owners first ask, what does rebuilding a transmission mean, they often confuse the process with a simple fluid flush, a filter change, or dropping in a shift kit. In reality, a true transmission rebuild is a meticulous, precision-measured resurrection of a complex hydraulic and mechanical system. As we navigate the automotive repair landscape in 2026, with professional shop labor rates frequently exceeding $175 per hour, the financial incentive to tackle a DIY transmission rebuild has never been higher. However, the barrier to entry requires specialized tooling, an uncompromising dedication to cleanliness, and a deep understanding of hydraulic clearances.
The Core Definition: What Rebuilding Actually Entails
To answer the question of what does rebuilding a transmission mean from an engineering perspective: it is the complete disassembly, chemical cleaning, microscopic inspection, and selective replacement of internal components to restore OEM clearances and hydraulic integrity. A rebuild is distinctly different from a 'remanufactured' transmission (which is built on an assembly line with blanket upgrades) and a 'used' swap from a junkyard.
During a DIY rebuild, you will separate the transmission case, extract the valve body, remove the planetary gearsets, and press out the clutch drums. You will replace all 'soft parts'—which include friction clutches, steel separator plates, paper gaskets, rubber O-rings, lip seals, and sealing rings. 'Hard parts'—such as the main case, pump halves, planetary carriers, and drums—are retained only if they pass strict measurement thresholds. If a clutch drum is scored beyond 0.002 inches, or a valve body bore exhibits cross-leakage due to valve spool wear, those hard parts must be machined, sleeved, or replaced entirely.
DIY vs. Professional Rebuild: A 2026 Cost & Effort Comparison
Before pulling the transmission crossmember, you must weigh the true cost of a DIY rebuild against professional services. While parts are cheaper online, the hidden costs of specialty tools and the value of your own time must be factored in.
| Factor | DIY Rebuild (2026 Estimates) | Professional Shop Rebuild |
|---|---|---|
| Parts Cost | $450 - $950 (Master Kit + Fluid) | $800 - $1,500 (Wholesale Pricing) |
| Labor / Time | 25 - 40 Hours (Your Time) | 12 - 18 Hours ($150-$200/hr) |
| Total Estimated Cost | $600 - $1,200 + Tool Investment | $2,800 - $5,500 |
| Warranty | None (Self-insured) | 12 to 36 Months Nationwide |
| Specialty Tools Needed | High ($350+ initial investment) | Included in Shop Overhead |
Essential Tool Buyer's Guide for the DIY Rebuilder
You cannot rebuild a modern automatic transmission with just a standard mechanic's socket set. The following specialty tools are mandatory for a successful DIY build:
- Clutch Spring Compressor: Essential for safely removing the snap rings that hold the clutch return springs in place. Universal kits (like the OEMTOOLS 27032) work for most domestic RWD transmissions, but FWD transaxles often require model-specific adapters.
- Dial Indicator & Magnetic Base: Used to measure input shaft endplay. Acceptable endplay for most GM and Ford units is between 0.010' and 0.030'. You will need a selective thrust washer kit to dial this in perfectly.
- Inch-Pound Torque Wrench: Valve body bolts are typically torqued to roughly 97 inch-pounds (not foot-pounds). Using a standard foot-pound wrench will strip the aluminum case threads instantly.
- Heavy-Duty Internal Snap Ring Pliers: Transmission snap rings are incredibly thick and under high tension. Standard hardware store pliers will bend and slip, potentially damaging the case or your knuckles.
- Lint-Free Shop Towels: Standard cotton rags shed microscopic fibers that will clog valve body separator plate orifices and solenoid screens. Invest in boxes of Kimwipes or automotive-grade lint-free wipes.
Critical DIY Rebuild Tips for Popular Models
Every transmission family has unique failure modes and assembly quirks. Here is what you need to know for two of the most commonly DIY-rebuilt transmissions on the road.
GM 4L60E: Addressing the 3-4 Clutch Weakness
The 4L60E is legendary for its accessibility, but it is equally notorious for burning up the 3-4 clutch pack. When rebuilding a 4L60E, do not simply replace the frictions with standard OEM paper-based clutches. Upgrade to a high-energy Raybestos GPZ or Alto PowerPack friction set. Furthermore, the factory stamped steel sun shell is a guaranteed failure point under heavy load. Replace it with a hardened 'Beast' sun shell or a billet alternative during the rebuild.
Crucial Assembly Specs:
- Valve Body to Case Torque: 97 in-lbs.
- Pump to Case Torque: 11 ft-lbs.
- 3-4 Clutch Pack Clearance: 0.030' to 0.050'. Use a feeler gauge to verify this after installing the snap ring. If it is too tight, the clutches will drag and burn up within 50 miles.
- Check Balls: The 4L60E case utilizes up to 8 check balls. Use a check ball diagram and apply a dab of assembly grease to hold them in place while mating the valve body to the case.
GM 6L80 / 6L90: The TEHCM Complication
The 6-speed 6L80 represents a massive leap in complexity. Unlike the 4L60E, the 6L80 houses the Transmission Electro-Hydraulic Control Module (TEHCM) directly inside the transmission pan. If your DIY rebuild involves replacing the internal wiring harness, the pressure switches, or the TEHCM itself, you will need a bi-directional scan tool capable of performing a 'Service Fast Learn' and reprogramming the module's calibration files.
According to technical bulletins highlighted by Transmission Digest, the 1-2-3-4 clutch wave plate in early 6L80 models is prone to fatigue and fragmentation. During your teardown, inspect this wave plate closely; if it shows any signs of bluing or micro-cracking, replace it with the updated OEM part. Additionally, clutch pack clearances on the 6L80 are much tighter than older units, often requiring selective backing plates to achieve the target 0.040' to 0.060' clearance.
Sourcing Parts: Master Kits vs. OEM Dealerships
Never attempt to buy individual seals and clutches from a dealership parts counter; the cost will triple, and you will inevitably miss a microscopic O-ring that causes a cross-leak. Instead, purchase a comprehensive Master Rebuild Kit from reputable suppliers like RockAuto or Summit Racing. A quality master kit (such as those from TransTec or ATP) includes every paper gasket, rubber seal, and friction plate required.
However, master kits rarely include hard parts or upgraded valve body components. If your valve body bores are worn—a common issue causing converter clutch shudder and delayed shifts—you will need to purchase a valve body correction kit. Sonnax offers industry-standard 'Zip Kits' that include oversized valves, reamers, and sleeved end plugs to permanently fix hydraulic leaks in the valve body casting.
Final Verdict: Is DIY Right for You?
Understanding what does rebuilding a transmission mean is the first step toward realizing that this is not a weekend job for the faint of heart. It requires a surgical environment, extreme patience, and a willingness to measure clearances down to the thousandth of an inch. If you possess the mechanical aptitude, the budget for specialty tools, and the discipline to follow a factory service manual step-by-step, a DIY rebuild can save you thousands of dollars and provide an unparalleled sense of accomplishment. If, however, you lack the space for a spotless workbench or the patience to measure endplay, entrusting your vehicle to a certified transmission specialist remains the safest investment for your drivetrain's longevity.