When your vehicle's air conditioning blows warm and you hear a rhythmic clicking from the engine bay, the magnetic clutch on your AC compressor is the prime suspect. While dealerships and quick-lube shops will often quote you for a complete compressor assembly replacement, understanding the true compressor clutch replacement cost and mastering DIY symptom diagnosis can save you hundreds of dollars. In 2026, with the rising cost of OEM drivetrain and accessory components, isolating the exact failure point of your AC clutch assembly is an essential skill for the home mechanic.
Symptom Diagnosis: Is Your Compressor Clutch Actually Failing?
Before tearing into the accessory drive system, you must determine why the clutch is not engaging. A non-engaging clutch is not always a mechanical failure; it is frequently a symptom of an electrical fault or a system pressure interlock. We categorize clutch diagnosis into three distinct pathways:
1. Electrical Coil Failure
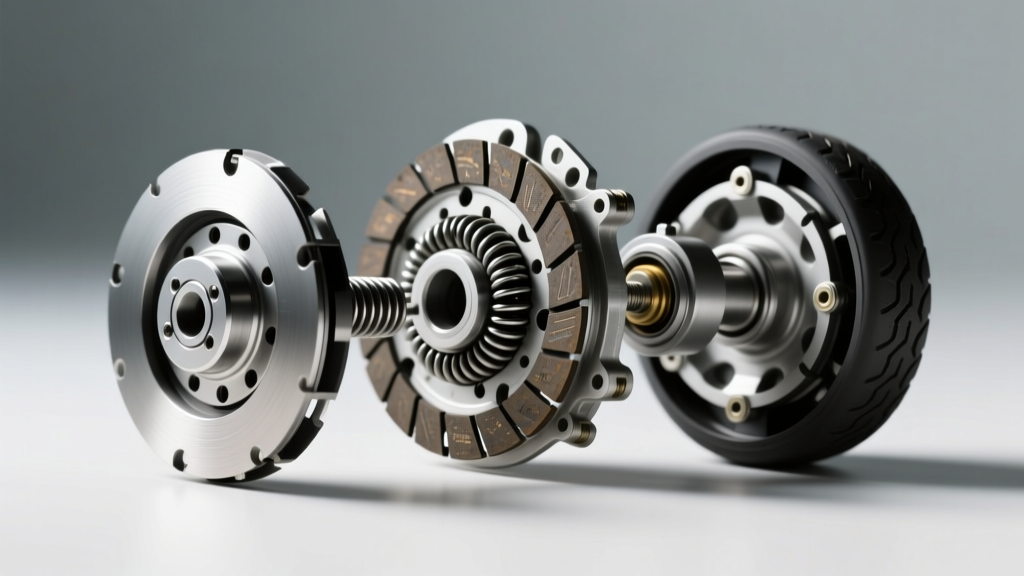
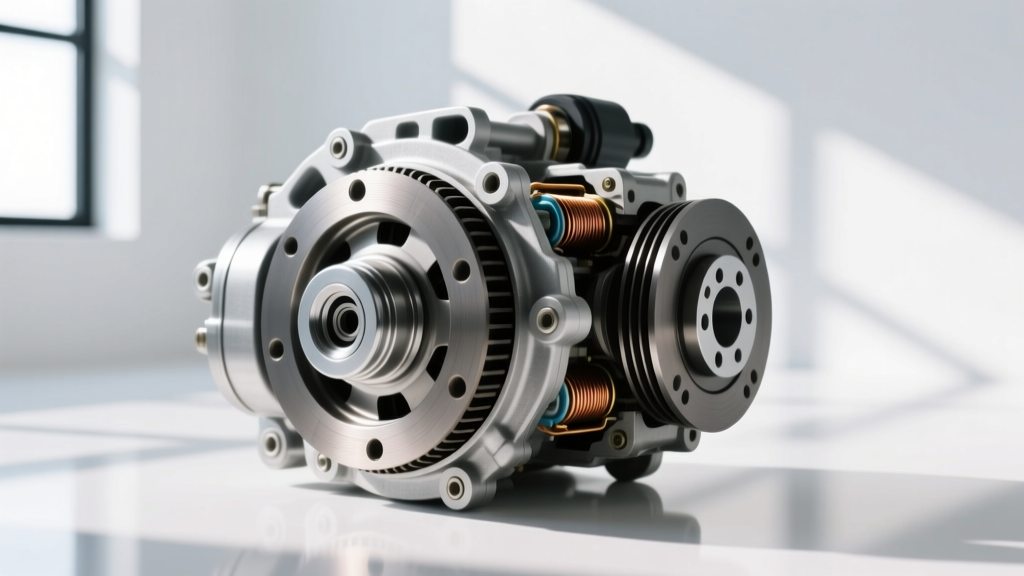
The electromagnetic coil pulls the friction hub against the spinning pulley. Over time, heat and vibration degrade the copper windings. To test the coil, disconnect the electrical pigtail and set your multimeter to Ohms (Ω). For most common 12V systems (including Denso 10S17C, Sanden SD7, and GM CVC/HV6 compressors), a healthy coil should read between 3.2 and 4.8 ohms at 68°F (20°C). If your multimeter reads 'OL' (infinite resistance), the coil has an internal open circuit and must be replaced. If it reads near 0.0 ohms, it is shorted.
2. Mechanical Air Gap Wear
Every time the clutch engages, metal-on-metal friction wears the mating surfaces. Over 100,000 miles, this wear widens the air gap between the hub and the pulley. If the gap exceeds the magnetic pull threshold, the clutch will slip or fail to engage entirely, especially when the engine bay is hot and electrical resistance increases.
3. System Pressure Interlocks
Modern Powertrain Control Modules (PCMs) will intentionally inhibit clutch engagement to protect the compressor. If your refrigerant charge is low, the HVAC pressure transducer will signal the PCM to keep the clutch relay open. On most GM and Ford platforms, if system pressure drops below 28 psi or spikes above 450 psi, the clutch ground circuit is disabled. Always jumper the low-pressure cycling switch or scan the PCM for HVAC pressure sensor data before condemning the clutch.
The Real Compressor Clutch Replacement Cost: DIY vs. Professional
When evaluating the total compressor clutch replacement cost, the disparity between professional labor rates and a DIY approach is staggering. Many shops refuse to replace just the clutch, opting to sell a $600+ complete compressor assembly to guarantee their warranty. Here is a realistic 2026 cost breakdown for a standard passenger vehicle (e.g., Honda Accord, Chevy Silverado, or Toyota Tacoma).
| Service Route | Parts & Tools | Labor Cost | Total Estimated Cost |
|---|---|---|---|
| DIY Clutch Kit Only | $45 - $130 | $0 (Your Time) | $45 - $130 |
| DIY + Tool Purchase | $90 - $180 | $0 (Your Time) | $90 - $180 |
| Pro Shop (Clutch Only) | $150 - $250 (OEM) | $250 - $400 | $400 - $650 |
| Pro Shop (Full Compressor) | $300 - $600 | $350 - $600 | $650 - $1,200+ |
Note: Sourcing parts from dedicated HVAC specialists like ACKits or cataloging via RockAuto typically yields better pricing on clutch-specific components (coil, pulley, hub) than buying through standard auto parts counters.
Essential Tools for the DIY Clutch Swap
You cannot pry off an AC clutch hub with a standard gear puller without risking catastrophic damage to the compressor's front seal and swashplate bearings. You need a dedicated clutch puller/installer set. The OTC Tools 4521 or equivalent universal puller set is mandatory. Your toolkit must include:
- AC Clutch Puller/Installer Set: Threaded adapters specific to your compressor shaft (e.g., M10x1.5 for Sanden, M8x1.25 for Denso).
- Internal Snap Ring Pliers: For removing the pulley retaining ring.
- Feeler Gauge Set: Metric and Imperial for setting the critical air gap.
- Clutch Holding Tool: Or an impact wrench (used carefully) to remove the center hub bolt.
Step-by-Step DIY Clutch Replacement Tips
Replacing the clutch on the vehicle is entirely possible and saves the cost of an AC system evacuation and recharge. Follow these precise mechanical steps:
Step 1: Hub Removal and Bolt Torque
Remove the center hub bolt. This bolt is often a 6mm or 8mm hex, or a standard 10mm/12mm head. Use a clutch holding tool to prevent the hub from spinning. If using an impact gun, use short bursts to avoid transferring shock loads to the compressor's internal shaft. Once the bolt is out, thread the puller tool into the hub and draw it off the splined shaft. Do not pry behind the hub with a screwdriver.
Step 2: Pulley and Coil Extraction
With the hub removed, use your internal snap ring pliers to remove the large circlip holding the pulley/bearing assembly. Slide the pulley off the compressor snout. Behind it sits the electromagnetic coil, secured by another snap ring or sometimes small retaining screws. Disconnect the wiring harness and remove the coil.
Step 3: Shimming the Air Gap (The Most Critical Step)
When installing the new hub, you must set the air gap. The compressor shaft has a stack of thin metal shims (washers) behind the hub.
Target Air Gap Specifications:
- Denso (10PA/10S series): 0.4mm - 0.6mm (0.016' - 0.024')
- Sanden (SD/PXE series): 0.3mm - 0.6mm (0.012' - 0.024')
- GM Harrison/Delphi: 0.45mm - 0.75mm (0.018' - 0.030')
Slide the new hub onto the shaft, insert your feeler gauges between the hub friction surface and the pulley face at three equidistant points. If the gap is too wide, remove a shim from the shaft. If it is too tight, add a shim. An incorrect gap will result in immediate clutch slip or premature bearing failure.
Pro-Tip: Always apply a single drop of Blue Loctite 243 to the center hub bolt threads before final installation. The torque specification for most Denso and Sanden center bolts is strictly 11 to 15 Nm (8 to 11 lb-ft). Overtorquing will stretch the bolt and distort the hub, ruining your meticulously set air gap.
Troubleshooting Edge Cases: When a New Clutch Still Won't Engage
You have verified the coil resistance, set the air gap to 0.5mm, and torqued the hub bolt, but the clutch still refuses to pull in when you turn the AC to MAX. Before assuming you received a defective aftermarket part, investigate these common edge cases:
Voltage Drop Under Load
A multimeter might show 12.4V at the clutch pigtail with the circuit open. However, when the electromagnet engages, it draws 3 to 4 amps. If there is corrosion in the ACM (A/C Clutch) relay socket or a frayed ground wire, the voltage will drop below 9V under load, resulting in a weak magnetic field that cannot bridge the air gap. Perform a voltage drop test across the power and ground circuits while commanding the clutch ON via a bi-directional OBD2 scanner.
PCM Ground Control Failures
Most modern vehicles do not switch the 12V positive side of the clutch circuit; the PCM provides the ground. If the PCM's internal driver transistor has failed, or if the PCM is actively inhibiting the circuit due to a secondary fault (like a faulty engine coolant temperature sensor reading 260°F, prompting the PCM to shed the AC load to save the engine), the clutch will remain dead. Always scan for secondary drivetrain and HVAC codes before finalizing your diagnosis.
Aftermarket Coil Polarity and Diodes
Some OEM clutch coils feature an internal diode to suppress voltage spikes when the magnetic field collapses. If you are using a generic aftermarket replacement coil, ensure it does not require a specific polarity. Reversing the wires on a diode-protected coil will result in zero engagement and potentially blow the AC fuse in the underhood distribution block.
Final Thoughts on Accessory Drive Diagnostics
Tackling the compressor clutch replacement cost on your own requires patience, precise measurement, and a methodical approach to electrical diagnosis. By relying on hard data—ohm readings, exact millimeter air gaps, and precise torque specs—you bypass the guesswork that leads to unnecessary full-compressor replacements. Armed with the right puller tools and a solid understanding of PCM interlocks, you can restore your vehicle's accessory drive system to factory specifications for a fraction of the dealership estimate.