Why Your Factory Transmission Cooling System Isn't Enough
If you are towing a trailer, running heavy payloads, or simply living in a hot climate, your factory transmission cooling system is likely holding you back. Modern automatic transmissions, such as the GM 6L80, Ford 6R80, and ZF 8HP series, are engineered with tight thermal tolerances to maximize fuel economy and reduce emissions. From the factory, these units often target fluid temperatures between 190°F and 205°F. While this is great for a quick catalytic converter light-off and marginal MPG gains, it is a death sentence for transmission clutches and synthetic fluid longevity when towing up a 7% grade in the summer heat.
Adding an auxiliary plate-and-fin or stacked-plate cooler is the single most cost-effective modification you can make to extend the life of your drivetrain. As of 2026, a high-quality auxiliary cooler kit costs between $60 and $90, while a complete transmission rebuild due to burnt clutches will easily exceed $3,500. This beginner-friendly guide will walk you through the exact process of tapping into your factory transmission cooler line, routing the new hoses, and avoiding the critical mistakes that cause fluid leaks and pressure drops.
The Golden Rule: Identifying the Return Transmission Cooler Line
The most common mistake beginners make when installing an auxiliary cooler is splicing into the wrong hose. Automatic transmissions rely on a specific flow dynamic: hot fluid exits the transmission under pressure, travels to the radiator's internal heat exchanger to shed the bulk of its heat, and then returns to the transmission pan.
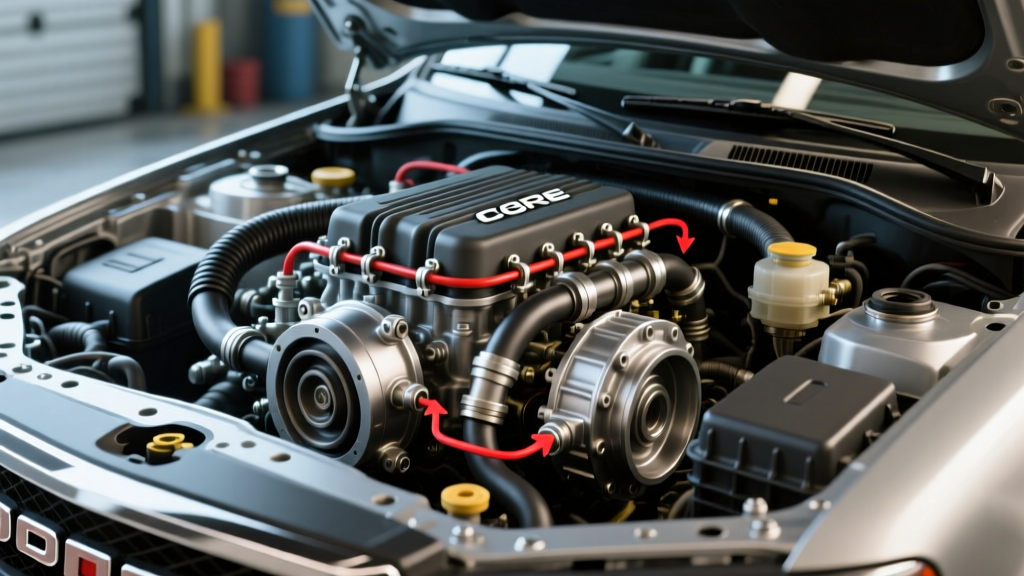
For optimal cooling efficiency and to prevent airlocks, you must install the auxiliary cooler on the return side. This means the flow path should be: Transmission OUT → Radiator → Auxiliary Cooler → Transmission IN. By doing this, the fluid gets cooled by the radiator first, and then aggressively chilled by the auxiliary cooler before re-entering the transmission pan.
The Bucket Test: To identify the return line, place a drain pan under the radiator. Disconnect both metal transmission cooler line fittings at the radiator. Have an assistant start the engine for exactly two seconds and shut it off. The line that pushes fluid out is the pressure (OUT) line. The line that barely moves or sucks air is the return (IN) line. Reconnect the pressure line, and leave the return line disconnected for your installation.
Parts and Tools Checklist (2026 Pricing & Part Numbers)
Do not use cheap, unlabeled rubber hose from a local hardware store. Transmission fluid operates under high pressure and extreme heat, requiring specialized reinforced hose. Here is the exact shopping list for a professional-grade DIY install:
- Cooler: Derale Series 8000 Plate-Fin Cooler (Part #13503) - Approx. $65. Plate-and-fin designs offer superior heat transfer compared to older tube-and-fin models.
- Hose: Gates 4249 Transmission Cooler Hose (3/8" ID) - Approx. $14 per 3-foot section. This SAE J1532 spec hose resists synthetic fluid degradation.
- Clamps: Ideal-Tridon Fuel Injection Style Clamps (3/8" to 5/8" range) - Approx. $8 for a 4-pack. These feature a smooth inner band that will not cut or slice the rubber hose under pressure.
- Wrenches: 5/8" and 13/16" line wrenches (crowfoot or flare nut wrenches) to prevent rounding the soft factory line nuts.
- Scanner: An OBD2 scanner capable of reading Transmission Fluid Temperature (TFT) PID data for the final fill procedure.
Step-by-Step Installation Guide
Step 1: Mounting the Auxiliary Cooler
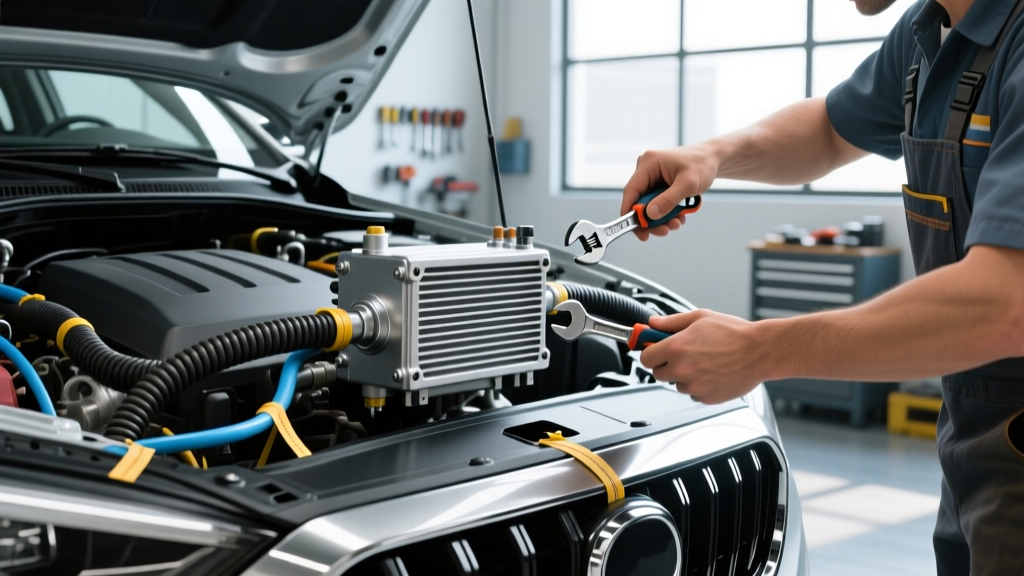
Locate a spot directly in front of the A/C condenser and radiator stack. Airflow is paramount; a cooler hidden behind a structural crossmember or plastic bumper cover is useless. Using the provided zip-tie mounting kit, push the rods through the fins (be careful not to puncture the A/C condenser), secure the backplate, and trim the excess. For heavy-duty towing, consider fabricating aluminum brackets to bolt the cooler directly to the chassis, as zip-ties can become brittle after years of UV and heat exposure.
Step 2: Tapping into the Transmission Cooler Line
Once you have identified the return line using the bucket test, measure how much Gates 4249 hose you need to reach from the factory return line to the auxiliary cooler, and back to the transmission return port. Cut the factory rubber return hose cleanly using a sharp utility knife or hose cutter.
Slide your fuel-injection clamps onto the new hose before pushing the hose onto the barbed fittings. Push the hose onto the factory metal line and the cooler barbs until it bottoms out. You should have at least 1.5 inches of overlap on every barb to prevent blowouts under high line pressure (which can spike to 150+ PSI during heavy throttle shifts).
Step 3: Routing, Clamping, and Torque Specs
Route the new transmission cooler line away from exhaust manifolds, steering shafts, and sharp chassis edges. If you must route near exhaust, use a heat-shielded hose sleeve. Tighten the smooth-band clamps using a 1/4" nut driver or small socket.
Torque Specification: Tighten the hose clamps to approximately 15 to 20 inch-pounds. Do not overtighten. Stripping the clamp screw or crushing the hose barb will result in a slow weep that will eventually leave you stranded on the highway. If you are reinstalling the factory metal line nuts into the radiator end tanks, torque them to exactly 15-18 ft-lbs. Radiator aluminum end tanks are notoriously soft and will crack if hit with an impact wrench.
Critical Warning: The GM 6L80/6L90 Thermal Bypass Valve
If you are installing a cooler on a GM truck equipped with the 6L80 or 6L90 transmission (found in 2006-2020 Silverados, Tahoes, and Camaros), you must address the factory Thermal Bypass Valve. Located in the transmission line adapter on the side of the case, this valve blocks fluid flow to the cooler entirely until the fluid reaches roughly 185°F.
While intended to help the transmission warm up quickly for emissions testing, it causes severe overheating during low-speed, high-load towing because the auxiliary cooler receives zero airflow utilization until it is already too late. According to technical documentation from Sonnax Industries, the recommended fix is to install a Thermal Bypass Delete kit or carefully drill out the bypass piston and spring to allow continuous flow to your new transmission cooler line at all temperatures.
Reference Chart: Fluid Capacities and Line Sizes
When purchasing fluid for your top-off, use this reference chart to ensure you are buying the correct chemistry and accounting for the extra capacity added by your new cooler and hoses.
| Transmission Model | Stock Pan Capacity | Total System Capacity | Factory Line ID | Required Fluid Spec |
|---|---|---|---|---|
| GM 4L60E | 6.0 Quarts | 11.2 Quarts | 3/8" | ACDelco Dexron VI |
| GM 6L80 / 6L90 | 6.5 Quarts | 12.9 Quarts | 1/2" (Adapter dependent) | ACDelco Dexron VI |
| Ford 6R80 | 5.5 Quarts | 13.1 Quarts | 3/8" | Motorcraft Mercon LV |
| ZF 8HP75 (Ram/Dodge) | N/A (No Dipstick) | 9.5 Quarts | 1/2" | ZF Lifeguard 8 |
Flushing, Filling, and Final Verification
Because you added a Derale cooler and roughly 6 feet of 3/8" Gates hose, you have added approximately 1.5 to 2 quarts of volume to the system. Before starting the truck, pour 2 quarts of the correct OEM-spec fluid directly down the transmission dipstick tube (or fill plug, if equipped with a ZF 8HP).
Start the engine, let it idle, and cycle the shifter through every gear (P-R-N-D-L), pausing for three seconds in each. This opens the various clutch apply circuits and forces fluid into the new cooler and lines. Check your OBD2 scanner for the Transmission Fluid Temperature (TFT). Modern transmissions require the fluid to be at a specific temperature (usually between 85°F and 115°F) to get an accurate dipstick reading.
Once the fluid level is correct, take the vehicle for a 10-mile test drive. Park over a clean piece of cardboard and inspect your hose clamps and transmission cooler line connections for any weeping. With proper hose selection, precise routing, and correct clamp torque, your auxiliary cooler will drop your towing temperatures by 30°F to 50°F, ensuring your transmission survives the toughest trails and highways for years to come. For more advanced diagnostics and valve body upgrades, refer to the technical resources at Gates Rubber and Derale Performance.