Identifying the Root Cause of Car Differential Problems
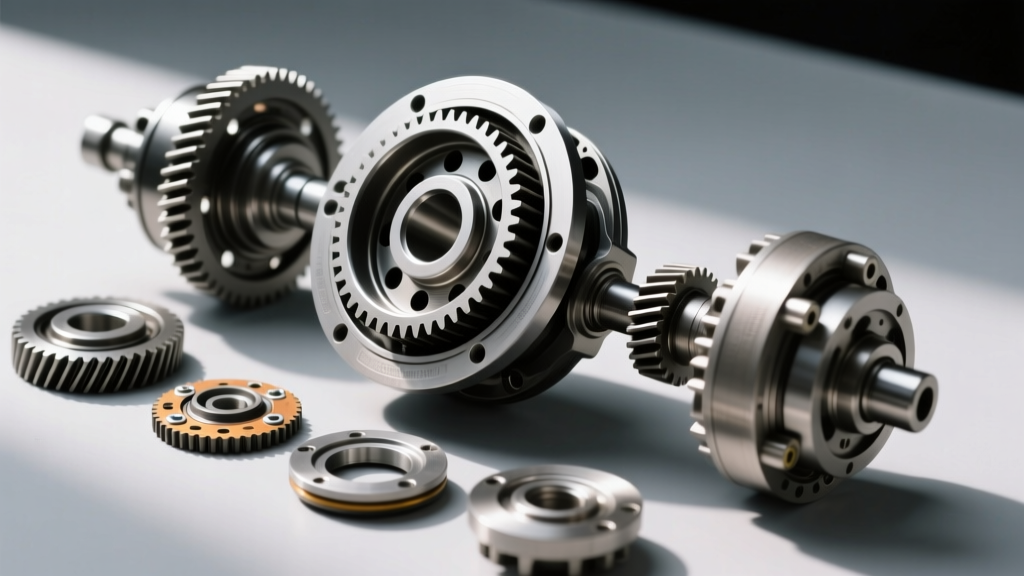
When drivetrain noise intrudes into the cabin, ignoring it is a costly mistake. Most severe car differential problems begin as subtle acoustic warnings before escalating into catastrophic gear failure. Whether you are rebuilding a ubiquitous Ford 8.8-inch, a GM 8.5-inch 10-bolt, or a heavy-duty Dana 60, the fundamental principles of hypoid gear geometry remain identical. A proper rebuild is not just about swapping bearings; it is about achieving microscopic precision in gear mesh, preload, and alignment. In 2026, with professional drivetrain shop labor rates averaging $130 to $180 per hour, mastering this procedure can save you between $1,200 and $2,500 in bench fees.
Before tearing into the housing, accurately diagnose the noise. Pinion bearing failure typically presents as a continuous whine that changes pitch with vehicle speed, regardless of load. Conversely, ring and pinion gear wear manifests as a howl under acceleration (drive side) or deceleration (coast side). A sharp 'clunk' when shifting from reverse to drive usually indicates excessive backlash due to worn side gears, a collapsed cross-pin, or failing carrier bearings.
Symptom-to-Failure Diagnostic Chart
| Audible Symptom | Operating Condition | Probable Failure Point |
|---|---|---|
| Continuous Whine | All speeds, load-independent | Worn pinion bearings or carrier bearings |
| Howling Noise | Acceleration only (Drive side) | Ring gear toe wear, insufficient pinion depth |
| Whining/Howling | Deceleration only (Coast side) | Pinion depth too deep, flank wear |
| Metallic Clunk | Load reversal (Shift into gear) | Excessive backlash, worn spider gears |
| Chatter/Vibration | Tight low-speed turns | LSD clutch pack wear, missing friction modifier |
Essential Tools and Parts for a Differential Rebuild
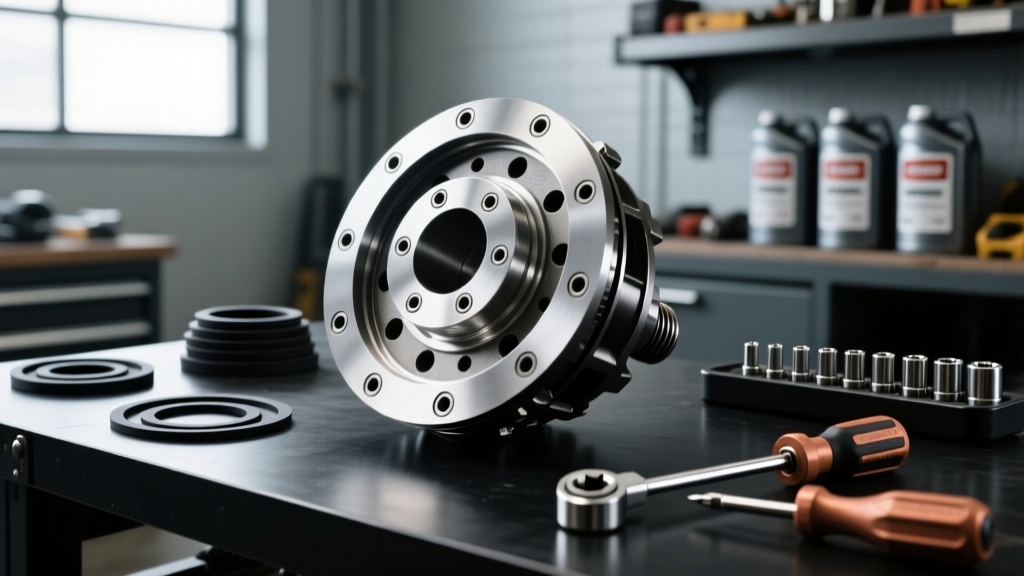
You cannot perform a precision differential rebuild with standard garage tools. Hypoid gearsets require tolerances measured in thousandths of an inch. Sourcing high-quality components is equally critical; always opt for OEM-equivalent or premium aftermarket bearings (like Timken or Koyo) rather than unbranded import kits, as bearing runout will ruin your gear pattern.
- Precision Measuring Tools: A magnetic-base dial indicator (0.001-inch resolution) and an inch-pound beam-style torque wrench (essential for reading rotating preload accurately).
- Setup Bearings: Honed slip-fit bearings for the pinion to allow repeated removal during depth adjustment without destroying the bearing cage.
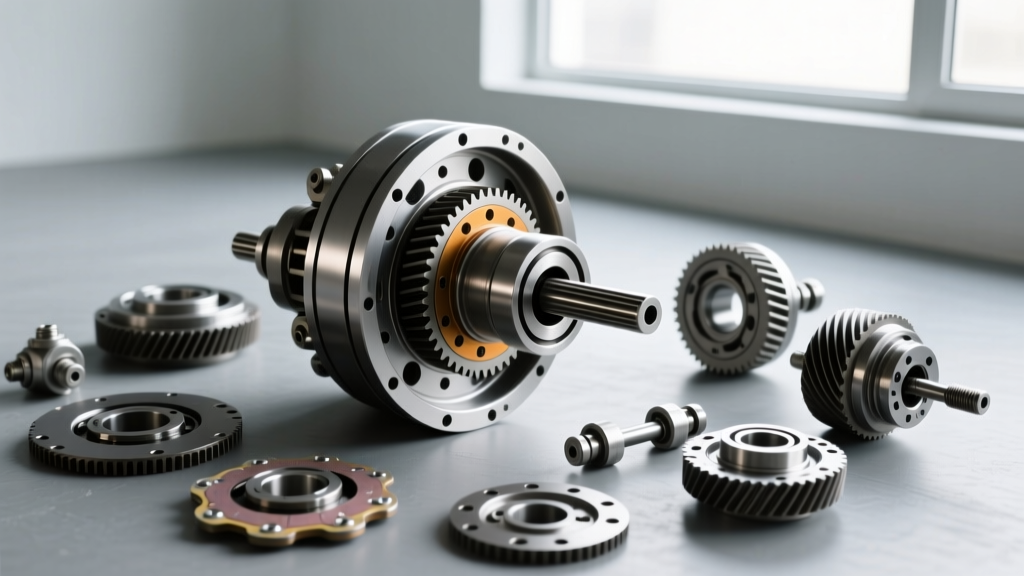
- Master Rebuild Kit: Includes Timken bearings, races, pinion seal, crush sleeve (or solid spacer upgrade), and shim assortments.
- Gear Marking Compound: Yellow ochre paste. Avoid Prussian blue; it is too thin for the high-sliding action of hypoid gears and will yield false patterns.
- Ring Gear Bolt Locking Compound: Loctite 272 (Red) or equivalent high-strength threadlocker rated for high shear and oil exposure.
Step 1: Teardown and Baseline Measurements
Drain the differential fluid and remove the cover or third member. Before unbolting anything, rotate the carrier and check the ring gear runout using your dial indicator mounted to the housing. Runout exceeding 0.003 inches indicates a warped carrier or improperly seated ring gear, which must be addressed during reassembly.
Remove the bearing caps. Critical Rule: Bearing caps are line-bored with the housing at the factory. They are not interchangeable. Mark them 'Left' and 'Right' with a paint pen or stamp, and note their rotational orientation. Remove the carrier assembly and extract the pinion gear. Carefully measure and record the thickness of the original pinion depth shim located behind the inner pinion bearing race. This baseline measurement is your starting point for the new gearset.
Step 2: Pinion Depth and Bearing Preload Setup
The pinion depth dictates how deeply the pinion gear penetrates the centerline of the ring gear. Install the inner pinion bearing race and your recorded baseline depth shim. Press the inner setup bearing onto the pinion stem and install it into the housing.
To set pinion bearing preload, install the outer bearing, seal, and yoke. Tighten the pinion nut. If you are using a traditional crush sleeve, you must torque the nut (often requiring 250 to 350 ft-lbs) until the sleeve crushes enough to achieve the target rotating preload. For new bearings, the target rotating torque is typically 15 to 25 inch-pounds. To avoid the car differential problems associated with over-crushed sleeves, we highly recommend upgrading to a solid pinion spacer kit (such as the Eliminator series), which uses precision shims to set preload without the risk of overtightening.
Step 3: Ring Gear Mounting and Backlash Adjustment
Clean the carrier mating surface with brake cleaner. Heat the new ring gear in hot water or an oven to approximately 200°F to allow for thermal expansion. Never use an oxy-acetelene torch, as uneven heating will warp the gear. Drop it onto the carrier, align the bolt holes, and install the new ring gear bolts coated with Loctite 272. Torque them in a crisscross pattern to the manufacturer specification (typically 70 to 85 ft-lbs for most passenger car and light truck differentials).
Press the carrier bearings onto the assembly and install the carrier into the housing. Install the side shims and bearing caps. Torque the cap bolts to spec (usually 70-90 ft-lbs). Measure the backlash by mounting the dial indicator perpendicular to the ring gear teeth. Rock the ring gear back and forth while holding the pinion yoke stationary. The target backlash for most street-driven hypoid gearsets is 0.006 to 0.010 inches. Adjust the side shims—adding thickness to one side while removing the exact same amount from the other—until you hit your target, ideally 0.008 inches.
Step 4: Reading the Gear Contact Pattern
This is the most crucial step in solving car differential problems related to premature wear. Apply a thin, even coat of yellow ochre marking compound to both the drive (convex) and coast (concave) sides of three or four ring gear teeth. Apply moderate resistance to the ring gear using a shop rag or a strap wrench while rotating the pinion yoke to roll the gears through the compound.
Analyze the resulting pattern. The ideal pattern is centered vertically between the top (face) and bottom (flank) of the tooth, and slightly biased toward the inner (heel) end of the tooth under load, moving toward the outer (toe) end as load is applied.
- Pattern too high on the face: Pinion is too deep. Decrease pinion depth shim thickness.
- Pattern too low on the flank: Pinion is too shallow. Increase pinion depth shim thickness.
- Pattern biased heavily to the toe: Backlash is too tight. Move ring gear away from pinion.
- Pattern biased heavily to the heel: Backlash is too wide. Move ring gear closer to pinion.
For comprehensive visual references on pattern analysis, consult the Spicer Installation Manuals or the Yukon Gear Setup Guides, which provide excellent photographic examples of acceptable versus rejectable hypoid gear patterns.
Step 5: Limited Slip Considerations and Fluid Selection
If your differential houses a clutch-type Limited Slip Differential (LSD) such as a Ford Trac-Lok or GM Positraction, you must address the clutch packs during reassembly. Inspect the steel and friction plates for glazing or scoring. If rebuilding the clutches, soak the new friction plates in the specified friction modifier fluid for 15 minutes before assembly to prevent immediate chatter upon startup.
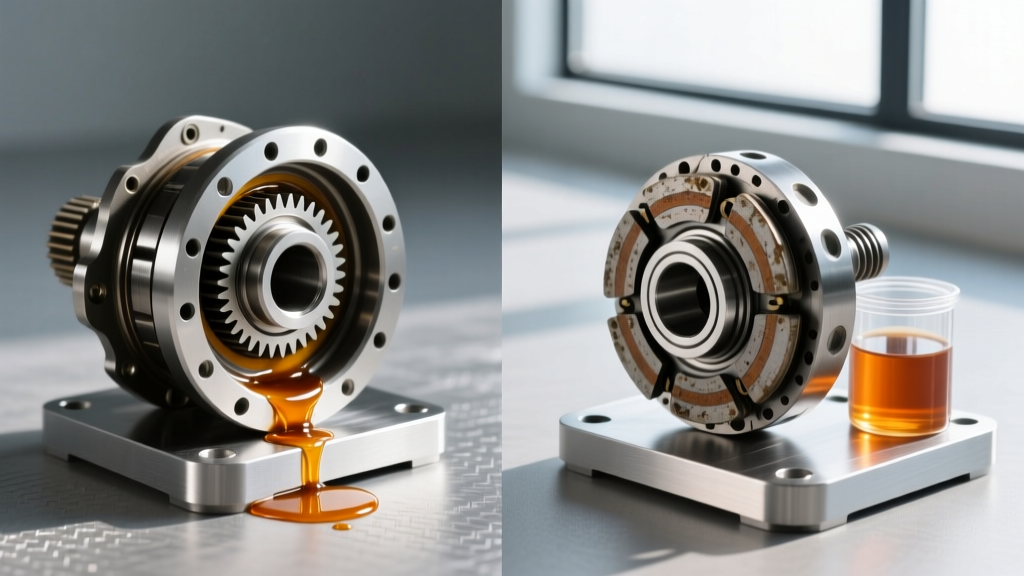
Once the pattern is verified and the carrier is locked down, clean the housing mating surface thoroughly. Apply a continuous bead of high-temp RTV silicone (or install a new paper gasket if your housing design dictates it) and bolt the cover back on. Fill the differential with a high-quality 75W-90 or 75W-110 full synthetic gear oil. For heavy towing or track use in 2026, 75W-110 offers superior film strength under extreme thermal loads. If equipped with an LSD, add the exact OEM-specified dose of friction modifier (typically 2 to 4 ounces) before topping off the fluid level to the bottom of the fill hole.
The 500-Mile Break-In Protocol
A freshly rebuilt differential generates immense friction and heat as the microscopic high spots on the new gears wear into their mating surfaces. Failing to follow a strict break-in procedure will overheat the gear oil, break down the additive package, and permanently warp the ring gear, instantly recreating the car differential problems you just spent hours fixing.
Drive the vehicle normally for the first 10 to 15 miles, keeping speeds under 45 mph. Stop and allow the differential housing to cool completely to ambient temperature (at least 45 minutes). Repeat this heat-and-cool cycle three times. For the first 500 miles, avoid heavy throttle loads, trailer towing, and sustained highway speeds over 65 mph. After 500 miles, drain the break-in fluid—which will be heavily saturated with metallic assembly paste and microscopic bearing debris—replace the cover gasket, and refill with fresh synthetic gear oil. Your differential will now operate quietly and reliably for the next 150,000 miles.