The Mechanical Equivalent of an Automated Differential Blood Test
In the medical field, an automated differential blood test is a critical diagnostic tool that measures the exact distribution of white blood cells to detect hidden infections, inflammation, or systemic disease. As automotive engineers and drivetrain specialists, we look at the hypoid ring and pinion gears inside your axle and realize they require the exact same level of microscopic scrutiny. While you cannot draw blood from a Dana 44, a Ford 10.5-inch corporate axle, or a ZF rear-drive module, you can perform the mechanical equivalent: Used Oil Analysis (UOA).
Think of UOA as your axle's automated differential blood test. By extracting a small sample of gear oil before it hits the drain pan, laboratories can use spectrometry to measure wear metals (iron, copper, lead), contamination (silicon/dirt, water), and fluid degradation. As we navigate the heavy-duty towing and off-road demands of 2026, relying solely on arbitrary mileage intervals is no longer sufficient for fleet managers or serious overlanders. Combining a rigorous step-by-step differential fluid change procedure with UOA provides a definitive health report of your drivetrain.
This comprehensive guide will walk you through the exact procedure for servicing your front and rear differentials, extracting your 'blood test' sample, and interpreting the results to prevent catastrophic ring and pinion failure.
Differential Service Intervals: The Preventative Schedule
Before grabbing your socket set, you must understand the baseline service intervals. While severe-duty schedules (towing, water fording, extreme dust) dictate more frequent changes, modern synthetic gear oils have extended standard intervals significantly. Below is a baseline reference chart for common light-truck and SUV axles.
| Axle Model | Fluid Capacity | Cover Bolt Torque | Fill Plug Torque | Standard Interval | Severe Interval |
|---|---|---|---|---|---|
| Dana 44 (Jeep JK/JL) | 2.0 qts | 30 lb-ft | 25 lb-ft | 50,000 miles | 15,000 miles |
| Ford 10.5" (F-250/F-350) | 3.5 qts | 33 lb-ft | 30 lb-ft | 100,000 miles | 30,000 miles |
| GM 9.5" (Silverado/Sierra) | 2.8 qts | 22 lb-ft | 25 lb-ft | 90,000 miles | 25,000 miles |
| Dana 60 (Ram HD Front) | 3.2 qts | 40 lb-ft | 25 lb-ft | 60,000 miles | 15,000 miles |
Note: Always consult your specific OEM service manual, as limited-slip differentials (LSD) and factory locking differentials may have unique additive requirements that alter these baselines.
Tools and Materials Required
Executing a clean, professional-grade differential service requires specific tools. Do not rely on generic gaskets or subpar sealants.
- Fluid Extractor or Sterile UOA Kit: (e.g., Blackstone Labs standard kit, ~$35.00)
- Gear Oil: High-quality synthetic 75W-90 or 75W-140 GL-5 (e.g., AMSOIL Severe Gear, ~$19.00-$24.00/qt)
- LSD Friction Modifier: Motorcraft XL-3 or equivalent (only if equipped with a clutch-type LSD)
- Sealing Components: Fel-Pro PermaDryPlus gasket (e.g., RDS55028 for Dana 44) OR Permatex Ultra Black RTV (Part #81180)
- Hand Tools: 3/8" and 1/2" drive ratchets, torque wrench (inch-pounds and foot-pounds), fluid transfer pump, brass-bristle brush, plastic gasket scraper
- Cleaning Solvents: Brake cleaner (Brakleen) and lint-free shop towels
Step-by-Step Differential Fluid Change Procedure
Follow this exact sequence to ensure proper extraction, cleaning, and refilling of your axle assembly.
Step 1: Warm-Up and Extracting the 'Blood' Sample
Never attempt to drain or sample a cold differential. The gear oil must be at operating temperature to suspend wear metals and flow freely. Drive the vehicle for 15-20 minutes to warm the axle. Once on the lift or jack stands, locate the differential fill plug. Always remove the fill plug before the drain plug or cover. If the fill plug is seized or stripped, you do not want to be left with an empty, unfillable axle.
Insert your fluid extractor tube or catch the initial stream of oil in the sterile UOA bottle provided by your lab. This sample represents the truest 'blood test' of your axle, capturing metals suspended in the warm fluid before they settle at the bottom of the housing.
Step 2: Draining and Cover Removal
Place a minimum 5-gallon drain pan beneath the axle. If your differential features a bottom drain plug (common on many modern Ford and GM axles), remove it and allow the fluid to drain completely. For traditional cover-plate axles (like the Dana 44 or GM 10-bolt), use a 1/2" drive ratchet to break loose the bottom-most cover bolt first, allowing the fluid to weep out into the pan. Work your way around the perimeter in a criss-cross pattern to remove the remaining bolts. Carefully pry the cover off using a flathead screwdriver inserted into the designated pry-notches, never directly between the mating surfaces.
Step 3: Cleaning and Magnetic Inspection
Inspect the inside of the cover and the housing. Most drain plugs or covers feature a magnet. You are looking for two distinct types of debris:
Normal: A fine, grey 'fuzz' or paste on the magnet. This is normal wear from the break-in of hypoid gears and clutch packs.
Catastrophic: Metallic shards, chunks of bearing cages, or brass-colored flakes. Brass indicates spider gear thrust washer failure; large steel chunks indicate bearing or ring gear tooth failure.
Use a plastic gasket scraper to remove all old RTV or gasket material from both the cover and the axle housing mating surface. Follow up with brake cleaner and lint-free towels. Never use steel wire wheels or metal scrapers, as scoring the aluminum or stamped-steel mating surface will guarantee future leaks.
Step 4: Sealing and Torque Specifications
If your axle uses a reusable rubber or cork gasket (like the Dana Spicer axles), install the new gasket dry—do not use RTV on rubber gaskets, as it will cause them to slip and extrude under torque. If your axle requires RTV, apply a continuous 3mm bead of Permatex Ultra Black to the cover, ensuring you circle the inside of every bolt hole to prevent oil from seeping through the threads.
Reinstall the cover and thread all bolts in by hand. Using a calibrated torque wrench, tighten the bolts in a star/criss-cross pattern to the manufacturer's specification (e.g., 30 lb-ft for a Dana 44). This prevents warping the stamped steel cover.
Step 5: Refilling and LSD Additive Protocols
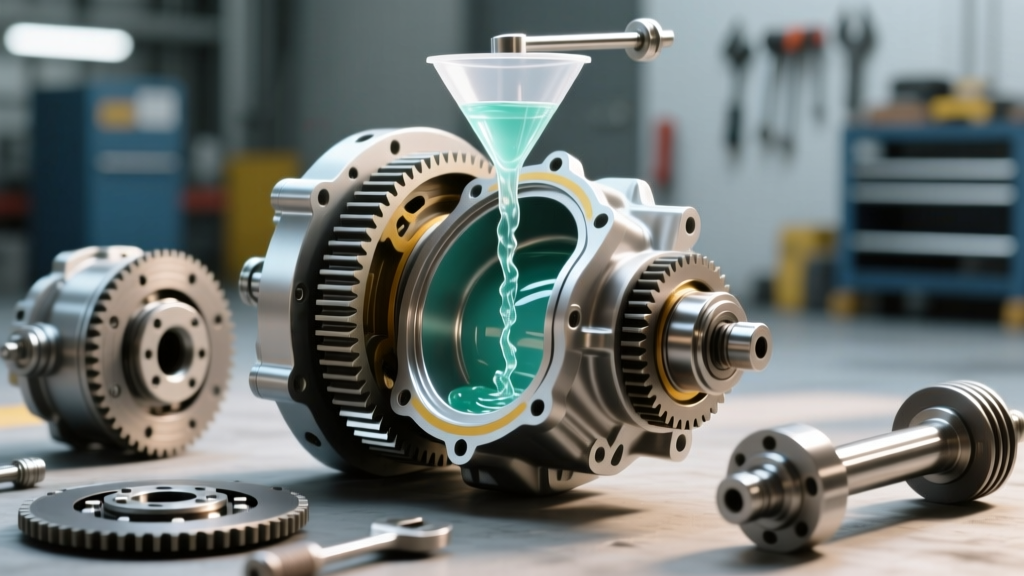
Attach your fluid transfer pump to your new synthetic gear oil. Pump the fluid into the fill hole until it begins to weep out of the bottom threads of the hole. This indicates the differential is perfectly level and full.
Critical LSD Note: If your vehicle is equipped with a clutch-type Limited Slip Differential (e.g., Ford Traction-Lok, Dana Trac-Lok), you must add the friction modifier (typically 2 to 4 oz of Motorcraft XL-3) before topping off with the final quart of gear oil. This ensures the modifier mixes thoroughly with the fluid. (Note: Torque-sensing differentials like the Torsen or Detroit Locker do not require friction modifiers).
Reinstall the fill plug, apply a small amount of thread sealant if required by the OEM, and torque to spec (usually 25-30 lb-ft).
Decoding Your Automated Differential Blood Test (UOA Results)
Once your sample is processed by the lab (typically within 5-7 days), you will receive a spectrometry report. Here is how to interpret the 'blood panel' of your gear oil:
- Iron (Fe): The primary metric. Represents wear on the ring and pinion gears. High iron (>50 ppm on a standard 30k mile sample) indicates excessive gear loading or inadequate film strength.
- Chromium (Cr) & Molybdenum (Mo): Indicates wear on the pinion bearings and shafts.
- Copper (Cu) & Lead (Pb): Points to bearing cage wear or thrust washer degradation. A spike in copper requires immediate differential teardown and inspection.
- Silicon (Si): Represents dirt/dust ingress. High silicon means your axle breather valve is clogged or compromised, allowing contaminants to be sucked into the housing as the axle cools after operation.
- Water (%): Any reading above 0.5% indicates a failing pinion seal or axle shaft seal, or submersion in water without proper breathers.
By treating your differential service not just as a maintenance chore, but as an opportunity to run an automated differential blood test via UOA, you transition from reactive repairs to predictive maintenance. In the demanding automotive landscape of 2026, this data-driven approach is the only way to guarantee the longevity of your drivetrain's most critical torque-multiplying components.