The 'Fill Plug First' Golden Rule of Differential Service
Before you even touch a socket wrench to your differential cover bolts, you must adhere to the most critical rule of axle maintenance: always remove the fill plug first. Every year, thousands of DIY mechanics and inexperienced technicians drain the axle fluid by removing the differential cover, only to discover that the fill plug on the axle housing is seized, stripped, or welded shut by years of corrosion. If you cannot open the fill hole, you cannot refill the differential, leaving your vehicle stranded on jack stands with an empty axle. Apply penetrating oil like PB Blaster or Liquid Wrench to the fill plug a day before your service, and break it loose while the housing is cold and full of fluid to provide hydraulic resistance against spinning.
Evacuator Pump vs. Differential Cover Removal
Many quick-lube shops and DIYers opt to use a fluid evacuator pump inserted through the fill hole to suck out old gear oil. While this is faster and less messy, it is an incomplete service. An evacuator pump leaves behind 15% to 20% of the old fluid, along with the heaviest metallic particulates and sludge that settle at the lowest point of the axle housing. Furthermore, it completely bypasses the opportunity to inspect the ring and pinion gears, check the limited-slip clutch packs, and clean the internal rare-earth magnets designed to capture ferrous shavings. For a true 100% fluid exchange and vital drivetrain health inspection, physical differential cover removal is the only acceptable procedure for solid axles equipped with removable covers (such as the GM 10-bolt, Ford 8.8, and Dana 44).
Required Tools and OEM-Grade Materials
Proper preparation prevents damaged mating surfaces and fluid leaks. Gather the following specific tools and materials before beginning:
- Socket Set: 3/8-inch drive metric and SAE sockets (typically 10mm, 12mm, 13mm, or 3/8-inch depending on the axle).
- Torque Wrench: A precise 3/8-inch drive torque wrench capable of measuring 15 to 40 lb-ft.
- Gasket Scraper: Plastic or brass scrapers only. Steel razor blades will gouge aluminum differential covers and score steel housings, creating permanent leak paths.
- Sealant: Permatex Ultra Black (Part #80050) or 'The Right Stuff'. Do not use standard black RTV, as it lacks the oil-resistance required for gear oil environments.
- Cleaning Agents: Non-chlorinated brake cleaner and lint-free shop towels.
- Gear Oil: API GL-5 rated synthetic fluid (e.g., Mobil 1 75W-90 or Amsoil Severe Gear).
- Fluid Transfer Pump: A manual or pneumatic pump that threads directly into the gear oil quart bottle.
Step-by-Step Differential Cover Removal Procedure
Phase 1: Draining and Cover Separation
Drive the vehicle for 15 to 20 minutes prior to the service. Warm gear oil flows faster and keeps microscopic metallic particulates suspended in the fluid, ensuring they drain out rather than settling on the housing floor. Secure the vehicle on jack stands, ensuring it is perfectly level so the fluid level is accurate upon refilling.
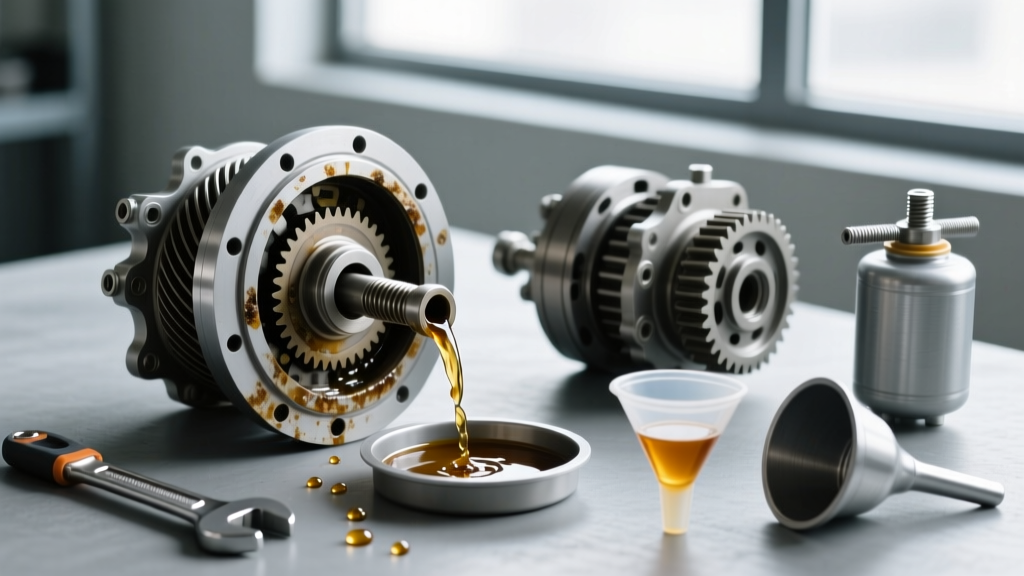
Place a 3-gallon drain pan beneath the axle. Using your socket, remove the differential cover bolts in a circular pattern, starting from the bottom and working your way up. Pro Tip: Leave the top two bolts threaded in loosely (about 4 to 5 turns). This turns the differential cover into a hinge, allowing the heavy gear oil to drain in a controlled stream rather than dumping all at once and splashing over your drain pan. Once the bulk of the fluid has drained, remove the final two top bolts.
To separate the cover, look for designated pry-notches on the flange of the axle housing. Gently twist a flathead screwdriver in these notches. If your axle lacks pry-notches, use a dead-blow rubber mallet to tap the side of the differential cover. Never wedge a screwdriver between the mating surface of an aluminum cover and the steel housing, as this will permanently warp the soft aluminum flange and guarantee a future leak.
Phase 2: Mating Surface Preparation
With the differential cover removed, immediately inspect the internal components. Look for chipped teeth on the ring gear, excessive play in the pinion bearings, or burnt limited-slip clutch packs. Locate the internal magnet (usually bolted to the cover or resting in a machined pocket in the housing). It is normal to find a fine, glitter-like metallic paste on the magnet—this is standard wear from the ring and pinion lapping process. However, if you find large metal shards, chunks of bearing cages, or brass-colored shavings (indicating worn spider gear thrust washers), a full differential rebuild is required.
Clean the mating surfaces of both the differential cover and the axle housing. Spray the cover with brake cleaner and use a Scotch-Brite pad to remove old RTV. For the axle housing mating surface, use a plastic gasket scraper and brake cleaner. Critical Warning: Stuff a lint-free shop towel into the open axle tubes and the center section to prevent any scraped RTV debris or brake cleaner from falling onto the ring gear or bearings. Vacuum the interior of the housing with a shop vac to remove any remaining loose particulates before removing the protective towels.
If you are working with a stamped steel differential cover that has been warped by previous owners over-tightening the bolts, place it on a flat piece of glass or a granite surface block and gently tap it flat with a rubber mallet. A warped steel cover will never seal, regardless of how much RTV you apply.
Phase 3: RTV Application and Torque Sequence
Wipe both mating surfaces with brake cleaner one final time and allow them to dry completely. Apply a continuous 1/8-inch to 1/4-inch bead of Permatex Ultra Black RTV to the differential cover. You must circle the inside of every bolt hole to prevent oil from wicking down the threads of the bolts and leaking to the outside of the cover.
According to Randy's Ring & Pinion technical guidelines, allow the RTV to 'skin' or air-cure for 10 to 15 minutes before mating the cover to the housing. This prevents the silicone from squishing entirely out of the joint when torqued. Press the cover firmly into place and thread all bolts in by hand to prevent cross-threading.
Tighten the bolts using a strict star or crisscross pattern, working from the center outward. Snug all bolts to 10 lb-ft first, then make a final pass to the manufacturer's exact torque specification. Over-torquing differential cover bolts is the leading cause of stripped threads in aluminum housings and warped steel covers.
Differential Fluid Service Intervals and Specifications
While many modern owner's manuals claim differential fluid is a 'lifetime' fluid, automotive tribologists and drivetrain experts universally disagree. Heat cycling, moisture ingress through the axle breather tube, and sheer forces from the hypoid gearset degrade the sulfur-phosphorus extreme pressure (EP) additives in GL-5 gear oil. Below is a reference chart for standard solid axles commonly found in trucks and SUVs.
| Axle Model | Cover Bolt Torque Spec | Fluid Capacity (Approx) | Recommended Fluid & Interval |
|---|---|---|---|
| GM 8.5' 10-Bolt | 25 lb-ft | 2.1 Quarts | 75W-90 GL-5 (Every 50k mi) |
| Ford 8.8' Super 8.8 | 20 - 25 lb-ft | 1.8 - 2.5 Quarts | 75W-140 GL-5 (Every 30k mi Towing) |
| Dana 44 (JK/JL Wrangler) | 30 - 35 lb-ft | 2.0 - 2.2 Quarts | 75W-90 GL-5 (Every 40k mi) |
| Chrysler 8.25' | 30 lb-ft | 1.75 Quarts | 75W-90 GL-5 (Every 50k mi) |
| GM 9.5' / 10.5' 14-Bolt | 35 lb-ft | 2.75 - 3.2 Quarts | 75W-90 GL-5 (Every 50k mi) |
Note: If your vehicle is subjected to 'severe duty'—defined as frequent towing over 5,000 lbs, repeated water fording, or aggressive off-road use—halve the recommended service intervals. Water ingress through submerged axle breather valves will rapidly emulsify gear oil, turning it into a milky, ineffective sludge that will destroy pinion bearings in under 1,000 miles.
Limited-Slip Differential (LSD) Additive Protocols
Before pumping the new gear oil into the differential cover cavity, you must determine if your axle requires a friction modifier. Clutch-type limited-slip differentials (such as the Auburn LSD, Eaton Positraction, Ford Trac-Lok, and ZF clutch-pack setups) rely on a specific coefficient of friction to allow the clutches to slip smoothly during tight, low-speed cornering. If you fill these units with standard GL-5 gear oil without a friction modifier, the clutches will bind and chatter violently, resulting in a hopping sensation and premature wear to the clutch discs.
Add exactly 4 ounces of a high-quality friction modifier (such as ACDelco Part #10-9003 or Ford XL-3) directly into the differential housing before pumping in the bulk gear oil. Conversely, if your vehicle is equipped with a helical gear-type LSD (such as the Eaton TrueTrac, Torsen T-2, or Detroit Truetrac), do not use friction modifier. These units operate on gear-binding torque biasing rather than clutch friction, and adding modifier will reduce their torque-biasing effectiveness and cause premature gear wear.
Final Fill and Verification
Thread your fluid transfer pump onto the new bottle of gear oil and pump the fluid into the fill hole. Continue pumping until the fluid begins to weep out of the bottom edge of the fill hole. This indicates the differential is perfectly level and full. Reinstall the fill plug and torque it to spec (usually 20-30 lb-ft, but verify with your specific service manual). Wipe down the differential cover and axle housing with a degreaser, then take the vehicle for a 10-mile test drive. Finally, crawl back under the vehicle with a flashlight and inspect the differential cover perimeter for any signs of weeping. A properly prepped and torqued differential cover will remain bone-dry for the next 50,000 miles.