When a Routine Fluid Change Reveals Catastrophic Failure
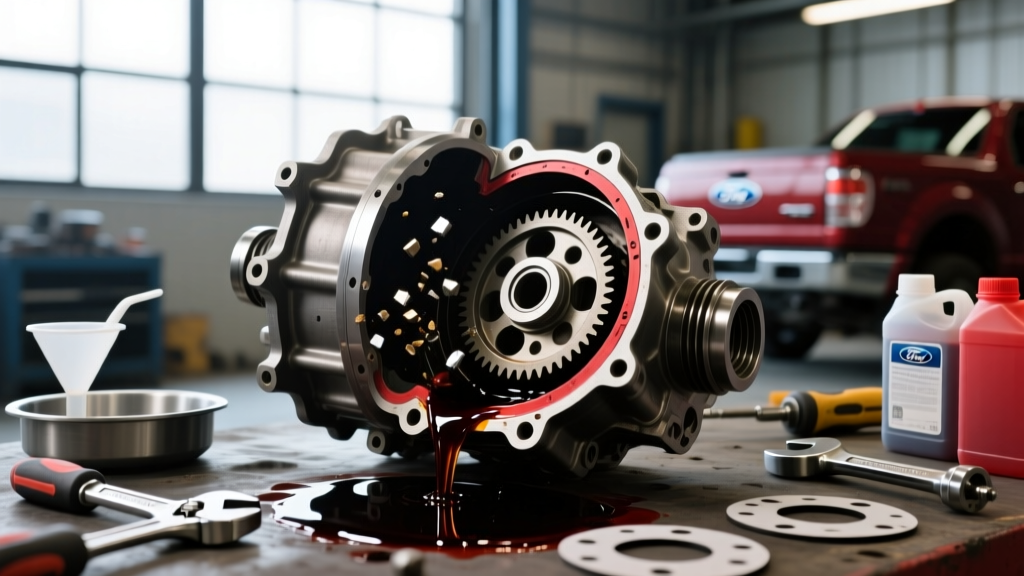
You set out for a simple weekend maintenance task: draining and replacing the gear oil in your truck. But the moment you remove the differential cover, the smell of burnt sulfur hits you, and the oil pans out looking like metallic paint. If you have discovered heavy glitter or actual gear chunks in your axle, a simple drain and fill will not save you. It is time for a complete teardown. This step-by-step guide bridges the gap between a routine maintenance check and a full differential rebuild, specifically tailored for the Ford 8.8-inch and 9.75-inch rear axles found under the 2013 F-150.
Phase 1: Draining and Diagnosing the Axle
Before ordering a master rebuild kit, you must confirm the failure mode. Drain the housing completely into a catch pan and inspect the magnetic drain plug (if equipped) and the cover interior.
- Fine Glitter (Suspended): Normal wear for high-mileage axles. A fluid change and close monitoring may suffice.
- Coarse Metal Shavings (Needle Bearings): Indicates planetary or pinion bearing failure. Rebuild required.
- Chunks of Steel or Chipped Teeth: Catastrophic ring and pinion or carrier failure. Immediate rebuild mandatory.
According to Ford Owner Manuals, severe service or heavy towing requires more frequent fluid intervals. Neglecting these intervals leads to the exact thermal breakdown that destroys hypoid gear sets.
Phase 2: Axle Teardown and Preparation
The 2013 F-150 typically houses either the legendary Ford 8.8-inch or the heavier-duty 9.75-inch rear axle. The teardown process differs slightly between the two, particularly regarding axle shaft removal.
Removing the Axle Shafts
For the Ford 8.8-inch axle, you are dealing with a semi-floating C-clip design. You must remove the differential cover, rotate the carrier to access the center pin, remove the 8mm center pin bolt, and push the axle shafts inward to release the C-clips. Conversely, the Ford 9.75-inch axle uses bolt-in axle shafts. You must unbolt the wheel hub retainer plates from the backing plate (typically four 15mm or 18mm nuts per side) and slide the entire axle shaft assembly out of the housing. This is a massive E-E-A-T distinction that catches many DIYers off guard.
Pulling the Carrier and Pinion
Mark the bearing caps and the housing with a paint pen so they can be reinstalled in their exact original locations and orientations. Remove the carrier bearing cap bolts (usually 18mm or 21mm). Use a case spreader or a pry bar with extreme caution to pop the carrier out. Next, unbolt the driveshaft, mark the pinion yoke to the companion flange, and remove the pinion nut. Drive the pinion gear out from the back using a brass drift to avoid damaging the threads.
Phase 3: Step-by-Step Rebuild Procedures
A proper rebuild requires precision measuring tools: a dial indicator with a magnetic base, an inch-pound beam-style torque wrench, and a micrometer. You will need a high-quality master install kit (Timken or SKF bearings) and a new ring and pinion set from a reputable manufacturer like Yukon Gear & Axle.
Step 1: Setting Pinion Depth and Bearing Preload
The pinion depth is the most critical measurement in the entire drivetrain. It dictates how deeply the pinion gear sits into the ring gear. 1. Press the new inner pinion bearing onto the pinion gear. 2. Install the pinion into the housing with the setup shims (refer to the etching on the pinion head for the baseline depth variance). 3. Install the outer setup bearing (a bearing with the inner race slightly honed out for easy removal) and the yoke. 4. Measure the rotating torque to establish baseline bearing drag. 5. Apply yellow gear marking compound to the ring gear teeth. Rotate the assembly and inspect the pattern. A correct pattern will sit dead center on the face width, slightly biased toward the toe under load.
Once the depth is verified, you must set the pinion bearing preload. The Ford 9.75 uses a crush sleeve. You will install the new crush sleeve, the seal, and the yoke. Tightening the new pinion nut requires immense force—often upwards of 250 to 300 foot-pounds of torque—to collapse the sleeve. Check the rotating torque with your inch-pound wrench every few turns. You are aiming for 25 to 35 inch-pounds of rotational drag for new bearings.
Step 2: Carrier Installation and Backlash Adjustment
Bolt the new ring gear to the carrier using new high-strength bolts. Apply red threadlocker and torque them in a star pattern. For the 8.8-inch, torque to 85 foot-pounds; for the 9.75-inch, torque to 125 foot-pounds. Press the new carrier bearings onto the differential case. Install the carrier into the housing along with the selected side shims. The goal here is to achieve the correct backlash—the tiny amount of rotational play between the ring and pinion gears before they make contact.
Mount your dial indicator perpendicular to a ring gear tooth. Rock the ring gear back and forth while holding the pinion yoke stationary. You are targeting a backlash specification between 0.008 and 0.012 inches. Adjust the thickness of the side shims (or turn the adjuster rings if your specific housing variant uses them) until both the backlash and the carrier bearing preload (15 to 25 inch-pounds of drag) are perfectly dialed in.
Ford 8.8 vs. 9.75 Rear Axle Specifications
| Specification | Ford 8.8-Inch Axle | Ford 9.75-Inch Axle |
|---|---|---|
| Ring Gear Bolt Torque | 70 - 85 ft-lbs | 120 - 125 ft-lbs |
| Pinion Bearing Preload (New) | 20 - 30 in-lbs | 25 - 35 in-lbs |
| Target Backlash | 0.008 - 0.012 inches | 0.008 - 0.012 inches |
| Axle Shaft Retention | Internal C-Clips | Bolt-in Retainer Plates |
| Standard Fluid Capacity | 2.2 - 2.5 Quarts | 2.5 - 3.0 Quarts |
Phase 4: Reassembly and the Correct Fluid Fill
With the gear pattern verified, the backlash set, and the seals installed, it is time to button up the housing. Reinstall the axle shafts. If you are working on the 8.8-inch C-clip axle, ensure the C-clips are fully seated in the side gear grooves before inserting the center pin and torquing the 8mm bolt to 15 foot-pounds. For the 9.75-inch, apply a thin bead of RTV silicone to the axle shaft flange and torque the retainer plate nuts to 60 foot-pounds.
Selecting and Filling the Gear Oil
When refilling the housing, selecting the correct 2013 F-150 rear differential fluid is paramount for the longevity of your fresh rebuild. Because rebuilt axles generate slightly more initial friction and heat during the break-in period, stepping up to a high-quality full synthetic is highly recommended. According to Motorcraft Lubricants specifications, the ideal choice for a truck subjected to towing or heavy loads is SAE 75W-140 Synthetic Rear Axle Lubricant (Motorcraft Part Number XY-75W140-QL).
If your 2013 F-150 is equipped with a Limited Slip Differential (LSD), you absolutely must add the required friction modifier to prevent chatter and clutch pack destruction during tight turns. Add exactly 4 ounces of Motorcraft XL-3 Friction Modifier (Part Number C8AZ-19B546-A) directly into the axle housing before pumping in the gear oil.
Pump the fluid into the fill hole until it reaches the exact bottom lip of the fill plug opening. This usually requires between 2.5 and 3.0 quarts depending on your specific axle housing and whether you have an aftermarket deep-sump differential cover. Reinstall the fill plug and torque it to 22 foot-pounds.
Break-In Procedure
Do not immediately hook up a heavy trailer. Your new ring and pinion need a thermal break-in cycle. Drive the truck under normal, light-load conditions for the first 500 miles. Avoid sustained highway speeds over 65 MPH during this period to prevent the gear oil from overheating before the mating surfaces of the hypoid gears have fully polished. After 500 miles, the axle is fully broken in, and your meticulously rebuilt differential is ready to handle whatever torque your F-150 can throw at it.