A failing differential seal is rarely an isolated event. When an axle seal or pinion seal begins to weep, the resulting drop in gear oil volume leads to inadequate lubrication, excessive heat, and catastrophic bearing failure. For automotive technicians and advanced DIYers, addressing a leak requires a comprehensive approach: replacing the compromised seals, inspecting the bearings for spalling or brinelling, and executing a flawless reassembly. However, the job is not complete until the housing is properly serviced. Understanding how to add differential fluid correctly after a rebuild is critical to preventing immediate startup wear and ensuring the longevity of your ring and pinion gearset.
The Cascade Failure: Why Seals and Bearings Fail Together
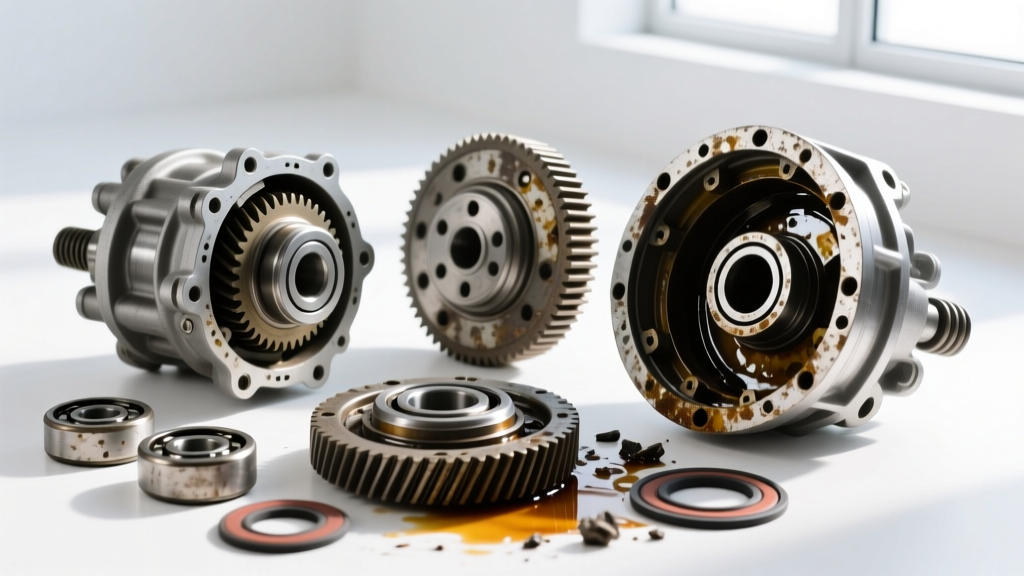
Differential bearings—specifically the pinion head bearing, pinion tail bearing, and carrier bearings—rely on a constant splash and wicking of gear oil to manage the extreme friction generated by hypoid gear sliding. When a pinion seal (located at the yoke) or an axle shaft seal fails, the fluid level drops below the carrier bearing race. According to Dana Spicer Drivetrain Resources, running a differential even a half-quart low can increase internal operating temperatures by over 50°F, rapidly degrading the gear oil's viscosity and leading to micro-pitting on the bearing rollers.
If you are replacing a leaking seal, you must inspect the corresponding bearing. A worn pinion bearing will allow excessive yoke deflection, which will destroy a brand-new seal within a few hundred miles. Therefore, best practice dictates that seal replacement on a high-mileage axle (over 100,000 miles) should be paired with a bearing and crush-sleeve service.
Essential Tools and Part Numbers for Axle Rebuilds
Before tearing down the differential, gather the correct OEM or premium aftermarket components. Using inferior seals with cheap rubber compounds will result in premature weeping when exposed to the high heat of modern synthetic gear oils. Below is a reference chart for two of the most common light-truck axles: the Ford 8.8 and the GM 8.5/8.6 (10-bolt).
| Component | Ford 8.8 Part Number | GM 8.5/8.6 Part Number | Critical Spec / Torque |
|---|---|---|---|
| Pinion Seal | National 710943 | National 710982 | Seat flush with housing |
| Axle Shaft Seal | National 8660S | National 8660S (Varies) | Lubricate lip before install |
| Crush Sleeve Eliminator | Ratech 4113 | Ratech 4114 | Replaces crush sleeve |
| Pinion Nut Torque | N/A (Measured) | N/A (Measured) | Match preload + 5 in-lbs |
Step-by-Step Differential Bearing and Seal Replacement
Pinion Bearing Preload and Seal Service
The most common mistake during pinion seal replacement is over-tightening the pinion nut. The pinion nut does not have a standard torque specification (like 200 lb-ft); rather, it is tightened to achieve a specific rotational torque (bearing preload).
- Measure Existing Preload: Before removing the yoke, use an inch-pound dial torque wrench on the pinion nut. Record the rotational torque required to turn the pinion (typically 12-18 in-lbs for used bearings with a solid spacer, or 20-30 in-lbs with a new crush sleeve).
- Mark and Remove: Mark the yoke and nut with a paint pen. Count the exact number of threads exposed on the pinion shaft. Remove the nut and pull the yoke using a dedicated 3-jaw puller.
- Extract and Install Seal: Pry out the old seal. Coat the outer edge of the new National seal with RTV silicone to prevent housing leaks, and tap it squarely into the bore using a seal driver.
- Upgrade to a Solid Spacer: If your axle uses a crush sleeve, consider installing a crush sleeve eliminator kit. This uses a solid machined spacer and shims, allowing you to safely remove and reinstall the pinion yoke in the future without needing a new crush sleeve and 300+ lb-ft of torque to crush it.
- Reassemble and Measure: Reinstall the yoke and nut. Tighten the nut while frequently checking the rotational torque with your inch-pound wrench. Stop exactly when you reach your recorded preload plus 3-5 in-lbs to account for the drag of the new seal lip.
Carrier and Axle Shaft Seal Service
Axle shaft seals sit at the ends of the axle tubes. To replace them, drain the differential, remove the brake calipers and rotors, and slide the axle shafts out of the housing. Inspect the axle shaft sealing surface for deep grooves worn by the old seal. If a groove is present, use a Speedi-Sleeve to restore the surface, or replace the shaft. Press the new seals into the axle tubes using a large socket or dedicated driver, ensuring they are perfectly square to avoid cutting the seal lip during shaft insertion.
The Final Crucial Step: How to Add Differential Fluid Correctly
Many DIYers and novice mechanics struggle with how to add differential fluid without making a mess, overfilling the housing, or forgetting the limited-slip additives. Refilling the axle is not simply about pouring oil into a hole; it requires an understanding of fluid dynamics, chemical compatibility, and precise volume measurement.
Selecting the Right Gear Oil and Additives
For most modern SUV and truck axles, a full synthetic 75W-90 or 75W-140 GL-5 gear oil is required. As noted by AMSOIL Technical Guides, synthetic gear lubes maintain their film strength under the extreme sliding pressures of hypoid gears far better than conventional petroleum oils. If your vehicle is equipped with a clutch-type Limited Slip Differential (LSD), you must add a friction modifier. Without it, the clutch packs will chatter violently during low-speed cornering, leading to rapid wear and cross-pin failure.
The Refill Procedure
Here is the expert protocol for refilling the differential after a bearing and seal service:
- Step 1: The Friction Modifier First. If your axle requires an LSD additive (e.g., Motorcraft XL-3 or GM 88900333), add it before the base gear oil. Most axles require 4 to 6 ounces. Adding it first ensures it mixes thoroughly with the incoming gear oil and coats the clutch packs immediately.
- Step 2: Use a Transfer Pump. Gear oil is highly viscous. Do not attempt to pour it from the bottle. Use a manual or pneumatic fluid transfer pump with a threaded adapter that screws directly into the quart bottle. This prevents spills and allows you to pump the fluid upward into the fill hole.
- Step 3: The Fill Level. Pump the fluid into the fill hole until it begins to weep out of the threads. For axles with a deep sump cover (like the Ford 8.8 with a finned aluminum cover), the fluid level should be exactly flush with the bottom of the fill hole. However, for standard stamped steel covers, the level should be about 1/4-inch below the fill hole to allow for thermal expansion.
- Step 4: Torque the Plug. Wipe the threads clean. Apply a small amount of thread sealant (like Loctite 592) to the fill plug if it uses NPT (tapered) threads, or replace the copper crush washer if it uses a metric straight-thread bolt. Torque the plug to factory specifications (typically 20-30 lb-ft).
Post-Service Break-In and Verification
After learning how to add differential fluid and completing the reassembly, the break-in process is vital. According to drivetrain specialists at Ring & Pinion, Inc., new bearings and gears require a controlled heat cycle to seat properly. Drive the vehicle for 15-20 miles at highway speeds, then allow the axle to cool completely. This first heat cycle will often cause the new seals to seat fully and the gear oil to off-gas.
After the first 500 miles, remove the differential cover, inspect the magnets for excessive metal shedding (a fine metallic paste is normal; chunks or needles indicate a bearing failure), and top off the fluid if necessary. By combining meticulous bearing preload measurements with a precise fluid refill protocol, you ensure the differential operates quietly and reliably for the next 150,000 miles.