The Rite of Passage: Setting Up Your First Ring and Pinion
For any automotive enthusiast, performing a ring and pinion gear setup is a definitive rite of passage. Whether you are regearing a Jeep Wrangler for larger off-road tires, rebuilding a classic muscle car's rear end, or simply replacing a worn-out final drive, the precision required can be intimidating. As a beginner, you will quickly encounter a maze of shims, dial indicators, and specialized tools. However, one of the most misunderstood components in this entire process is the rear differential cap.
When novice mechanics search for a rear differential cap, they are often conflating two entirely different parts: the heavy cast-iron carrier bearing caps that secure the ring gear assembly, and the stamped steel or aluminum differential cover (often called the fill cap) that seals the gear oil inside. In a proper ring and pinion setup, both of these 'caps' play a monumental, yet entirely different, role in the longevity and performance of your axle.
Clearing the Confusion: Bearing Caps vs. The Cover Cap
Before we turn a single wrench, we must establish precise terminology. Misidentifying these parts is a common beginner mistake that leads to improper torque sequences and catastrophic axle failure.
1. The Carrier Bearing Caps (The Inner Caps)
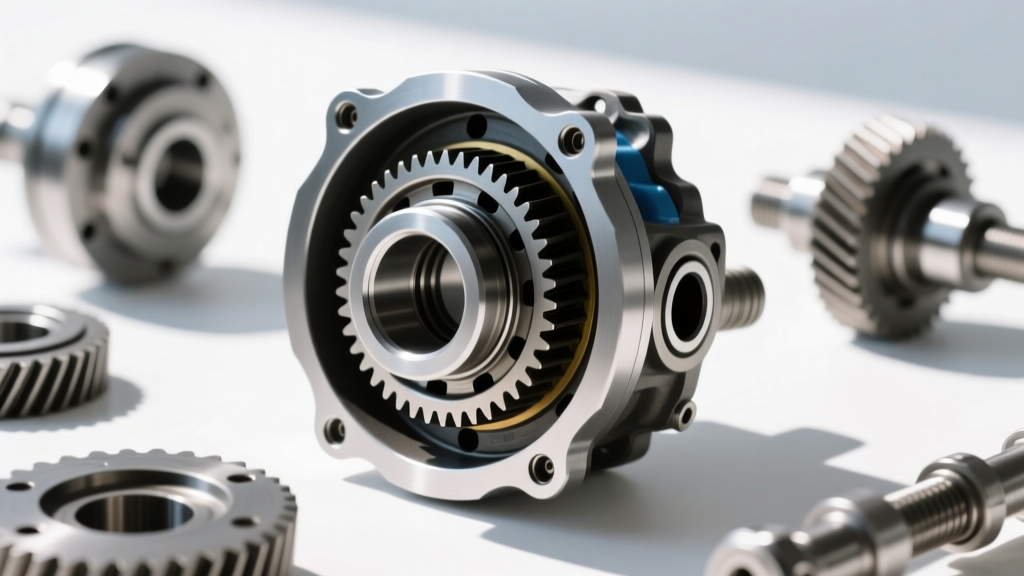
These are the two heavy, machined blocks that bolt directly to the differential housing, clamping the carrier bearings (and the ring gear) in place. Crucial Fact: These caps are line-bored at the factory alongside the main housing. They are directional and specific to their exact side (left and right). If you mix them up or install them backward during your ring and pinion gear setup, the bearing journals will be out of round, guaranteeing premature bearing failure and gear whine.
2. The Differential Cover (The Outer Fluid Cap)
This is the removable outer shell that holds the differential fluid. While it doesn't affect gear geometry, removing it is mandatory for accessing the carrier bearings, adjusting backlash, and ultimately filling the axle with the correct 75W-90 or 75W-140 synthetic gear oil and friction modifiers.
Beginner's Golden Rule: Never use an impact wrench on the rear differential cap bolts (carrier bearing caps). The cast iron housing can crack, or the threads can strip, turning a $300 gear set into a $1,500 housing replacement.
The 4 Pillars of Ring and Pinion Setup
To understand where the rear differential cap enters the equation, you must understand the four non-negotiable measurements of a gear setup. According to Yukon Gear's official setup guide, skipping or fudging any of these steps will result in rapid gear wear, excessive heat, and whining noises under load.
Pillar 1: Pinion Depth
Pinion depth dictates how deeply the pinion gear meshes into the ring gear. This is adjusted using shims placed between the pinion bearing and the pinion head, or via a shim under the inner pinion race. The exact depth is usually stamped on the head of the pinion gear (e.g., '+0.002' or '-0.001' relative to the nominal depth). You must use a specialized pinion depth setting tool to measure this before installing the carrier.
Pillar 2: Pinion Bearing Preload
Preload is the rotational resistance of the pinion bearings. Most factory axles use a 'crush sleeve' that deforms as you torque the pinion nut, creating preload. Upgrading to a solid pinion spacer with shims is highly recommended for off-road or high-horsepower applications, as it eliminates the risk of the sleeve over-crushing and failing. Target preload is typically 15 to 25 inch-pounds of rotating torque for new bearings.
Pillar 3: Backlash (Where the Cap Matters)
Backlash is the amount of rotational 'slop' or clearance between the ring gear and pinion gear teeth. Most manufacturers specify a backlash between 0.006 and 0.012 inches. You measure this using a magnetic-base dial indicator mounted to the axle tube, with the indicator tip resting on the ring gear teeth. To adjust backlash, you move the entire carrier assembly left or right using side shims (on GM/Dana axles) or threaded adjuster rings (on Ford/Toyota axles).
Pillar 4: Carrier Bearing Preload & The Rear Differential Cap
This is where the inner rear differential cap becomes the star of the show. Carrier bearing preload ensures the bearings are tight enough to handle the massive separating forces generated when the pinion pushes against the ring gear under acceleration. When you torque down the carrier bearing caps, you are setting this preload. If the cap bolts are under-torqued, the carrier will deflect under load, causing the gears to separate and strip teeth. If over-torqued, you can distort the housing and bind the bearings, generating massive heat.
Setup Data: Torque Specs and Clearances
Reference this table when setting up your specific axle. Always verify with your specific OEM service manual or gear manufacturer, as specifications can vary slightly by model year and aftermarket gear brand (like Motive, Richmond, or G2).
| Axle Model | Bearing Cap Torque | Cover Bolt Torque | Target Backlash | Fluid Capacity |
|---|---|---|---|---|
| Ford 8.8-inch | 70 - 85 ft-lbs | 25 - 30 ft-lbs | 0.008" - 0.012" | 3.5 - 4.0 Pints |
| GM 10-Bolt (8.5") | 60 ft-lbs | 25 ft-lbs | 0.006" - 0.010" | 3.5 Pints |
| Dana 35 / 44 | 60 - 70 ft-lbs | 30 - 35 ft-lbs | 0.006" - 0.009" | 3.0 - 4.0 Pints |
| Chrysler 8.25" | 45 ft-lbs | 25 ft-lbs | 0.007" - 0.012" | 3.5 Pints |
The Outer Cap: Fluid Selection and Final Sealing
Once your pinion depth, pinion preload, backlash, and carrier preload are verified, and your gear contact pattern (read via yellow marking compound) shows a perfect center-to-flank footprint, it is time to address the outer rear differential cap—the cover.
Choosing the Right Differential Fluid
The gear oil you select is just as critical as the physical setup. For most daily-driven street trucks and SUVs, a high-quality 75W-90 Full Synthetic gear oil provides the best balance of cold-weather flow and high-temperature protection. If you are towing heavy loads, running a dedicated track car, or wheeling a rig with 40-inch tires, stepping up to a 75W-140 Synthetic is advised to maintain film strength under extreme shearing forces.
The Friction Modifier Imperative
If your axle is equipped with a clutch-type Limited Slip Differential (LSD) like the Ford Trac-Lok, GM Gov-Lok, or Dana Trac-Lok, you must add a friction modifier (e.g., Ford XL-3 or GM EOS). Without it, the clutch packs will chatter violently during low-speed turns, eventually destroying the carrier. Add the modifier before pouring in the bulk gear oil to ensure it mixes thoroughly. Note: Modern synthetic oils labeled 'LS' already contain the modifier, but many seasoned builders still add half a bottle to guarantee smooth operation. For locking differentials (like a Detroit Locker or ARB Air Locker) or open differentials, friction modifier is strictly prohibited.
Sealing the Cover
Clean both the housing and the differential cover mating surfaces with brake cleaner. Apply a continuous, 1/4-inch bead of high-temperature RTV silicone (specifically designed for gear oil, such as Permatex Black or The Right Stuff). Bolt the cover on and tighten the bolts in a crisscross pattern to the torque specs listed in the table above. Allow the RTV to cure for at least 12 hours before filling with fluid to prevent blowouts.
Beginner Mistakes That Destroy Axles
According to the technical archives at Randy's Ring & Pinion, the vast majority of 'failed' gear sets are actually the result of installation errors. Avoid these common pitfalls:
- Reusing Old Carrier Bearings: Never reuse old bearings on a new gear set. Bearing tolerances change with wear, making it impossible to set accurate preload and backlash. Always buy a master rebuild kit that includes fresh Timken or SKF bearings.
- Mixing Up the Bearing Caps: As mentioned, carrier bearing caps are not interchangeable. Mark them with a paint pen before removal. If you install the left cap on the right side, the journal will be oval-shaped, and the bearing will spin in the housing, ruining your axle.
- Ignoring the Pinion Seal: If you are doing a gear swap, replace the pinion seal. A $10 seal prevents gear oil from leaking onto your brakes and ruining your rotor/pad friction surface.
- Skipping the Break-In Period: New ring and pinion gears generate immense friction and heat as they lap together. Drive gently for the first 500 miles, avoiding sustained highway speeds and heavy towing. Change the differential fluid immediately after this break-in period to remove the metallic break-in paste from the oil.
Final Thoughts
Setting up a ring and pinion is an exercise in patience and precision. By understanding the dual role of the rear differential cap—both as the critical machined bearing cap that dictates carrier preload, and as the fluid cover that seals your carefully selected gear oil—you bridge the gap between a novice and a competent drivetrain builder. Take your time, measure twice with your dial indicator, and respect the torque specifications. Your axle will reward you with thousands of miles of quiet, reliable operation.