Diagnosing Axle Noise and Fluid Leaks
When a solid front or rear axle—such as the ubiquitous Dana 44 found in Jeep Wranglers and heavy-duty trucks—begins to whine, grind, or leak, the root cause typically traces back to failing carrier bearings, worn pinion bearings, or degraded seals. In 2026, with off-road rigs pushing larger 37-inch and 40-inch tires and heavier rotational mass, stock differential housings and bearings are under more stress than ever. Before tearing into the pumpkin, accurate diagnosis is critical to avoid unnecessary parts replacement.
A high-pitched whine that changes on deceleration usually indicates a worn pinion bearing or an improper gear contact pattern, while a low-frequency rumble felt through the chassis points to carrier bearing failure. Fluid weeping from the pinion yoke demands an immediate pinion seal replacement to prevent gear oil from contaminating the brake rotors or draining the differential entirely. Conversely, if you are already experiencing bearing failure, the resulting excessive heat and metal contamination will quickly destroy your seals. Addressing both the differential bearing and seal replacement simultaneously is the only professional approach to axle service.
Teardown Best Practices: Marking and Measuring
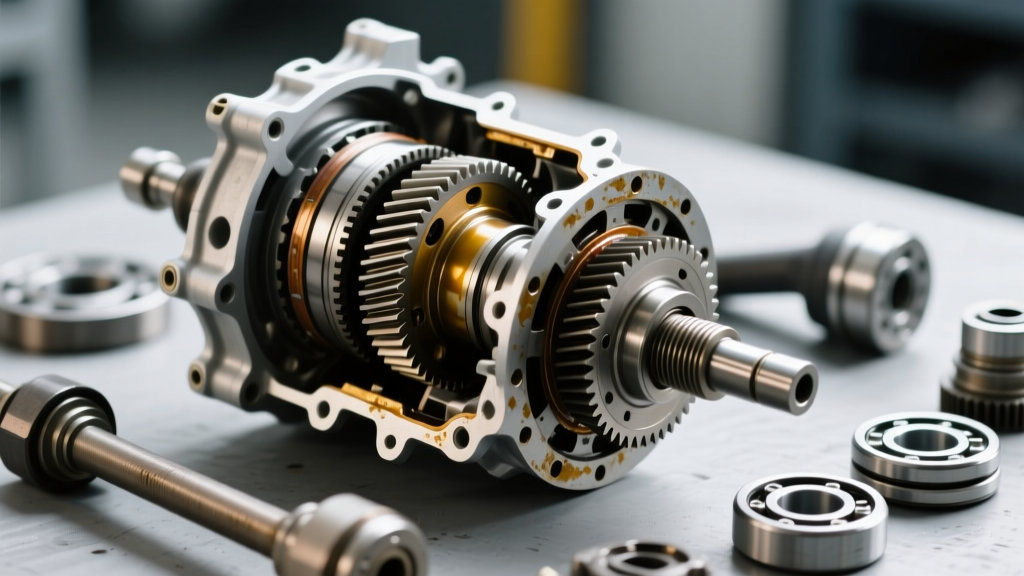
The most catastrophic mistake amateur mechanics make during a differential rebuild is mixing up the bearing caps. Factory bearing caps are line-bored with the specific differential housing they came from. They are not interchangeable, nor are they reversible. Before removing the carrier bearing caps, use a steel punch to mark corresponding alignment dots on the cap and the housing webbing. If these caps are installed backward or swapped side-to-side, the bearing journals will be misaligned, instantly destroying your new Timken bearings and potentially snapping the housing under load.
Before unbolting the carrier, use a dial indicator mounted to the housing to measure the existing ring gear backlash. While the old gears are likely worn, having a baseline measurement (typically between 0.006 and 0.010 inches for a Dana 44) helps you verify your new setup later. Next, remove the pinion nut. This requires a heavy-duty impact wrench or a specialized yoke holding tool, as the factory nut is torqued to over 200 ft-lbs to maintain pinion bearing preload. Once the yoke is pulled using a dedicated gear puller—never hammer it off, as this will damage the internal threads and the pinion seal surface—extract the pinion gear from the housing.
Precision Installation: Bearings, Seals, and Preload Specs
Replacing the carrier and pinion bearings requires a hydraulic press and a deep understanding of shim mathematics. The pinion depth is determined by the variance number etched onto the face of the pinion gear head (e.g., +2 or -1), which dictates the thickness of the shim placed between the inner pinion bearing cup and the housing. Using a pinion depth setting tool, measure from the centerline of the carrier bearing bore to the pinion face to ensure the gear meshes perfectly with the ring gear at the optimal contact patch.
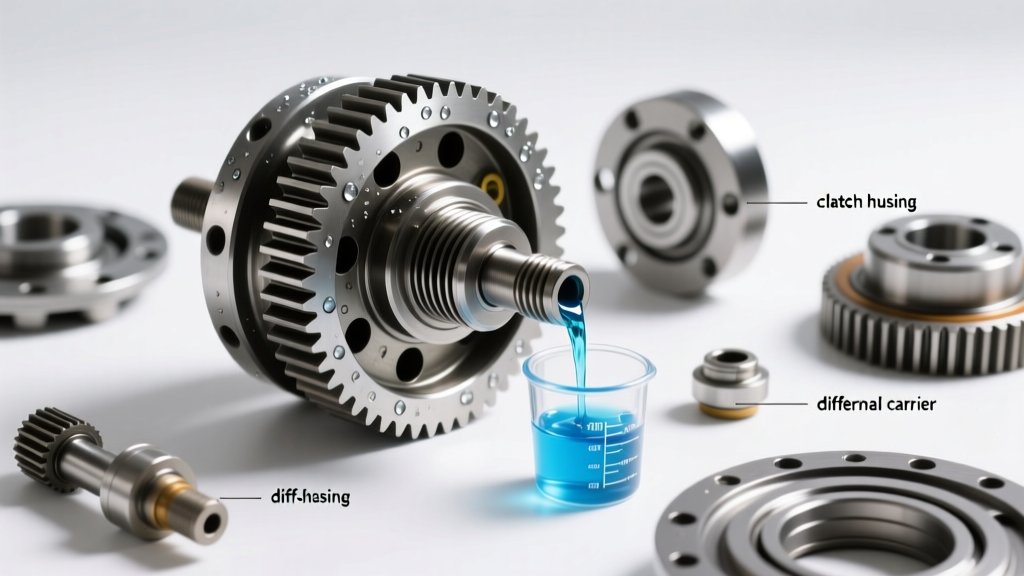
When pressing new Timken LM501349 cones onto the carrier and pinion shafts, always use a bearing splitter and a press plate that only contacts the inner race. Pressing on the outer cage or rollers will brinell the bearing tracks before the axle even sees the trail. For the pinion seal, the Spicer 51152 is the OEM standard. Before tapping the new seal into the housing bore using a seal driver, apply a thin film of grease to the inner rubber lip to prevent it from burning up during the initial dry startup.
Setting rotational preload is where science meets art. The pinion nut is a crush-sleeve design. You must tighten the nut incrementally while measuring the rotational torque required to spin the pinion shaft with an inch-pound torque wrench. For new bearings, target 20 to 30 inch-pounds of rotational drag. For used bearings that have been broken in, the spec drops to 15 to 25 inch-pounds. Over-crushing the sleeve will result in excessive preload, generating massive heat and guaranteeing premature bearing death. If you over-tighten, you must replace the crush sleeve and start over.
The Armor Upgrade: Installing the Poison Spyder Differential Cover
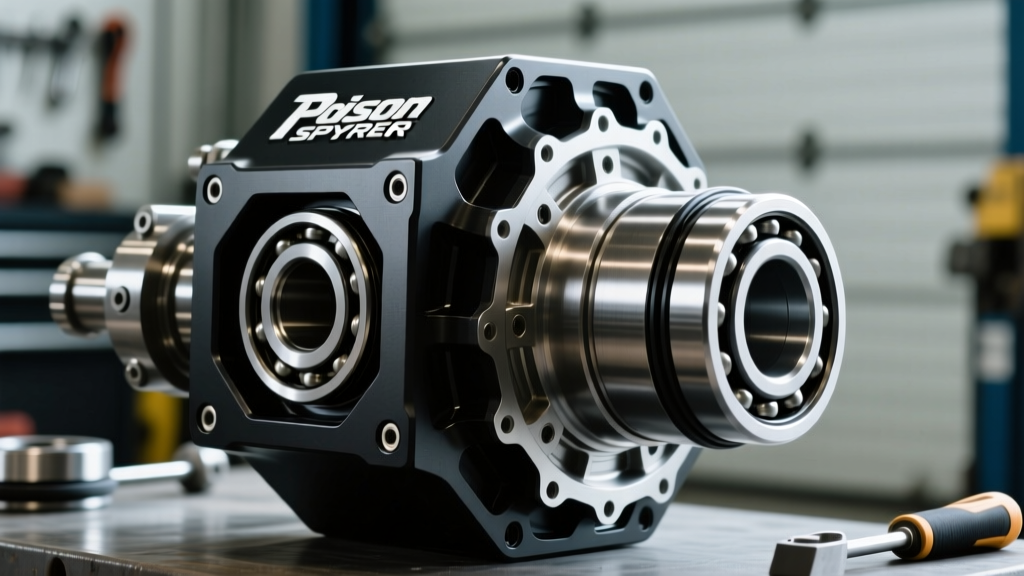
While the differential is apart and the housing is drained, this is the perfect window to upgrade the vulnerable stock stamped-steel pan. The Poison Spyder differential cover (such as part number 44-18-01100 for the JK/JL Dana 44) is a mandatory upgrade for any rig that sees rocks, deep ruts, or heavy trail abuse. Unlike thin factory covers that easily cave in and crush the ring gear or puncture and leak fluid, the Poison Spyder unit is constructed from heavy-duty nodular iron or thick-gauge stamped steel with internal reinforcement ribs.
These internal ribs do more than just protect; they act as a heat sink to dissipate thermal energy from the gear oil, and they provide crucial structural rigidity to the axle housing, reducing flex under extreme torque loads. Installation requires meticulous preparation. The mating surface of the axle housing must be scraped completely clean of old gasket material and wiped down with aerosol brake cleaner until the paper towel comes away spotless. Any residual oil will cause the RTV to fail.
While some builders prefer reusable gaskets like the Lube Locker, a high-quality RTV silicone like Permatex The Right Stuff (90998) remains the gold standard for trail rigs that experience housing flex. Apply a continuous 1/4-inch bead of RTV around the bolt holes and the perimeter. Do not use excessive amounts, as squeezed-out RTV can break off inside the axle and clog the oil pickup or jam the ring gear. Install the Poison Spyder differential cover and thread the Grade 8 hardware by hand to avoid cross-threading. Torque the bolts in a crisscross star pattern to 30-35 ft-lbs. Allow the RTV to tack up for at least one hour, and ideally cure for 24 hours, before filling the axle with fluid.
2026 Fluid Standards and Break-In Procedures
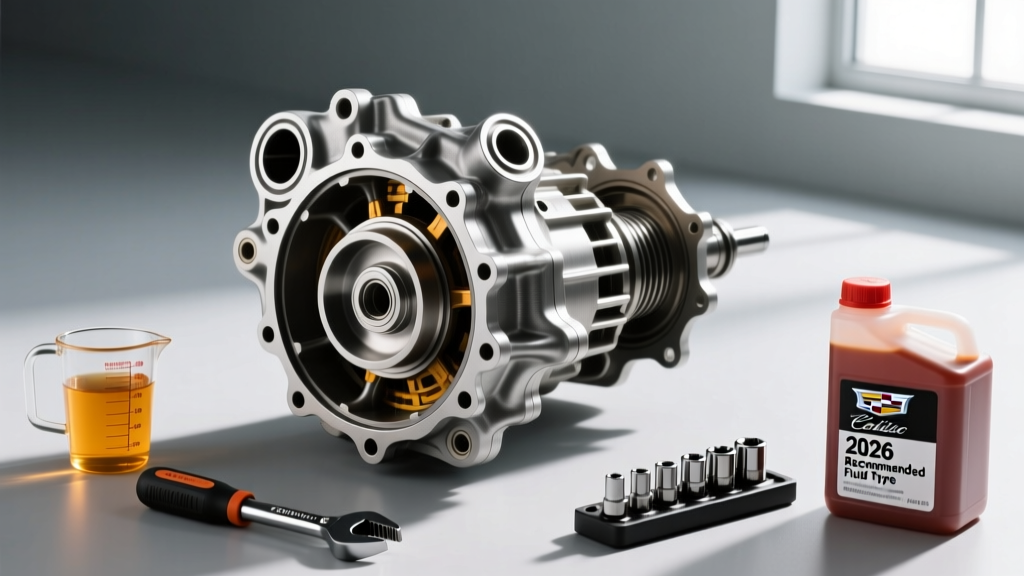
Modern synthetic gear oils have vastly improved thermal stability and shear resistance. For a rebuilt differential with a heavy-duty cover and larger tires, a full synthetic 75W-140 gear oil (such as Amsoil Severe Gear or Lucas Oil) is highly recommended to protect the new bearings and gear teeth under extreme low-speed crawling loads. If your vehicle features a limited-slip or locking differential, ensure you add the required friction modifier additive to prevent chatter and clutch pack wear, though many modern synthetic oils now come pre-blended with LS additives. Fill the differential until the fluid level reaches the bottom of the fill hole, which is typically around 2.0 to 2.5 quarts depending on the added capacity of the aftermarket cover.
After reassembly, the break-in procedure is critical. Drive the vehicle conservatively for the first 500 miles, avoiding sustained highway speeds and heavy towing. Stop halfway through the break-in period to check the differential housing temperature with an infrared thermometer; it should not exceed 180°F above ambient temperature. After 500 miles, drain the fluid to remove the metallic break-in paste from the new bearings and gears, refill with fresh synthetic oil, and torque-check the Poison Spyder cover bolts, as thermal cycling can occasionally cause them to settle.
Dana 44 / JK Axle Service Specifications & Part Numbers
| Component | Part Number (Dana 44) | Spec / Torque | Est. Cost (2026) |
|---|---|---|---|
| Carrier Bearing Kit | Timken LM501349 / LM501314 | Press fit / 0.006-0.010 Backlash | $85 - $110 |
| Pinion Seal | Spicer 51152 | 200-250 ft-lbs (Nut) | $18 - $25 |
| Poison Spyder Cover | 44-18-01100 (JK/JL) | 30-35 ft-lbs (Cover Bolts) | $210 - $240 |
| RTV Sealant | Permatex 90998 (Right Stuff) | 15 min tack / 24 hr cure | $22 - $28 |
| Crush Sleeve | Spicer 706526X | 20-30 in-lbs Rotational Preload | $12 - $18 |
By combining precision bearing and seal replacement with the structural armor of a Poison Spyder differential cover, you ensure your axle assembly is sealed, protected, and ready to handle the rigorous demands of modern off-roading and heavy-duty towing. Always refer to the specific Dana Spicer service manual for your exact axle ratio and model year to verify shim thicknesses and torque specifications.