The Forensics of Heavy-Duty Drivetrain Failures
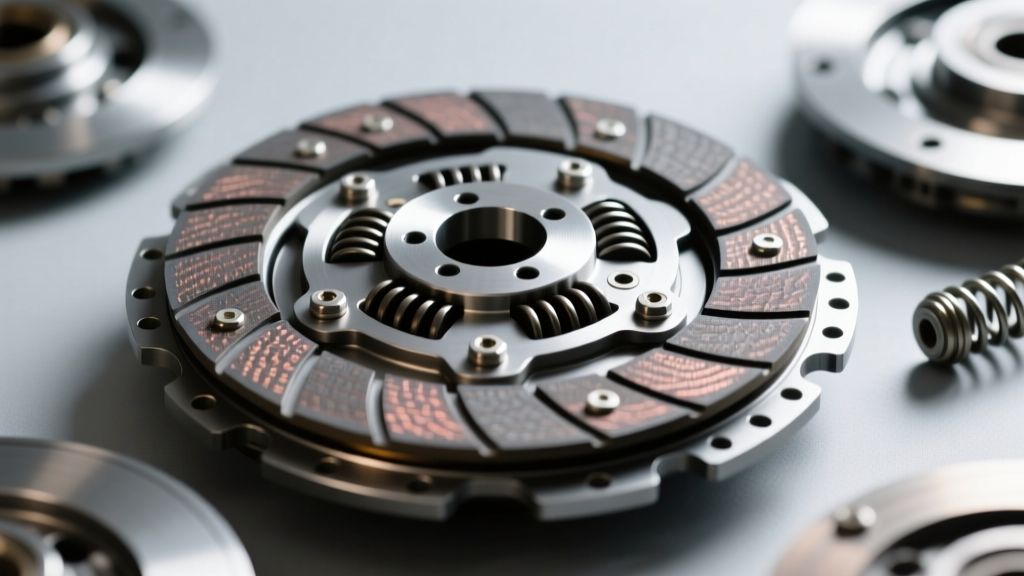
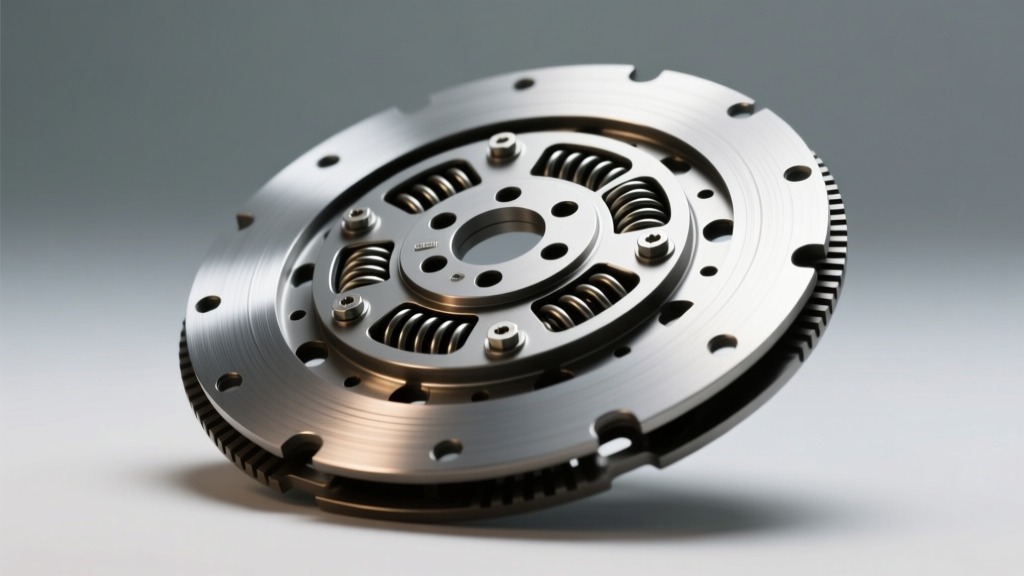
When a heavy-duty manual transmission truck—whether it is a Ram 3500 with the G56, a Ford F-350 running the ZF S6-650, or a Class 8 rig with an Eaton Fuller—experiences clutch failure, the immediate instinct is to simply order replacement truck clutch kits and swap the components. However, experienced fleet mechanics and diesel performance specialists know that a destroyed clutch disc is a crime scene. The wear patterns etched into the friction material tell a precise story about underlying drivetrain misalignments, hydraulic failures, or operator habits.
Entering the 2026 service season, the cost of premium heavy-duty truck clutch kits ranges from $800 for standard organic replacements to over $2,500 for multi-disc ceramic sintered iron setups. Dropping a new $1,500 South Bend or Valair kit into a truck with an uncorrected bellhousing misalignment or excessive flywheel runout will result in catastrophic repeat failure within 5,000 miles. Before you install new truck clutch kits, you must decode the wear patterns on the old disc.
Decoding Clutch Disc Wear Patterns
Inspecting the clutch disc requires a clean workspace, a magnifying glass, and a micrometer. Below are the primary failure signatures we see in the field.
1. Asymmetric or Tapered Friction Wear
If the friction material on one side of the disc is worn down to the rivets while the opposite side retains 40% of its pad depth, you are looking at tapered wear. This is almost exclusively caused by flywheel runout or a bent pressure plate diaphragm spring.
- The Spec: Maximum allowable flywheel face runout is 0.005 inches (0.127mm). Anything beyond this causes the pressure plate to clamp unevenly, creating a wedge effect that shaves the disc material asymmetrically.
- The Fix: The flywheel must be machined on a lathe or replaced. Installing new truck clutch kits on a warped flywheel will cause immediate clutch chatter and premature release bearing failure.
2. Hub Spline Galling and Fretting
Inspect the inner steel hub where it mates with the transmission input shaft. If you see heavy rust dust (fretting corrosion) or severe galling on the splines, the clutch disc has been binding rather than floating freely.
Expert Insight: Spline binding is rarely the fault of the clutch disc itself. It is the hallmark symptom of bellhousing misalignment or a seized pilot bearing. If the bellhousing bore is not concentric with the crankshaft centerline (exceeding 0.005" Total Indicator Runout), the input shaft sits at an angle, forcing the clutch hub to bind on the shaft during disengagement.
3. Heat Checking, Glazing, and Blueing
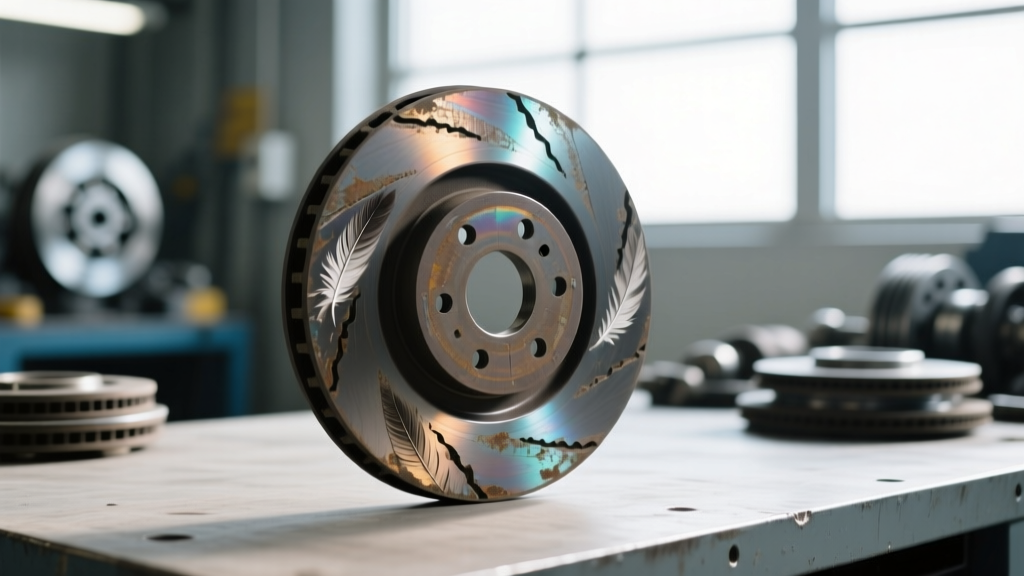
When the friction surface appears glassy, cracked like a dried mud bed (heat checking), or the steel hub shows a blue/purple heat tint, the clutch has suffered severe thermal overload. This happens when towing loads exceeding the Gross Combined Weight Rating (GCWR) with an organic disc, or from 'riding' the clutch pedal on inclines.
According to South Bend Clutch Technical Support Guidelines, organic facings begin to degrade rapidly at temperatures exceeding 450°F. If you see this pattern, upgrading to a ceramic puck or sintered iron friction material in your next truck clutch kit is mandatory for your application.
4. Edge Burn and Marcel Spring Crush
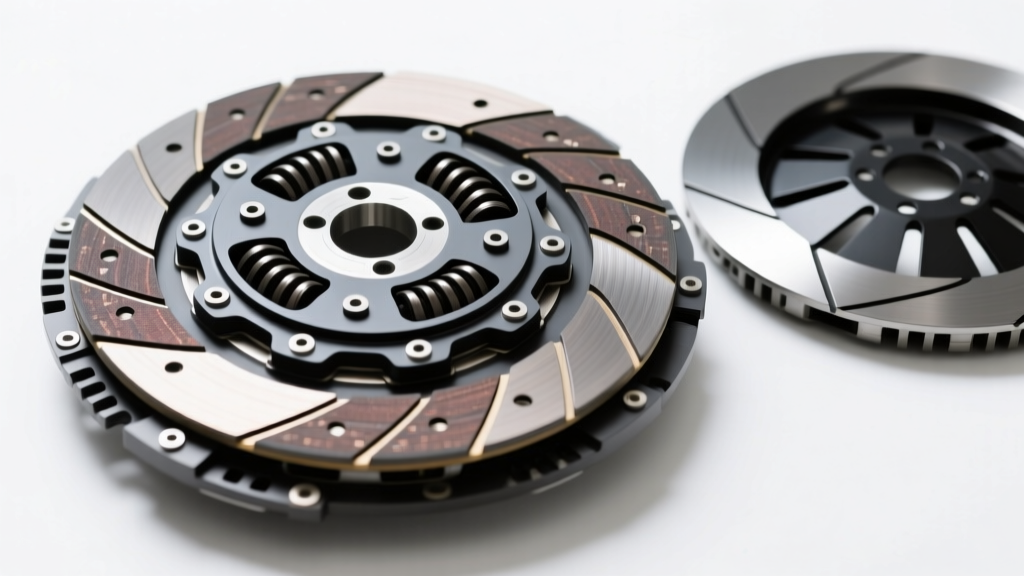
Heavy-duty clutch discs feature 'marcel springs'—the wavy steel rings between the friction facings that provide progressive engagement. If the outer edge of the disc is severely burned but the center is relatively intact, and the marcel springs are crushed completely flat, the operator is aggressively 'dumping' the clutch at high RPMs, or the hydraulic release system lacks adequate free-travel, causing the clutch to slip continuously under peak torque loads.
Diagnostic Matrix: Wear Pattern vs. Root Cause
| Wear Pattern Signature | Visual Indicator | Primary Root Cause | Mandatory Corrective Action |
|---|---|---|---|
| Tapered / Asymmetric | Uneven pad depth side-to-side | Flywheel runout > 0.005" | Resurface or replace flywheel |
| Spline Fretting | Rust dust or galling on inner hub | Bellhousing misalignment | Dial-indicate bellhousing; use offset dowels |
| Thermal Glazing | Glassy surface, blue steel hub | Overloading / Slippage | Upgrade to ceramic/sintered iron truck clutch kits |
| Chatter Marks | Radial grooves, crushed marcel springs | Aggressive engagement / Oil contamination | Inspect rear main seal; check engine mounts |
| Uneven Finger Wear | Wear marks only on 2-3 pressure plate fingers | Worn pilot bearing / Release bearing preload | Replace pilot bearing; adjust hydraulic free-play |
Best Practices for Installing Replacement Truck Clutch Kits
Once the root cause has been identified and corrected, the installation of the new clutch assembly must be executed with surgical precision. Heavy-duty diesel engines produce upwards of 1,000 lb-ft of torque; there is zero margin for error.
Flywheel Preparation and Pilot Bearing Depth
When resurfacing a dual-mass or solid steel flywheel, the surface finish (RA) must be between 30 and 60 micro-inches. Too smooth, and the organic facings will not bed in, causing slippage; too rough, and it will tear the friction material. Furthermore, the pilot bearing must be seated flush to a maximum of 0.020 inches below the crankshaft flange. Protruding pilot bearings will physically prevent the clutch disc from fully disengaging, leading to gear grind and spline destruction.
Clutch Cover Torque Specifications
Always follow the specific manufacturer's torque sequence, tightening in a star pattern to avoid warping the pressure plate cover. Based on Eaton Vehicle Group Clutch Specifications and standard SAE hardware guidelines for heavy-duty applications:
- 3/8"-16 Grade 8 Bolts: 35 to 45 lb-ft.
- 1/2"-13 Grade 8 Bolts: 75 to 85 lb-ft.
- 5/8"-11 Grade 8 Bolts (Class 8 Trucks): 110 to 130 lb-ft.
Note: Never use impact wrenches to seat clutch cover bolts. The shock loading can micro-fracture the cast iron pressure plate ring.
Release Bearing Preload and Free-Travel
For heavy-duty trucks utilizing Eaton Solo or Borg & Beck diaphragm clutches, setting the release bearing free-travel is critical. You must maintain exactly 1/8" to 3/16" of free travel at the release bearing face. If the hydraulic system or mechanical linkage holds constant pressure against the diaphragm fingers, the clutch will slip under load, generating enough heat to melt the friction facings and destroy the new truck clutch kits within weeks.
Material Selection: Matching the Kit to the Application
Reading the wear pattern often dictates that the OEM replacement is no longer sufficient. When selecting from aftermarket truck clutch kits, match the friction material to the truck's actual duty cycle:
- Full Organic (Daily Driving / Light Towing): Best for drivability and smooth engagement. Handles up to 450 lb-ft of torque. Fails quickly under heavy GCWR towing in mountainous terrain.
- Ceramic Puck (Heavy Towing / Commercial Hauling): Offers immense thermal resistance and aggressive bite. Capable of holding 600-900+ lb-ft. Trade-off includes harsh engagement and increased flywheel wear. (e.g., Valair Quiet Twin or South Bend DD series).
- Sintered Iron (Competition / Extreme Sled Pulling): Requires a sintered iron flywheel mating surface. Zero slip, brutal engagement, strictly for off-road or dedicated competition use.
Conclusion
Treating a clutch replacement as a simple bolt-on job is a costly mistake in the heavy-duty truck sector. By taking 15 minutes to thoroughly analyze the clutch disc wear patterns, dial-indicate the bellhousing, and verify flywheel runout, you ensure that your investment in premium truck clutch kits yields hundreds of thousands of miles of reliable, slip-free service. For further technical specifications on heavy-duty clutch actuation and alignment tolerances, consult the Valair Inc. Technical Information database or your OEM service manual.