The Geometry of Failure: Reading the Auto Clutch Diagram
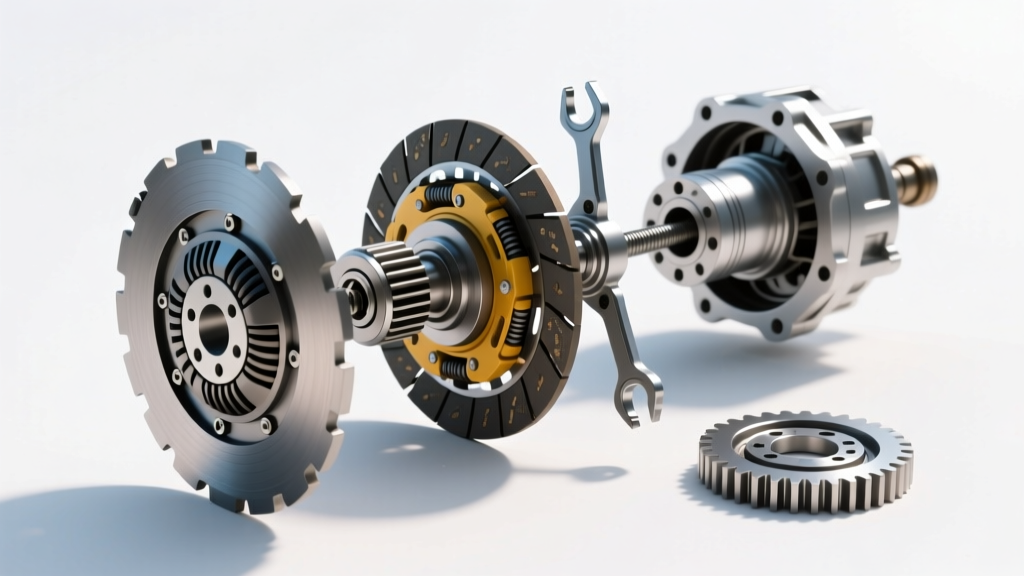
When transmission specialists and drivetrain engineers pull up a standard auto clutch diagram, they are typically looking at the macro-level power flow from the engine flywheel to the transmission input shaft. However, for advanced diagnostics, zooming in on the release mechanism—specifically the clutch fork, pivot ball, and release bearing—is where the most critical troubleshooting occurs. In the 2026 landscape of high-torque restomods, heavy-duty diesel towing, and aggressive track cars, the mechanical leverage placed on the clutch release system routinely exceeds 800 pounds of hydraulic or mechanical force. If the geometry mapped out in your auto clutch diagram is compromised by wear, improper assembly, or substandard metallurgy, the result is catastrophic clutch chatter, incomplete disengagement, or sudden pedal failure.
Understanding the precise interaction between the slave cylinder pushrod, the clutch fork, the pivot ball stud, and the throw-out bearing is essential. The pivot ball acts as the fulcrum in a first-class lever system. Any deviation in the pivot ball height, bellhousing alignment, or fork material integrity alters the mechanical advantage, leading to premature wear and erratic pedal feel. According to McLeod Racing's technical guidelines, a variance of just 0.050 inches in pivot ball height can drastically change the clutch fork angle, causing the release bearing to bind against the pressure plate fingers.
Common Fork and Pivot Ball Failure Modes
Diagnosing clutch system symptoms requires looking past the pedal and into the bellhousing. Based on decades of teardowns involving Tremec T-56 Magnums, Ford MT82s, and GM NV4500s, we categorize fork and pivot failures into three distinct modes:
- Asymmetric Pivot Ball Galling: Often caused by bellhousing runout exceeding 0.005 inches. When the bellhousing is misaligned with the engine block, the transmission input shaft sits at an angle. This forces the clutch fork to twist on the pivot ball, wearing away the hardened steel surface on one side and creating a 'chattering' sensation during engagement.
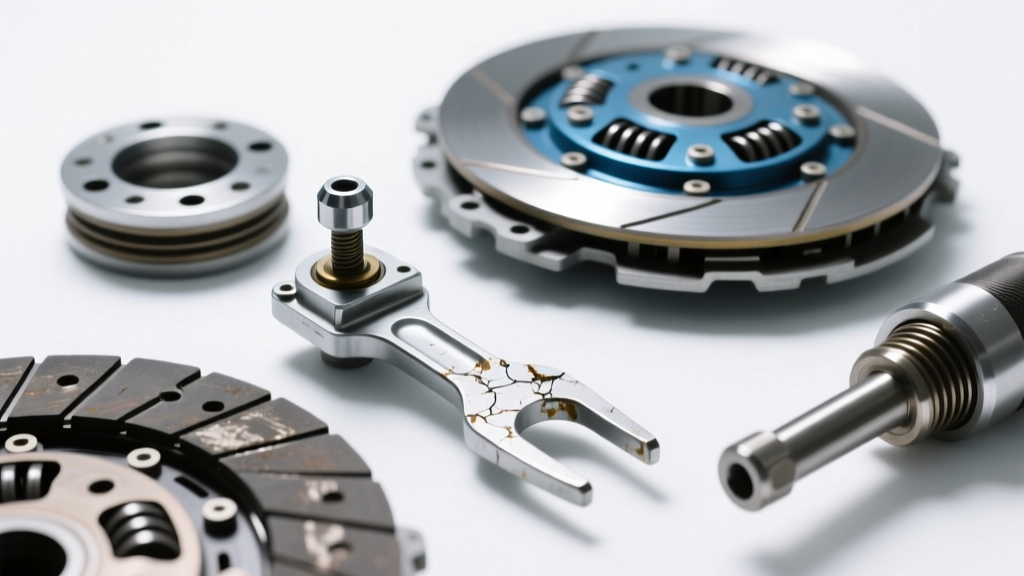
- Clutch Fork Dimple Elongation: The pivot point on the fork itself (the dimple or pocket that rides on the ball) is subject to immense shear stress. On OEM stamped steel forks, this pocket can stretch or crack, resulting in a 'spongy' clutch pedal that suddenly drops to the floor under heavy RPM shifts.
- Pushrod and Fork Pad Wear: The contact patch where the hydraulic slave cylinder pushrod meets the clutch fork is a high-friction zone. Without proper lubrication or if the pushrod is misadjusted, the fork pad will wear a groove, altering the clutch free-play and preventing full pressure plate engagement.
Material Science: Stamped Steel vs. Billet Upgrades
When your diagnostic workflow confirms fork or pivot failure, the replacement strategy is critical. While OEM stamped steel components are adequate for factory-spec daily drivers, they are entirely insufficient for vehicles producing over 450 lb-ft of torque. Upgrading to billet or forged components is a mandatory best practice for performance applications.
| Component Type | Material | Avg. Cost (2026) | Max Torque Rating | Best Application |
|---|---|---|---|---|
| OEM Clutch Fork | Stamped Steel | $45 - $85 | 350 lb-ft | Stock daily drivers, light towing |
| Aftermarket Forged Fork | Forged 4140 Steel | $110 - $160 | 600 lb-ft | Mild performance, weekend track cars |
| Billet Aluminum Fork | 7075-T6 Aluminum | $180 - $260 | 850+ lb-ft | Drag racing, high-HP restomods |
| Extended Pivot Ball | Hardened Tool Steel | $25 - $45 | N/A (Geometry Fix) | Block plate installations, engine swaps |
For severe duty applications, we highly recommend the RAM Automotive billet clutch forks paired with a hardened tool steel pivot ball. The 7075-T6 aluminum alloy offers immense tensile strength while reducing the reciprocating mass of the release system, allowing for faster, more precise shifts at high RPM.
Expert Diagnostic Workflow
Before dropping the transmission and splitting the bellhousing, follow this targeted diagnostic workflow to confirm fork and pivot issues without unnecessary teardowns.
Step 1: Pedal Ratio and Free-Play Measurement
Measure the clutch pedal free-play at the pedal pad. You should see exactly 3/4 to 1 inch of free movement before the hydraulic master cylinder begins to engage. If the free-play is non-existent, the slave cylinder pushrod is constantly applying pressure to the clutch fork, causing the release bearing to ride the pressure plate fingers and generating excessive heat that transfers directly to the fork pivot point.
Step 2: Auditory Isolation
With the vehicle in neutral and the engine running, listen to the bellhousing. A high-pitched squeal that changes pitch when the clutch pedal is depressed by one inch indicates release bearing failure. However, a metallic 'clack' or 'rattle' that occurs specifically at the top or bottom of the pedal travel usually points to a loose pivot ball stud or an elongated fork dimple.
Step 3: Hydraulic System Bleed and Volume Check
Air in the hydraulic system mimics mechanical wear. Perform a reverse-bleed of the clutch hydraulic system using a pressure bleeder set to 15 PSI. If the pedal remains spongy after a perfect bleed, the mechanical leverage has failed—meaning the fork is likely bending or the pivot ball has sheared.
Torque Specs, Clearances, and Assembly Best Practices
When reassembling the clutch release system, precision is non-negotiable. The most common cause of repeat fork failure is improper pivot ball height and inadequate thread locking. Below are the golden rules for clutch fork and pivot assembly, verified by top-tier transmission builders.
Pro-Tip from the Bench: Never install a pivot ball stud without high-strength thread locker. The vibration harmonics of a manual transmission will back out an untreated pivot ball stud in less than 500 miles, resulting in the fork dropping inside the bellhousing and immediate loss of clutch actuation.
Critical Assembly Specifications
- Pivot Ball Height: Must be measured from the bellhousing mating surface (where it meets the engine block) to the exact center-radius of the pivot ball. For most GM T-56 and LS applications, this distance is 4.500 to 4.750 inches. Use a digital dial caliper to verify. If you have installed an aftermarket block plate or crank spacer, you must use an extended pivot ball (e.g., McLeod part #1691002) to maintain the factory auto clutch diagram geometry.
- Pivot Ball Stud Torque: 25 to 30 lb-ft. The threads must be meticulously cleaned with brake cleaner and coated with Loctite 271 (Red) high-strength thread locker. Allow 24 hours of cure time before subjecting the assembly to high-stress clutch actuation.
- Fork Pivot Dimple Lubrication: Apply a generous dab of high-molybdenum grease (such as Red Line CV-2 or Lucas Red 'N' Tacky) inside the fork dimple and on the pivot ball. Do not use standard chassis grease, as it will melt and sling off under bellhousing temperatures that routinely exceed 250°F.
- Pushrod Preload: The slave cylinder pushrod should have a maximum of 1/8 to 1/4 inch of free-play against the clutch fork pad. Zero preload will cause the throw-out bearing to ride the diaphragm springs, leading to catastrophic pressure plate failure.
Final Verdict: Respect the Geometry
Troubleshooting clutch engagement issues, chatter, and vibration always comes back to the fundamental physics illustrated in a proper auto clutch diagram. The clutch fork and pivot ball are the unsung heroes of the drivetrain, translating hydraulic pressure into mechanical clamping force. By adhering to strict measurement tolerances, upgrading to billet components for high-torque applications, and utilizing proper chemical thread lockers, you can eliminate release system failures and ensure buttery-smooth, reliable shifts for the life of the vehicle. Do not ignore the subtle symptoms of fork wear; a $150 billet fork upgrade during a clutch job is infinitely cheaper than a second bellhousing removal labor charge.